Page 8
A-5/A-8 Digital Game Camera
Page 5
A-5/A-8 Digital Game Camera
CAMERA SETUP (cont)
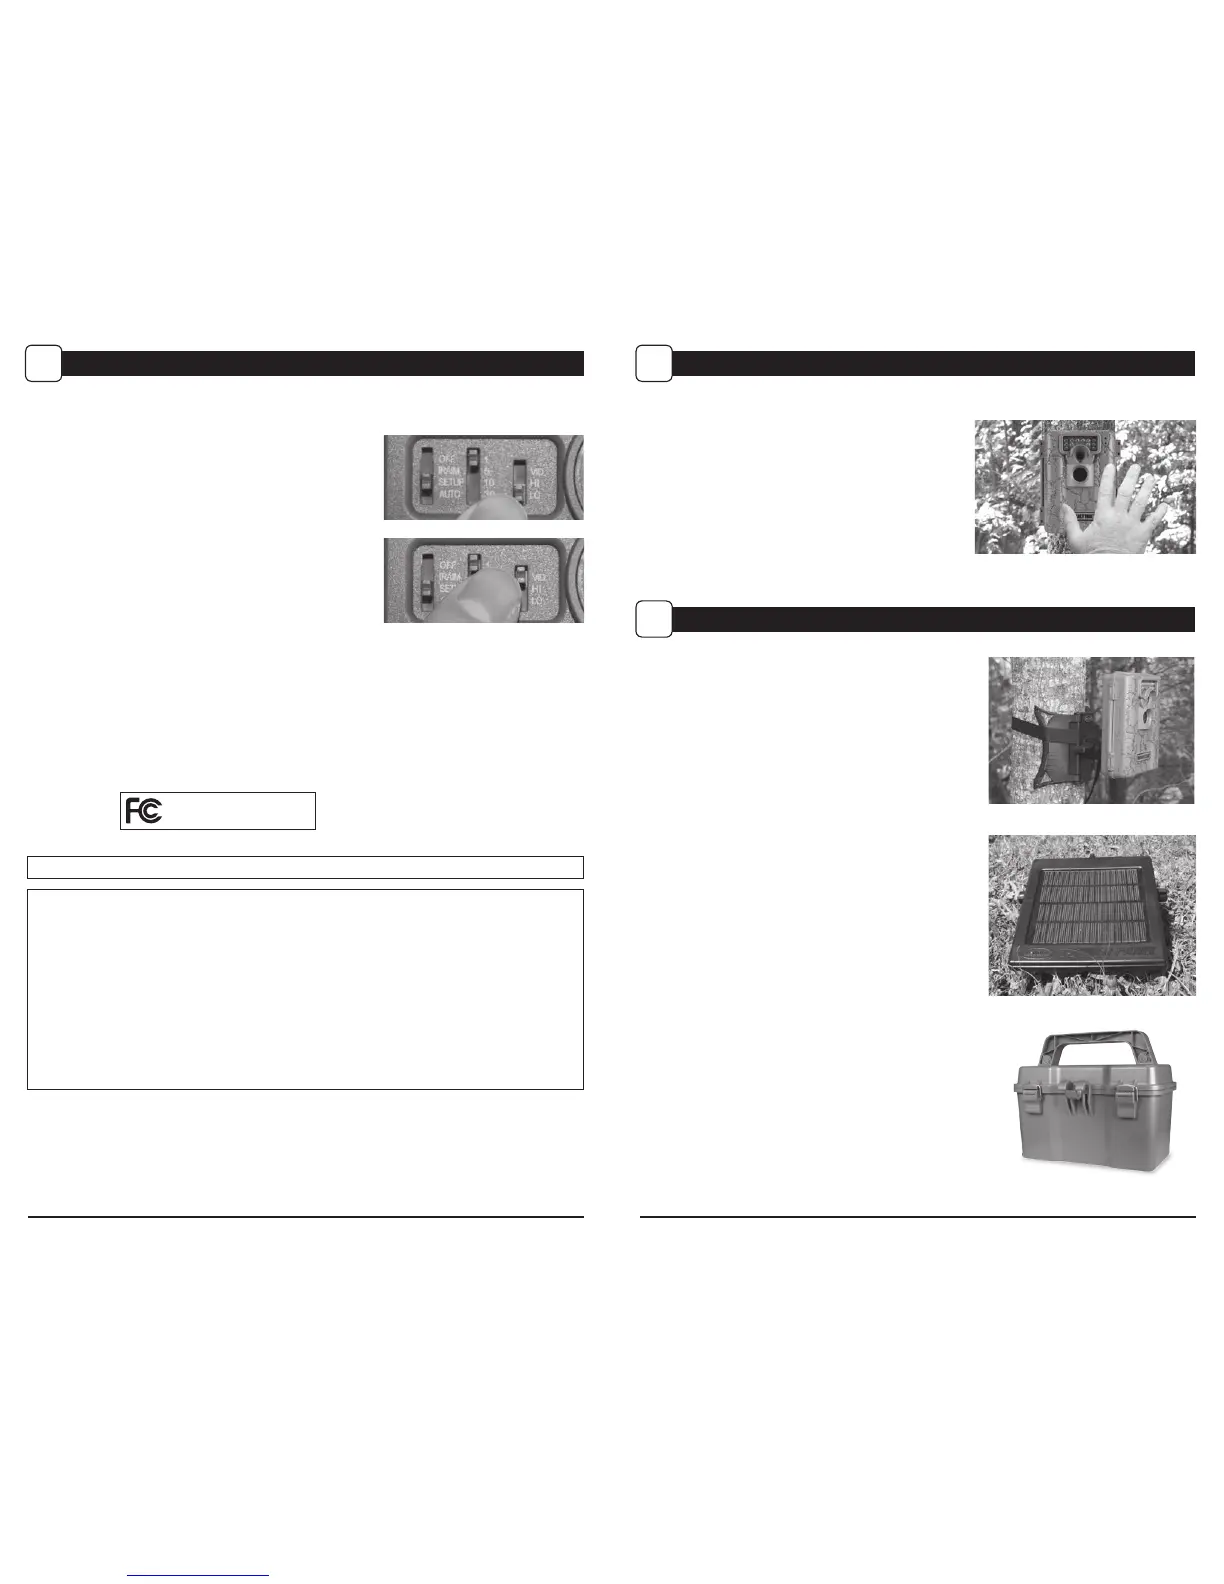
IV
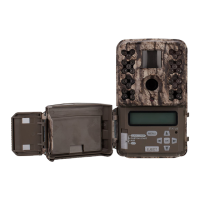
Aiming Camera
After the camera has been mounted, open the cover
and slide the Mode Switch to IR Aim. Close cover.
Stand in front of the camera. The Status LED will
ash red when it detects movement. Use this process
to guide your camera to cover the desired target area.
MOULTRIE ACCESSORIES (Sold Separately)
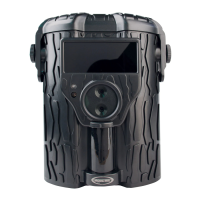
V
Using a Deluxe Tree Mount
The camera can also be mounted directly to a tree using
a mounting bracket that attaches directly to a tree or
pole. Strap the tree mount to the tree and secure, then
attach the camera to the tree mount using the tree
mount socket located on the back of the camera.
Using the Moultrie Camera Power Panel
Place near the tree where the camera is mounted. Place
for best exposure to sun. To attach to a tripod secure
the power panel to the tripod angled upward for best
exposure. Plug the power panel to the Power Panel
Plug. This will extend the life of your camera in the field.
Note: Leave internal batteries in the camera during use.
The Camera Power Panel needs 4 hours of sunlight to
fully power the camera.
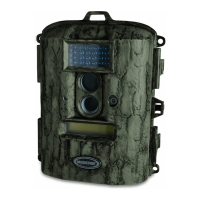
Using the Moultrie Battery Box
Extend the eld life of your Moultrie camera with a
long-lasting, rechargeable external power source.
Place near the tree where the camera is mounted.
Plug the Battery Box to the Power Panel Plug.
This will extend the life of your camera in the field.
Photo Mode
To operate the camera in Photo mode, slide the Resolution
button to the HI or LO position. Slide the Mode switch
to AUTO position. The LCD display will count down for
10 seconds. After the LCD goes o, the camera is ready
for capturing photos.
Video Mode
To operate the camera in Video mode, slide the Resolution
button to the VID position. Slide the Mode switch to AUTO
position. The LCD display will count down for 10 seconds.
After the LCD goes o, the camera is ready for capturing
video. (10 second video clips at 30 frames per second).
CAPTURE MODES
VII
FCC Statements
Moultrie Products, LLC
MCG-12589/ MCG-12646
Note: Changes and modifications not expressly approved by the party responsible could void the user’s authority to operate this device.
This device complies with Part 15 of the FCC Rules. Operation is subject to the following two conditions: (1) This device may not cause harmful
interference, and (2) this device must accept any interference received, including interference that may cause undesired operation.
NOTE: THE MANUFACTURER IS NOT RESPONSIBLE FOR ANY RADIO OR TV INTERFERENCE CAUSED BY UNAUTHORIZED MODIFICATIONS TO THIS
EQUIPMENT. SUCH MODIFICATIONS COULD VOID THE USER’S AUTHORITY TO OPERATE THE EQUIPMENT.
NOTE: This device complies with the limits for a Class B digital device, pursuant to Part 15 of the FCC Rules. These limits are designed to provide
reasonable
protection against harmful interference in a residential installation. This device generates,
uses, and can radiate radio frequency energy
and, if not installed
and used in accordance with the instructions, may cause harmful interference to radio communications. However, there is no
guarantee that interference
will not occur in a particular installation. If this device does cause harmful interference to radio or television reception,
which can be determined by turning the equipment o and on, the user is encouraged to try to correct the interference by one or more of the
following measures:
- Reorient or relocate the receiving antenna.
- lncrease the separation between the equipment and receiver.
- Connect the equipment into an outlet on a circuit dierent from that to which the receiver is connected.
- Consult the dealer or an experienced radio/TV technician for help.