Page 6
A-5/A-8 Digital Game Camera
Page 7
A-5/A-8 Digital Game Camera
SETUP AND PROGRAMMING
VI
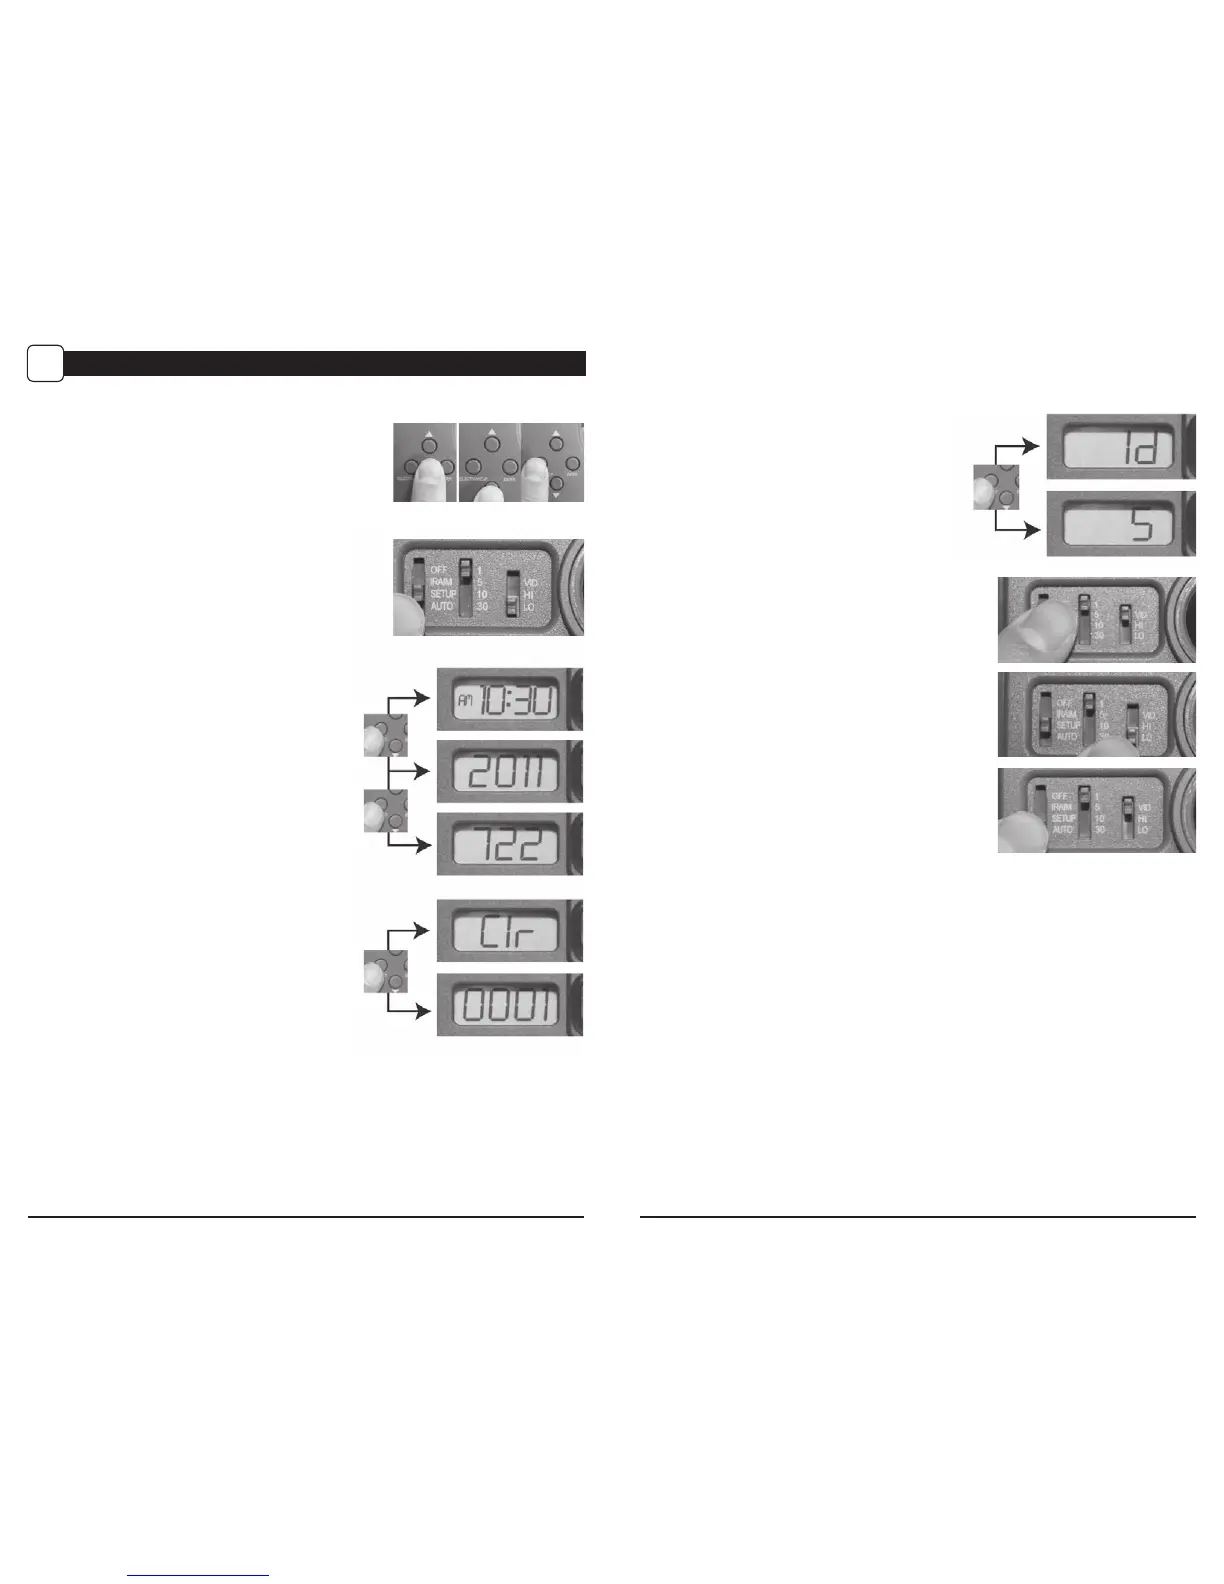
Navigating Dierent Settings
During the Setup mode, you can program the camera
for dierent settings. The Enter button will start the
programming process when the selection ashes. The
Up/Down buttons will move from one value to the next.
The Enter button will then lock in any selections. Then
press the Select button again to move to the next setting.
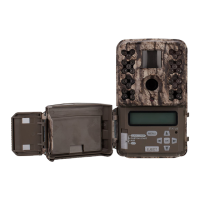
Turning Power ON/OFF
Open the camera cover. Turn the Mode switch to
the Setup position. The time will appear on the LCD display.
If you want to turn the unit o, slide the selector switch to
OFF. The LCD will show “OFF” and then power down.
Note: If there is no activity for 2 minutes the camera will shut
o automatically to save battery life.
Setting Time and Date
While the camera is in the Setup mode, the LCD display will
show the time. Press the Enter button and the selection will
ash. Use the UP/Down buttons to change the selection.
Press the Enter button to lock in the selection. Press the
Select button to move to the next selection. Repeat the
process to set the year, month and day.
Reset Picture Count/Erase Images/Format Card
After the camera’s time and date have been set,
you can reset the picture count on the camera.
Press the Select button until “Clr” shows in the
LCD display. Press Enter button and use the Up/Down
buttons to choose between Yes or No.
Press the
Enter button to conrm the selection.
“Yes” will reset le number to start from 0001
and erase all images stored on the SD card.
NOTE: This will also format your SD card
for use in your camera.
Setting Camera ID
Press the Enter button to select an identity for your
camera. Use the Up/Down buttons to choose between
nine dierent numbers (1-9) to help identify your cameras
(i.e. CAMERA 3 will be marked on the info strip given 3 was
selected). Press Enter to lock in your selection. Press the
Select button and the LCD will display the time again.
Setting Time Delay
To set the time delay, slide the Delay switch
to the desired time. There are 4 time delay
settings, 1 min, 5 mins, 10 mins and 30 mins.
Setting Image Quality or Type
Slide the Resolution switch to the desired setting.
Choose one of 3 settings:
High Photo, Low Photo or Video.
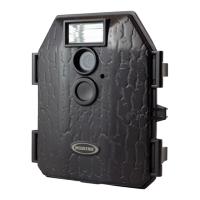
Sleep Mode
After all your settings have been made, slide the
Mode switch to Auto and close the cover.
Note: If there is no activity within 2 minutes, the camera
will enter sleep mode to conserve battery life. The camera
will then power up and become active when motion
is detected.