- 4 -
Hardware Installation Information
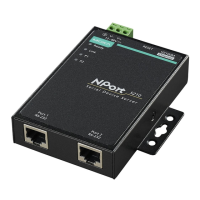
STEP 1: After removing the NPort 5200A series device server from the
box, connect the NPort 5200A series device server to a network. Use a
standard straight-through Ethernet cable to connect to a hub or switch.
When setting up or testing the NPort 5200A series device server, you
might find it convenient to connect directly to your computer’s Ethernet
port. In this case, use a cross-over Ethernet cable.
STEP 2: Connect the NPort 5200A series device server’s serial port to a
serial device.
STEP 3: Connect the power adaptor.
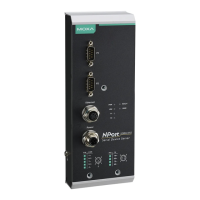
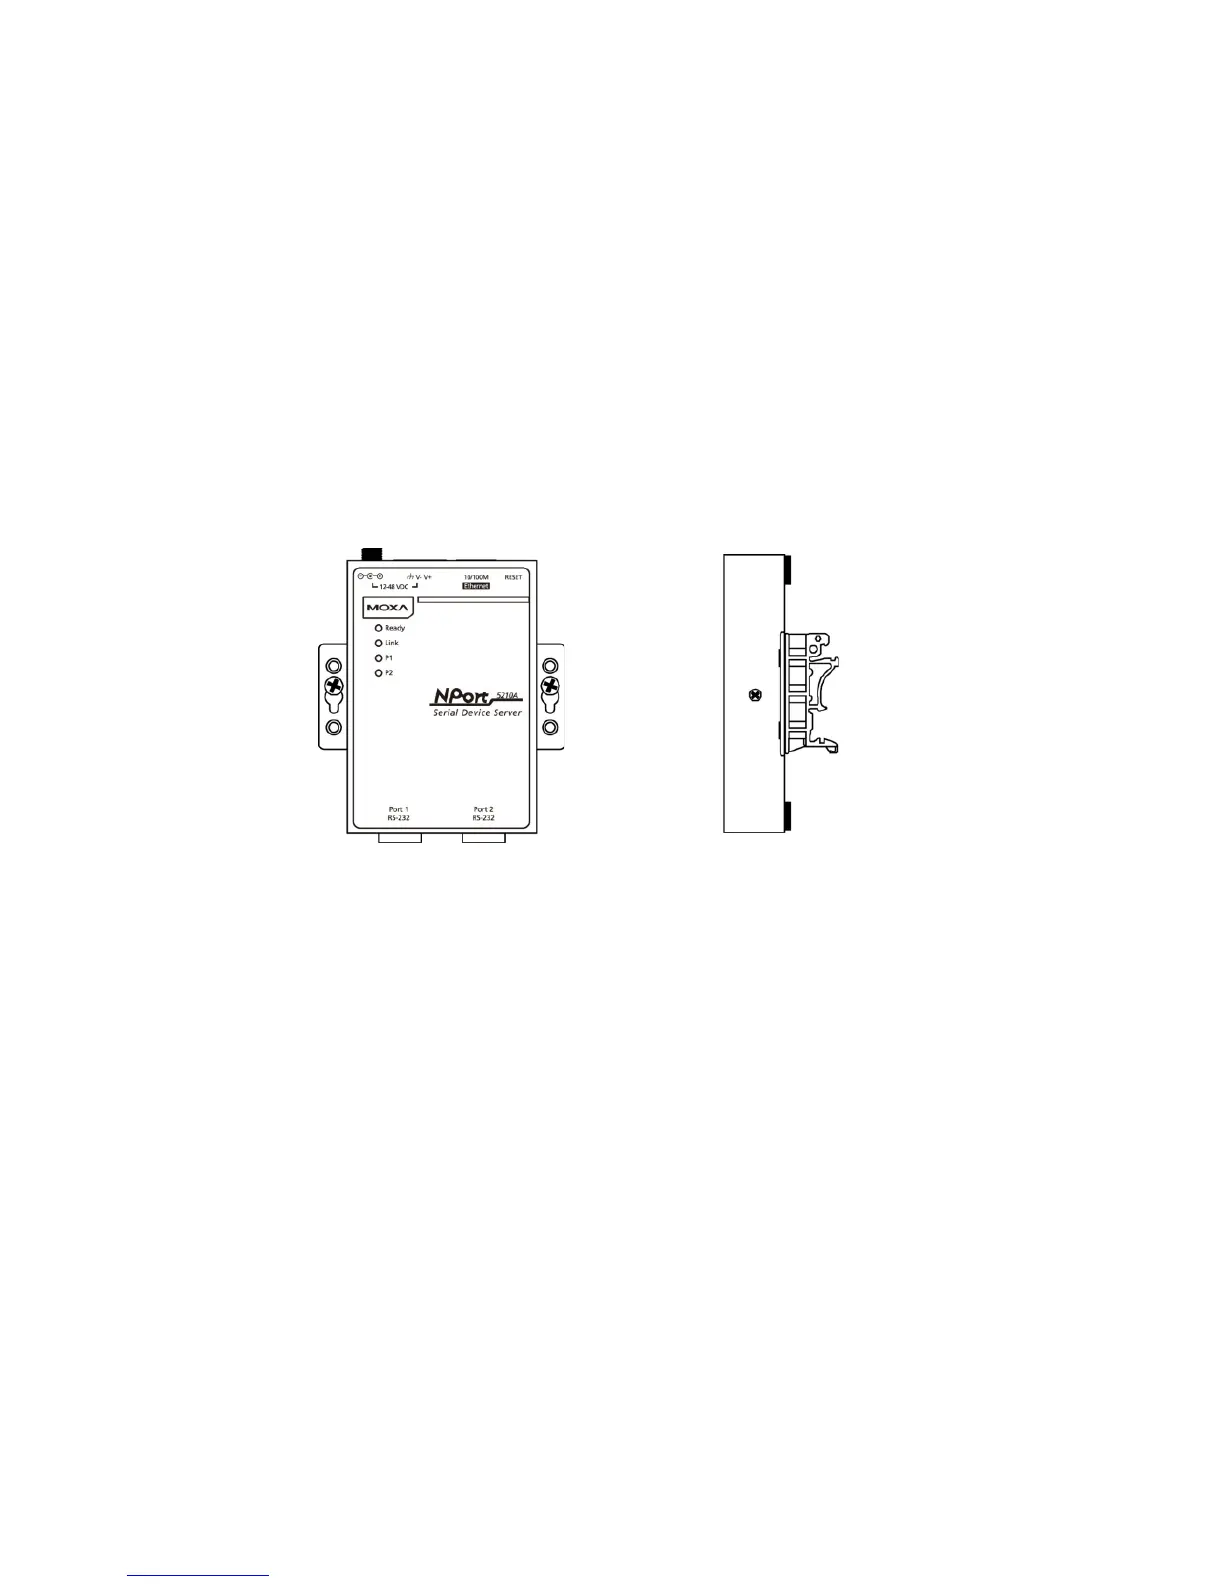
STEP 4: Placement options.
In addition to placing the NPort 5200A on a desktop or other horizontal
surface, you may also make use of the DIN-Rail or Wall Mount options, as
illustrated below.
Software Installation Information
To install NPort Administration Suite, insert the NPort Document &
Software CD into your computer’s CD-ROM drive. Once the NPort
Installation CD window opens, click on the Software folder, and then
follow the instructions on the screen.
To view detailed information about NPort Administration Suite, click
on the Documents folder, and then select “NPort 5200A Series User’s
Manual” to open the pdf version of the user’s guide.
 Loading...