SECTION4: ASSEMBLINGYOURGARDENTRACTOR
Unpacking
• Remove al] screws and staples frem top ef crate
using a "1/4"hex head secket era screw driver.
• To remove ends, grasp tep beard en the end, and
pull towards yeu in a dewnward motien. (A hammer
may help). Set panel aside te avoid tire punctures.
• Repeat procedure ter each side ofthe crate.
• Remove and discard plastic bag which covers unit.
• Loose parts (eperator's manual, steering wheel,
battery fluid, chute deflecter, etc.)are en the seat er
in a box and wrapped in plastic. Caratul]y cut and
remove the plastic wrap. Remeve loose parts frem
the seat and save.
• Remove deck trem beneath the tractor. Make sure
that parking brake is released and unit is in neutral.
NOTE: See the controls section of this manual for
location of the parking brake release and the shift lever.
• Push unit off the skid.
• Lay out the contents of the hardware pack on the
il]ustrationon page 7 for identification.
IMPORTANT: After assembly, service engine with
gasoline, and check oil level as instructed in the engine
manual packed seperately with your unit.
NOTE: Reference to right or left hand side of the unit is
observed from the driver's seat. facing forward.
ToolsRequired
"1. "1/4"socket wrench or flat blade screwdriver
2. "1/2"wrench er socket wrench ter medels with
square steering wheel cap
3. 9/16" wrench er socket wrench
4. Two 7/"16"wrenches or socket wrenches
SettinguptheBattery
WARNING: Always shield eyes, protect skin
and clothing when working near batteries.
Handle battery acid with great care as centact
with itcan burn and blister the skin. Follow the
steps below to ensure safe handling.
a. Wear protective clothing (gegg]es, rubber
g]eves and apren) te work with battery.
b. Should battery acid accidental]y splatter into
the eyes or ento the face, rinse the affected
area immediately with clean cold water. A list
ofantidotes are given belew. It there is any
further discomfort, seek medical attention.
Antidote: EXTERNAL--Flush with water.
INTERNAL--Drink large quantities of water
or mi]k. Follow with mi]k et magnesia, beaten eggs
or vegetable ei]. If discemtort persists,call physi_
cian immediately.
EYES: Flush with cool water for at least "15rainT
utas, then get prompt medical attentien.
c. If acid spi]]s on clething, first dilute itwith
clean water, then neutralize with a solution of
ammeniaJ water er baking soda/water.
d. Since battery acid is corrosive, do not peur it
inte any sink ordrain. Betere discarding
empty electrolyte containers, rinse them with
a neutralizing solutien.
e. NEVER cennect or disconnect charger clips
te battery whi]e the charger is turned en as it
can cause sparks.
t. Keep al] lighted materials (cigarettes,
matches, lighters) away from the battery as
the hydrogen gas generated during charging
can be combustible.
g. As a further precautien, only charge the
battery in a wellwentilated area.
_'_L WARNING: Keep battery away from
_ chi]dren. Do not activate battery (fill with battery
l acid) unti] battery is actually placed in service.
Be certain to read previous battery warnings
before activating the battery.
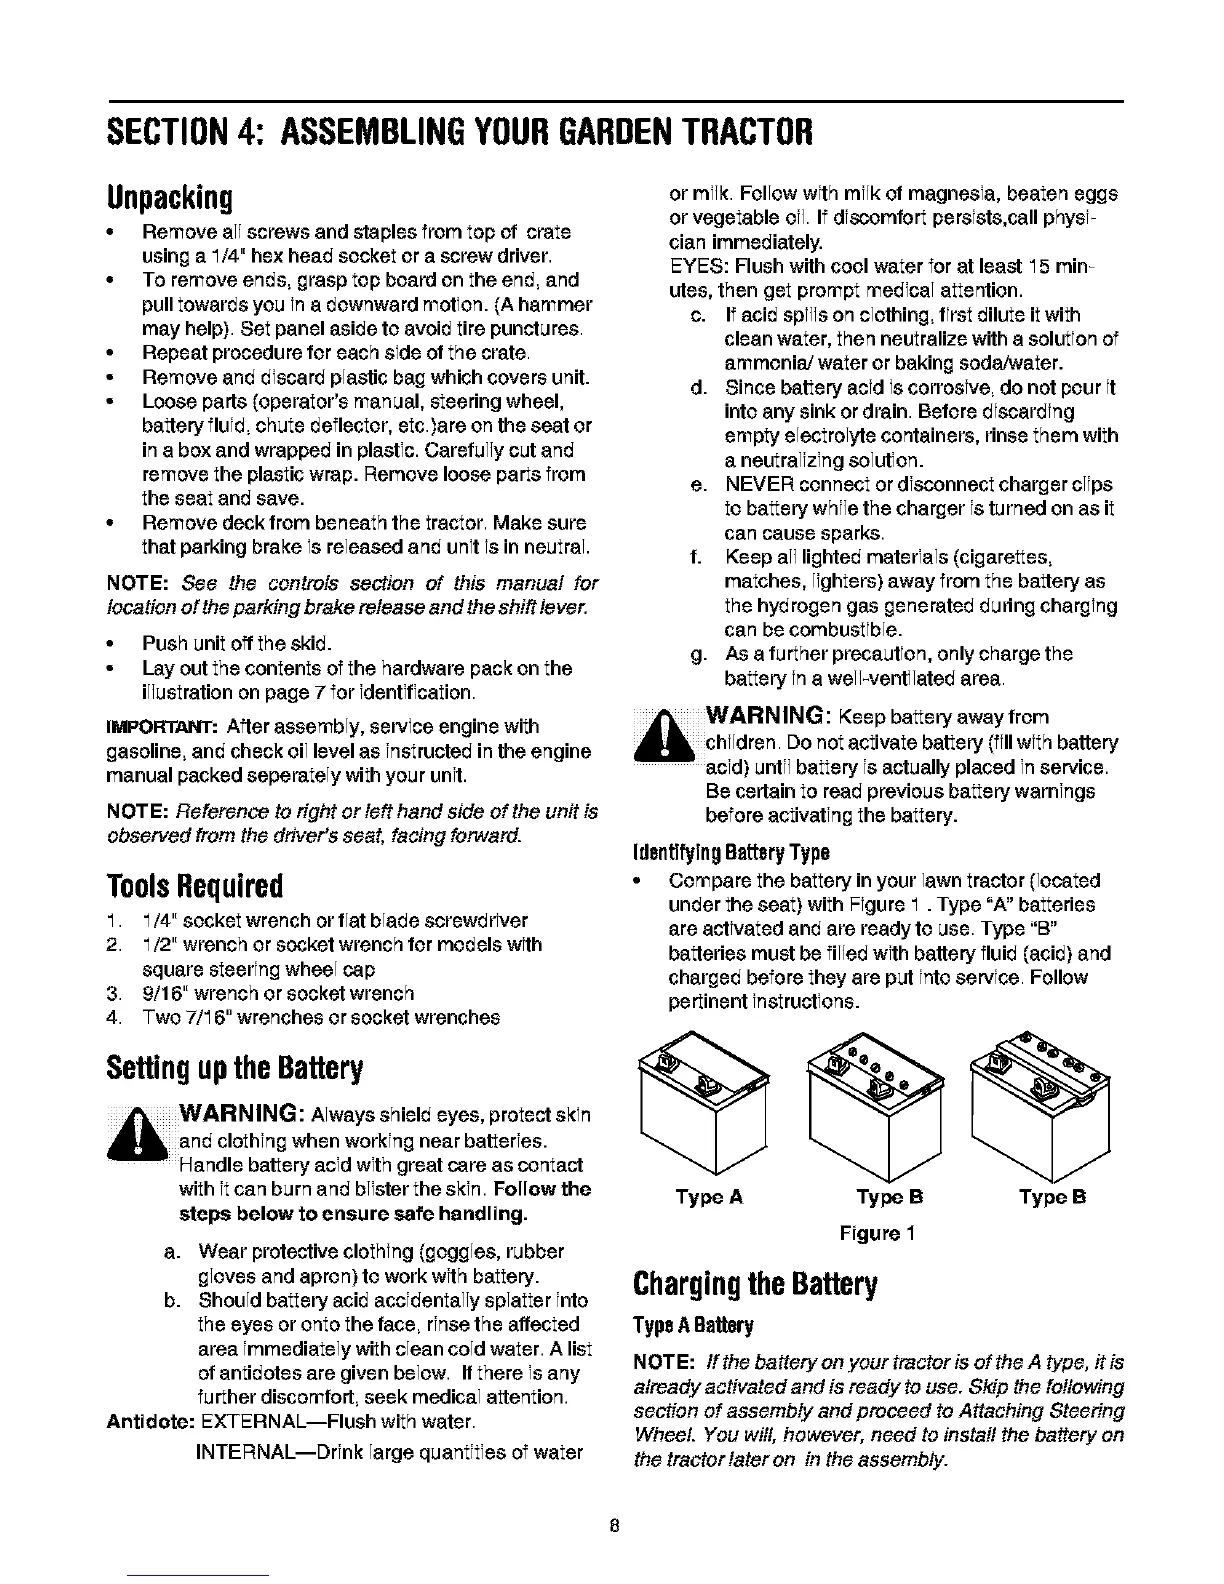
IdentifyingBatteryType
• Cempare the battery inyour lawn tractor (lecated
under the seat) with Figure "1. Type "A" batteries
are activated and are ready te use. Type "B"
batteries must be fil]ed with battery fluid (acid) and
charged before they are put inte service. Follow
pertinent instructiens.
Type A Type B Type B
Figure 1
ChargingtheBattery
TypeABattery
NOTE: ff the battery on your tractor is of the A type, it is
already activated and is ready to use. Sldp the following
section of assembly and proceed to Attaching Steering
Wheel You will, however, need to install the battery on
the tractorlater on in the assembly.
 Loading...