4
OPERATION
INSTALLATION
Note: The rst time you use the soldering iron, it may smoke slightly as the heating
element dries out. This is normal and should only last for a few minutes.
ONLY USE FOR ELECTRICAL WORK - Acidic solder will damage the iron tip.
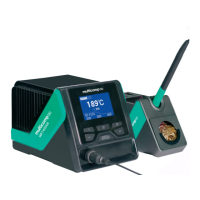
• Long press button 1, 2 or 3 to turn channel the relevant channel on or off.
• The required temperature is displayed in the lower segment of the LCD for each
channel when the channel is turned on.
• Short press either button 1, 2 or 3 to select the channel to make it active to make
adjustments to the settings.
• The lower channel display on the LCD shows inverted to indicate which channel is
currently active.
• The actual tip temperature for the active channel is displayed in large numerics on
the LCD.
• The system detects which tool you have connected to the active channel and it’s
identication is displayed on the LH side of the LCD. If no tool is connected to that
channel NO TOOL is displayed and the channel cannot be activated.
• Channel 3 is used for the hot air gun tool only and has additional displays to
indicate when the air fan is on and the airow rate.
Temperature Adjustment
• Select the channel you require to make adjustment to by pressing either buttons 1,
2 or 3.
• The power bar display at the top of the LCD shows the output power status for the
chosen channel.
• Press UP or DOWN buttons to increase or decrease the required temperature.
• REAL is displayed on the LH side of the LCD and the large numerics indicate the
current tip temperature.
• To lock the channel so setting cannot be changed press and hold the LOCK/
VACUUM button until the padlock display indicator changes mode.
• Channels 1 and 2 can be used for either the Soldering Iron, Tweezers or
Desoldering Gun to suit user preference.
• Channel 3 is for the Hot Air tool only.
• Attach the hot air gun support bracket to the side of the control station using the
screws supplied.
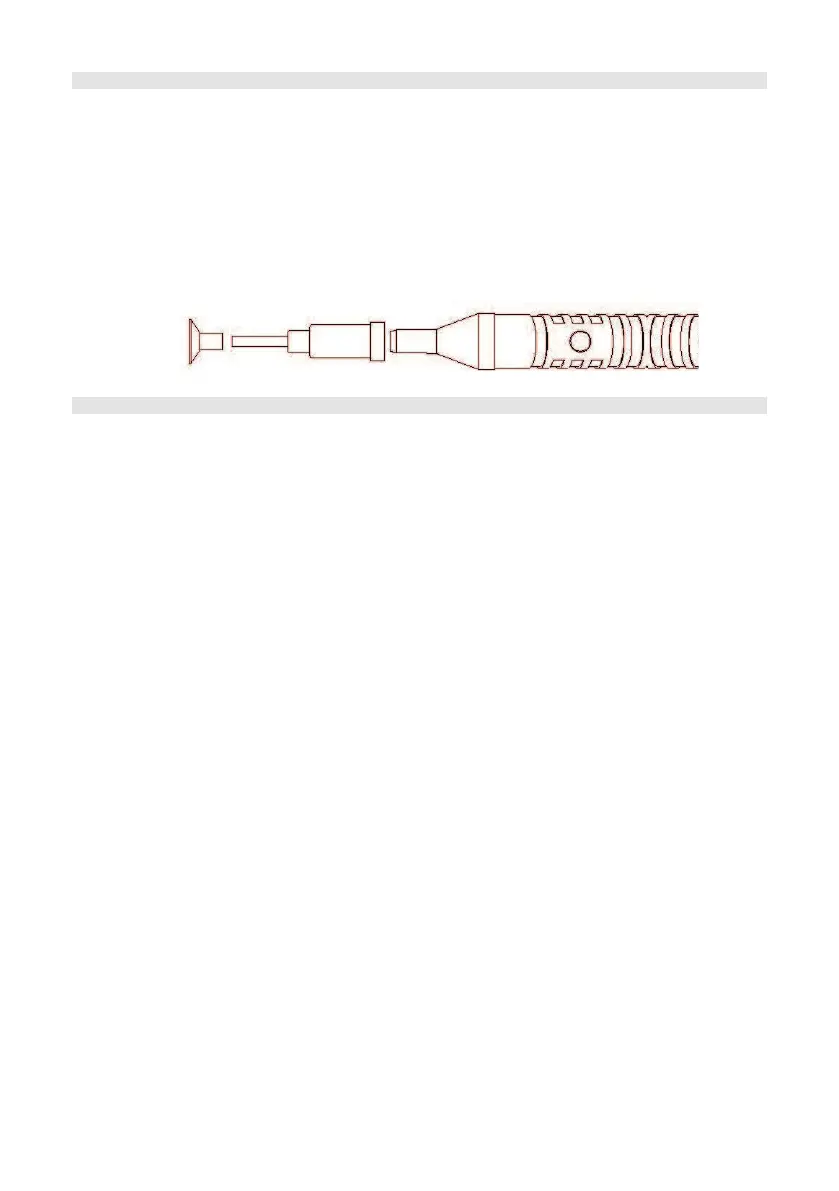
• Assemble the vacuum pen as follows:
• Insert the end of the suction nozzle into the hole in the suction disc.
• Connect the nozzle assembly to the vacuum pen to complete the assembly.


 To Next Page