INSTALLING THE ROUTER
24 MultiConnect
®
rCell 100 MTR-LTE Hardware Guide
Chapter 5 – Installing the Router
Installing the Router
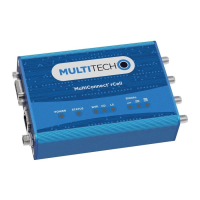
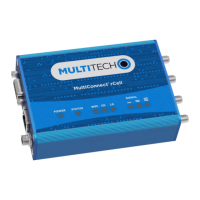
1. To use the router’s cellular features, connect two suitable antennas to both the CELL and AUX
connectors.
2. You must use diversity because this device requires two antennas.
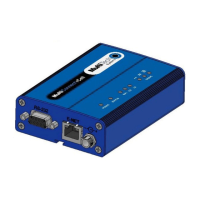
3. Using an Ethernet cable, connect one end of the cable to the E-NET connector on the back of the router
and the other end to your computer, either directly or through a switch or hub.
4. If you are connecting to a serial interface, connect the DE-9 connector (9-pin) of the RS-232 cable to the
RS-232 connector on the router. Then connect the other end to the serial port on the desired device.
5. Some routers support the use of a GPS receiver. If you are using a GPS receiver with the router, attach
the GPS cable to the GPS connector on the router.
6. Attach a power cable to your power supply module.
7. Screw-on the power lead from the power supply module into the power connection on the router.
8. Plug the power supply into your power source.
The POWER LED lights after the device powers up.
When the Status LED begins to blink, the device is ready for use.
9. You can configure your router by using your router’s web management interface. You might need to
change the IP address of your computer to be in the same IP and subnet mask range as the device.
a. Open a web browser. In the browser's address field, type the default address for the router:
http://192.168.2.1. (If the browser displays a message that there is a problem with the website's
security certificate, ignore this and click Continue to the webpage).
b. On first-time power up of the device, its Web UI displays the initial setup in commissioning mode
requiring a username and password for the first administrative user. Enter your desired username
and password. Refer to First-Time Setup for more details.
c. If you are not powering up the device for the first time and simply upgrading the firmware of your
device, your existing logins are still active.
Mounting the Device
1. Locate the groove on the bottom of the modem.
2. Slide the mounting rod through the groove.
3. To secure the rod to the desired surface, place and tighten two screws in the holes on either end of the
mounting rod. The dimensions illustration in this guide shows the mounting rod, as well as the
dimensions for placement of the screws.
Installing the SIM Card
If you want to operate the router on a particular network, install a SIM card (Subscriber Identity Module).
To install the SIM:
1. Locate the SIM card slot on the side of the router. The slot is labeled SIM.