MainTenanCe – M4
Change the bag when the one in place is
full. Frequency will depend on the use of
the unit.
1. To access the bag, lift and remove the
unit’s top cover.
2. Remove the used bag and seal bag
opening (adhesive seal provided on each
bag). Discard used bag.
3. Install the new bag, ensuring the tabs on
the bag adaptor are aligned with the slots
in the bag collar (figure 15).
4. Ensure adequate sealing by inserting bag
as far as the retention ring.
5. Replace the unit’s top cover.
The disc-shaped filter (figure 16), located
between the dust bag and the motor, should
be changed once for every three bags, or
more often as needed.
Use only genuine Mvac replacement
bags. Failure to do so could void the
warranty on your vacuum unit.
Type 3 Bag
Part Number: TDSAC43M
MOTOr
Please note that Mvac motors do not require lubrication. Each motor
contains two carbon brushes which will wear normally, and may eventually
require replacement. For warranty purposes, this should be done by an
authorized service center. Brush life is affected by the number of hours used,
frequency of start-ups and shut-downs, humidity, altitude, and temperature. In
order to avoid damage to the motor itself, brushes should be replaced before
they are completely worn out. We therefore recommend that you have your unit
and motors inspected by a service center every 5-6 years.
MainTenanCe – OTher MOdels
USE WITH BAG
Change the bag when the one in place is
full. Frequency will depend on the use of the
unit. For the M9, M10, M11 and M12 models,
the integrated monitor will indicate when
to change the bag. These indications are
provided by an electronic timing board, only
as a reference guide.
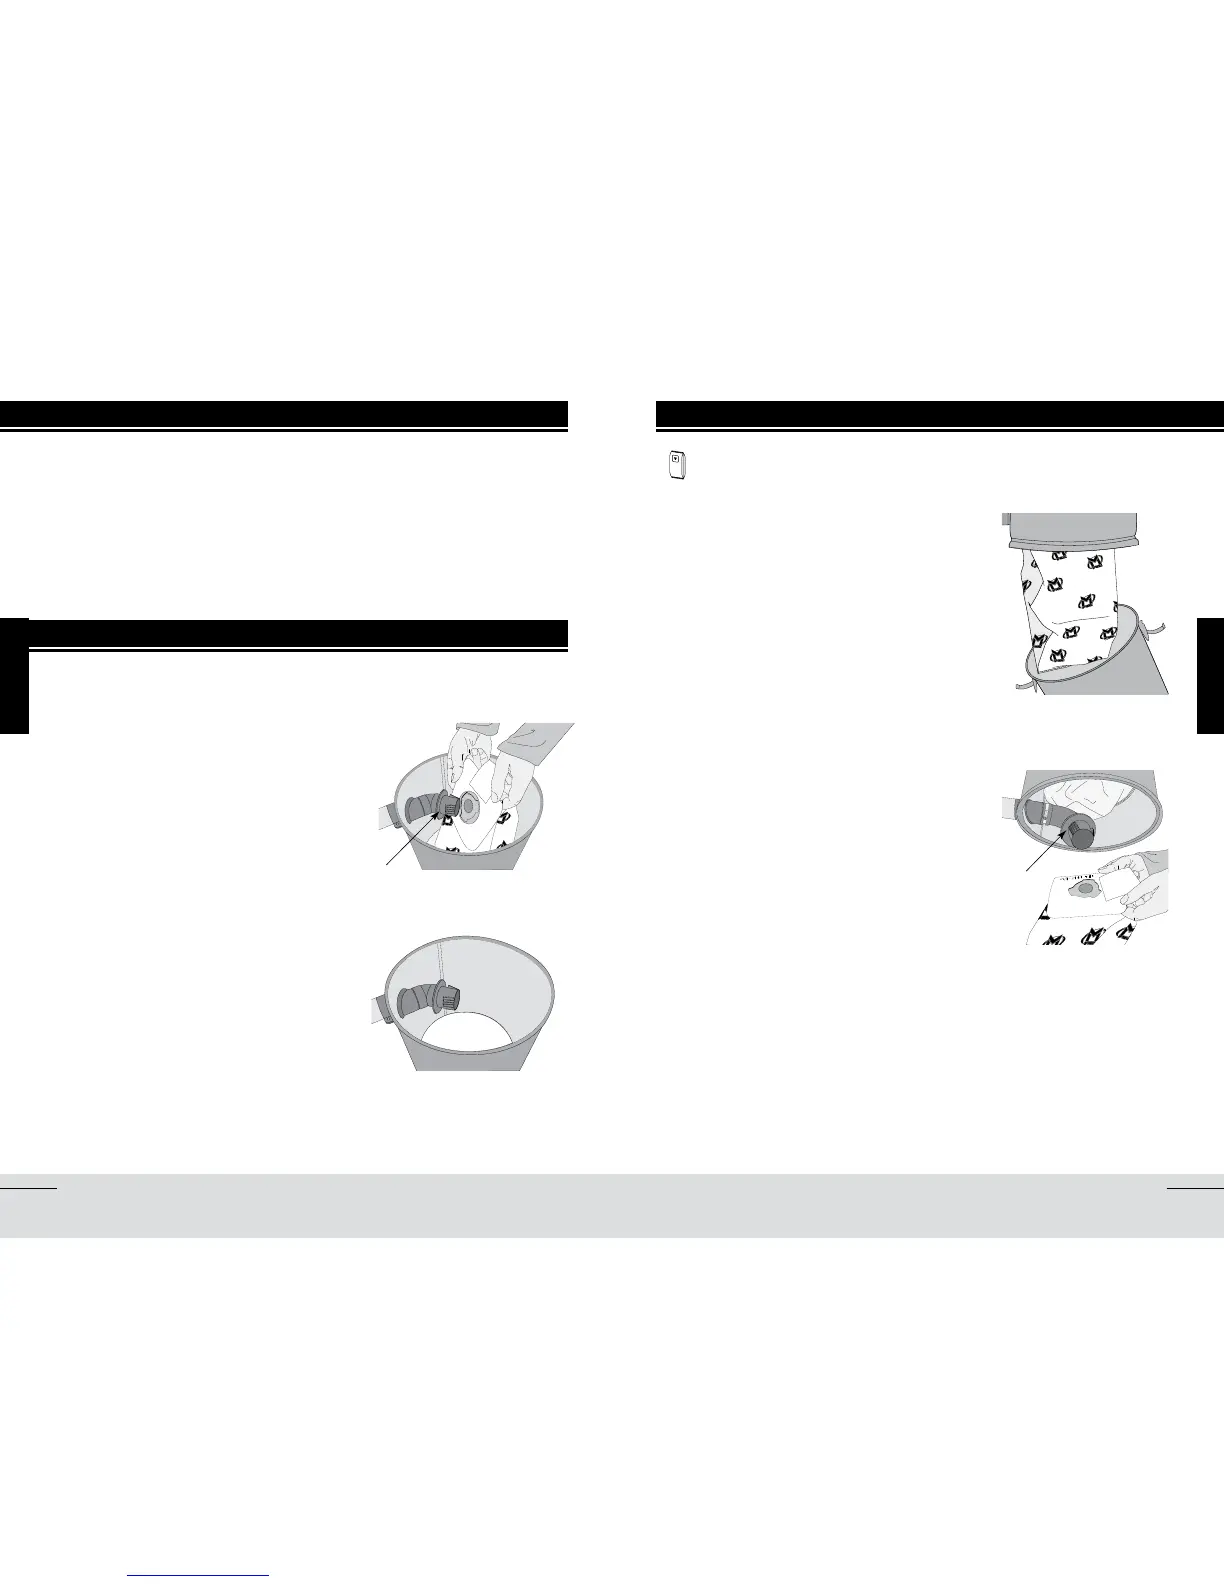
1. To access the bag, unlatch the two clips and
remove the dust receptacle (figure 17).
2. Remove the used bag and seal bag opening
(adhesive seal provided on each bag).
Discard used bag.
3. Install the new bag, ensuring the tabs on
the bag adaptor are aligned with the slots in
the bag collar (figure 18).
4. Ensure adequate sealing by inserting bag as
far as the retention ring.
5. Replace dust receptacle and seal by latching
both clips.
Use only genuine Mvac replacement bags.
Failure to do so could void the warranty
on your vacuum unit.
Part Number: TDSAC43M