AC ELWA
®
-E Operation Manual, Version 00200.01 5
3. All 3 LEDs of the AC ELWA-E are on for approx. 10 seconds (device boots), afterwards all 3
LEDs are blinking. The device is now in Setup-Mode
4. Disconnect existing Wi-Fi connections on the laptop to avoid possible network-conflicts
5. Connect Laptop to AC ELWA-E via standard Rj45-cable („patch-cable“).
Depending on the laptop, a cross-over network cable may be required!
6. The Laptop gets a dynamic IP address
7. The system software, e.g. MS Windows 7, might request you to choose a place of the
network. At this step it is not necessary to do so. You can close the window.
8. Insert address 192.168.0.1 in the web browser to select homepage of the AC-ELWA-E
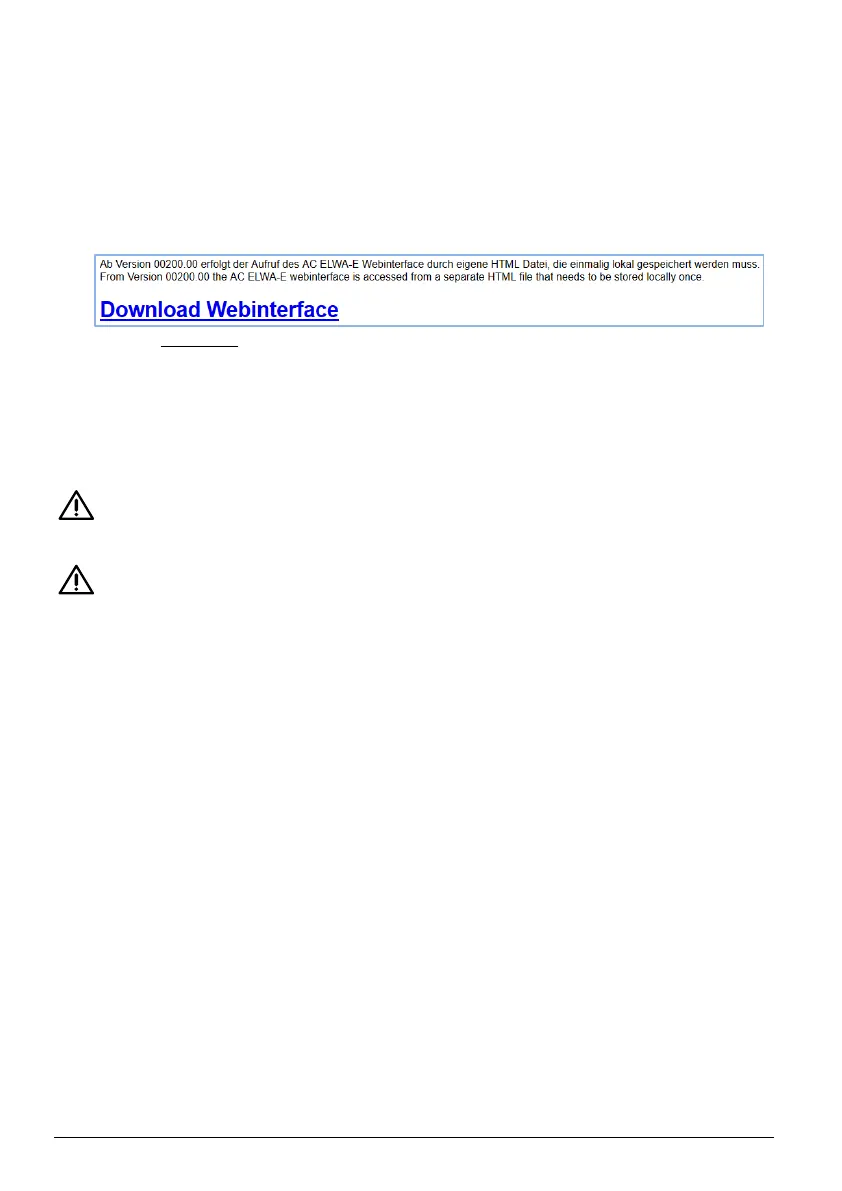
9. Start the previously downloaded HTML file to get to the Web-Interface
10. Select Button „Settings“ and configure as described in chapter „Setup“
11. After all the settings have been made, disconnect the AC ELWA-E power plug
12. Turn the knob to the desired temperature
13. Disconnect the data connection between AC ELWA-E and Laptop/PC
14. Connect AC ELWA-E via standard Rj45-cable („patch-cable“) with router or via cross-over
network cable directly with the my-PV Power Meter!
Do not connect the device directly to the inverter or the battery system!
15. Plug in the AC ELWA-E power plug again
If the signal source for the AC ELWA-E is searched with the „Auto Detect“ – function, the
process can take a few minutes!
If the set-up is done without a router, a connection between PC/Laptop – Router – AC ELWA-E
can though be implemented afterwards. See next chapter!
 Loading...