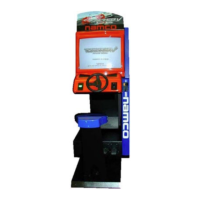
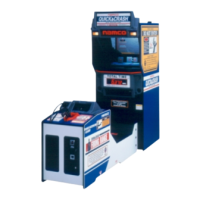
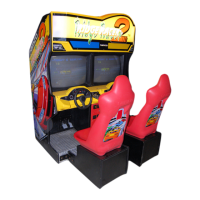
RIDGE RACER
2”
namco
Q
Upgrade Kit Manual
RAVE RACER-
3.2
Game Installation
1.
2.
3.
4.
9.
10.
11.
Verify that power has been removed from the game.
Open the rear door to gain access to the
110
PCB (on top of the card cage).
Refer to the wiring diagram for your game in the back of this manual. Locate
the
50-pin
connector,
J402.
Add connections for the VIEW CHANGE switch: Remove the
50-pin
connector at
J402
(on the
I/O
PCB) and insert the Molex-type pins (from new
cable harness
RV50-04365-00)
into A5 and A6 (of the
50-pin
connector), with
the WHITE wire going to A5 and the BUCK wire going to A6. Refer to
drawing
RV50-04400-00.
Reconnect the
50-pin
connector to
J402.
Remove the control panel to add the VIEW CHANGE button.
Drill a 7/8” hole to the left of the steering wheel.
Install the VIEW CHANGE button. Tighten the nut before snapping the lamp
assembly into place.
Connect the quick-disconnect lug from the WHITE wire (of new harness,
RV50-04364-00)
to the gold pin designated NO (pin 4, Normally Open) of the
lamp assembly.
Connect the quick-disconnect lug from the BLACK wire to the silver pin
(designated COM) of the lamp assembly.
While reinstalling the control panel, connect the two-pin plug of the new VIEW
CHANGE harness to the plug on the PCB harness added in Step 4.
2
 Loading...