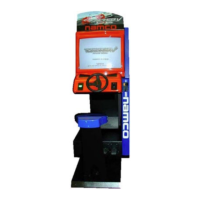
Do you have a question about the NAMCO Ridge Racer 2 and is the answer not in the manual?
Details installation restrictions for indoor use, including environmental conditions and location.
Provides safety guidelines for handling the game, including power disconnection and electrical safety.
Outlines precautions to take when moving or transporting the game machine safely.
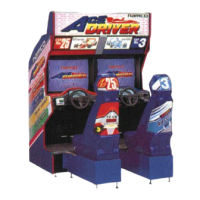
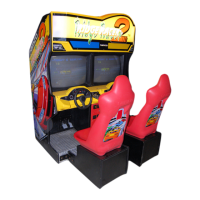
Instructions for physically connecting the seat assemblies to the main game cabinet.
Guide on adjusting the cabinet and seat levelers for optimal stability and placement.
Instructions on locating and turning on the game's power switch after installation.
Details the location and function of adjustment switches like Service and Test switches.
Guide to entering and navigating the Test Mode for diagnostics and settings adjustments.
Procedure for re-initializing the game settings after replacing internal game components.
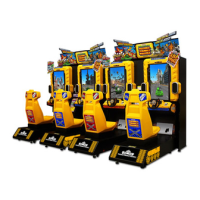
Instructions on linking multiple Ridge Racer 2 game cabinets together for multiplayer modes.
Instructions for replacing fluorescent lamps located in the top flash of the game cabinet.
Guide on how to replace the 12v 2.2w wedge lamps used as leading driver lamps.
Detailed steps for safely removing the main game PCB and I/O PCB from the cabinet.
Procedure for removing the shield case to access internal components.
Steps to remove the power control panel for maintenance or replacement.
Instructions for replacing the control potentiometer on the AB Pedal Assembly.
Steps to remove the gear shift assembly from the game controls.
Guide for replacing the control potentiometer within the steering assembly.
Instructions for removing and replacing the steering wheel on the game.
| Brand | NAMCO |
|---|---|
| Model | Ridge Racer 2 |
| Category | Arcade Game Machines |
| Language | English |