nanmom
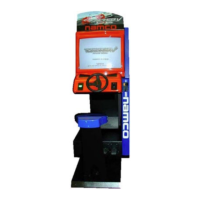
RIDGE RACER
T
RAVE RACER”
Upgrade Kit Manual
IO.
Remove the System 22 PCB set from the rear of each unit, using care to
prevent damage to the wiring or connectors.
CAUTION:
USE ANTI-STATIC PROTECTION FOR THE FOLLOWING WORK
]
11.
12.
On each game, remove the
EMI
cover from the PCB rack and set it aside.
Remove the CPU and Video main boards from the card cage and place them
on a flat, anti-static surface.
13.
14.
Observe the 10 devices and 2
PCBs
which are supplied with the kit. Remove
the corresponding devices and (smaller of the two) PCB from the main CPU
board. Remove the (larger of the two) PCB from the Video board.
Install the new devices and PCBs from the kit.
Note: Install device C388 in previously empty socket
12R (Key custom) on the CPU board.
15.
Carefully reassemble the card cages, and reinstall them in the game cabinet,
making sure that all connectors are properly seated.
16.
Remove the original marquee plastic panel and replace with the new acrylic
Rave Racer marquee.
13.
Perform game initialization per Section 3.5, Power-Up and Initialization.
3.3 Cabinet Graphics
1.
Install the cabinet graphics provided. Float the graphics on by applying a
spray of ammonia cleaner to each surface. Smooth out the bubbles and
liquid with a paint squeegee. Wipe the decal dry with a soft cloth.
 Loading...