Foundation Fieldbus Hardware and NI-FBUS Software Installation Guide | © National Instruments | 3
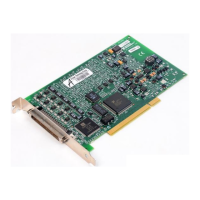
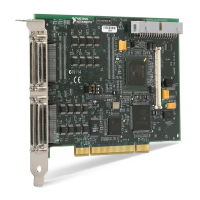
5. Screw the mounting bracket of the PCI-FBUS card to the back panel rail of the computer.
6. Keep the top cover or access port off until you have verified that the hardware resources do
not conflict.
7. Power on the computer.
8. Launch the Interface Configuration Utility. Find the PCI-FBUS card and right-click to enable.
9. Close the Interface Configuration Utility and start the NI-FBUS Communications Manager
or NI-FBUS Configurator.
Install Your PCMCIA-FBUS Card
Caution Before you remove the card from the package, touch the antistatic plastic
package to a metal part of the system chassis to discharge electrostatic energy, which
can damage several components on the PCMCIA-FBUS card.
To install the PCMCIA-FBUS card, complete the following steps.
1. Power on the computer and allow the operating system to boot.
2. Insert the card into a free PCMCIA (or Cardbus) socket. The card has no jumpers or
switches to set. Figure 2 shows how to insert the PCMCIA-FBUS and how to connect the
PCMCIA-FBUS cable and connector to the PCMCIA-FBUS card. However, the
PCMCIA-FBUS/2 cable has two connectors. Refer to Chapter 2, Connector and Cabling,
of the NI-FBUS Hardware and Software User Manual, for more information about these
two connectors.

 Loading...
