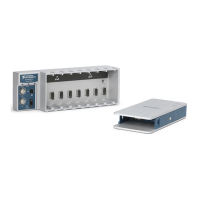
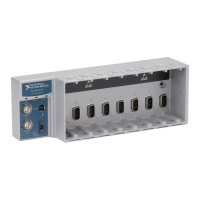
Initial Setup
Refer to the PXIe-1092 User Manual for information about how to install the software and
hardware and how to configure the device in Measurement & Automation Explorer (MAX).
Verification
The performance verification procedure assumes that adequate traceable uncertainties are
available for the calibration references.
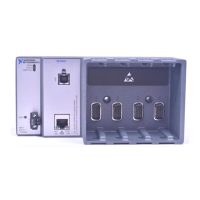
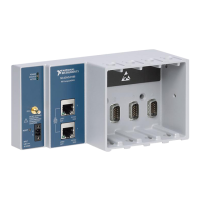
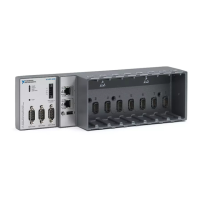
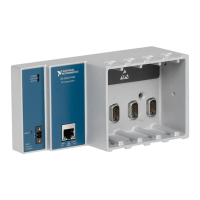
Complete the following procedure to determine the PXIe-1092 chassis as-found status.
Verifying OCXO Frequency Accuracy
1. Connect the 10 MHz Ref Out SMA on the rear of the PXIe-1092 chassis to Channel 1 of
the Frequency Counter.
2. Configure the Frequency Reference to output a 10 MHz sine wave on one of its output
channels. Connect this channel to the Ext Ref In port of the Frequency Counter.
3. Configure the Frequency Counter to use the Ext Ref In port as the reference oscillator
source and to use Channel 1 as its input source. Set the Frequency Counter gate time to
3 seconds.
4. Measure the OCXO frequency using the Frequency Counter.
5. Compare the measured frequency to the device specifications.
To determine whether the device under test meets its specifications, you must compare the
measured frequency with the published specifications. Table 2 shows the frequency range that
is acceptable according to the PXIe-1092 chassis published specifications.
Table 2. One Year Test Limits
Device
Specified Accuracy Within
1 Year of Calibration
Acceptable Frequency Range — As Found
Low Limit High Limit
PXIe-1092 ± 80×10
-9
9,999,999.20 Hz 10,000,000.80 Hz
If the measured value is within the low-limit and high-limit range listed in Table 2, the chassis
is operating in specification but requires adjustment to be considered calibrated. If the
measured value is outside the range listed in Table 2, the chassis is operating out of
specification.
To determine if the device under test is already calibrated, you must compare the measured
frequency with the ranges listed in Table 3.
PXIe-1092 Calibration Procedure | © National Instruments | 3
 Loading...