INSTALLATION/ SERVICE MANUAL
21
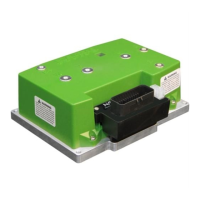
4. Install Navitas TAC 2 Controller
• Install NEW Club Car
Precedent mounting plate
using supplied hardware
• Connect motor phase cables
A1=U A2 =V and NEW Motor
Cable (in Kit) =W to the
controller
• Connect NEW B+ cable from
solenoid to controller and
existing B- cable from battery
pack to controller
• Install OTF (Optional). See
OTF installation instructions
in RXV install description p12
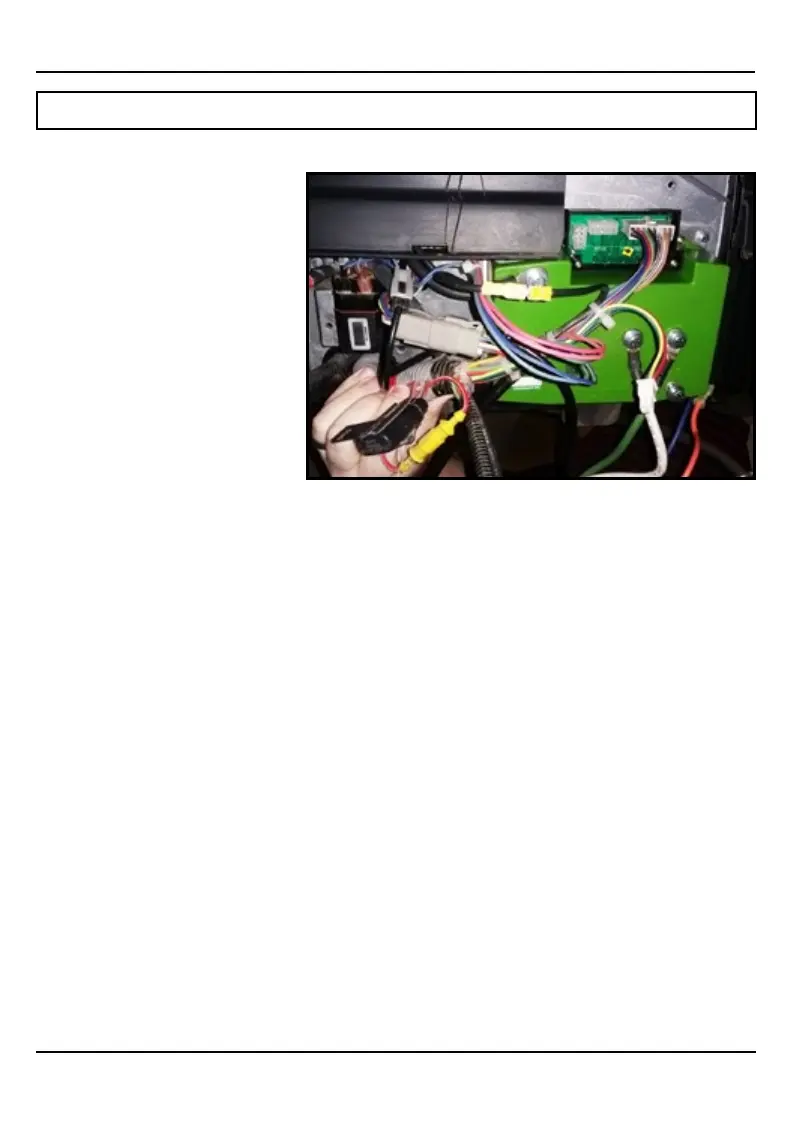
• Connect OEM harness to adaptor module
• Connect OTF to adaptor module (optional)
• Connect NEW speed sensor/motor temperature harness to controller
• Connect OEM wiring harness to controller (may need to chase back harness to free up
sufcient slack)
5. Install AC Motor
• Re-connect A1=U, A2=V and NEW motor cable=W from controller to the AC motor
(examine to make sure the cables align from controller to motor exactly….U-U, V-V and W-W)
• Connect new speed sensor/motor temperature harness from controller to AC motor
6. TESTING INSTALLATION
• Make sure drive wheels are in the air
• Reconnect battery pack
• Put in RUN mode
• Turn key On
• Put in “F” for Forward
• Press on throttle to activate wheels
INSTALLATION INSTRUCTIONS
Club Car IQ (Precedent) DC to AC Conversion cont’d
Fig. 2
 Loading...

