INSTALLATION/ SERVICE MANUAL
20
1. Power down
• Turn off key, disconnect battery
• Put car on a stand and block wheels
• Use insulated tools
• Never use battery as workbench
2. Remove OEM Protective Cover
• Remove cables from controller
• Unclip OEM wire harness
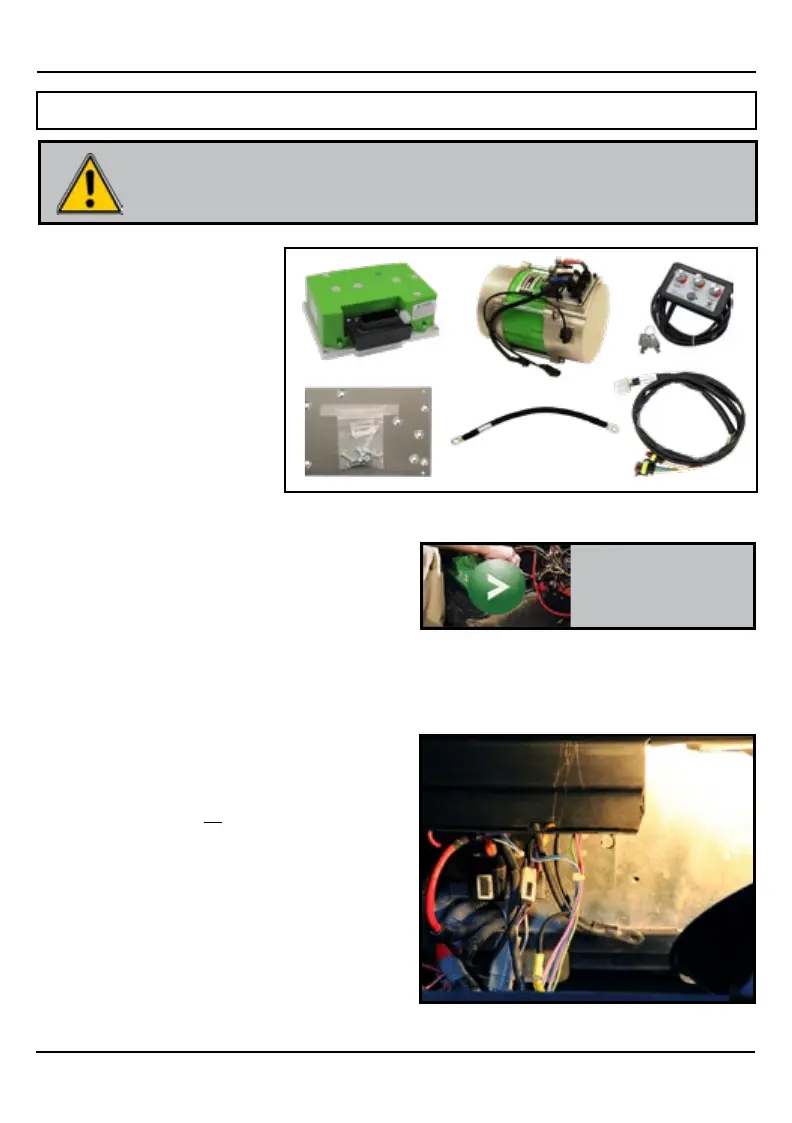
3. DC Motor and Controller Removal
• Raise car safely with jack/hoist and place
on stands to be able to work safely from
underneath car
or pull batteries and work
from top of battery box
• Remove (A1, A2, F1, F2 cables from DC
Motor) dispose of F1, F2 cables and keep
A1,A2 cables
• Cut off the short B+ cable from DC
controller to solenoid. Continue to use the
A2 Cable for new controller connection
• Remove cables from DC controller
• Remove OEM Controller (
Fig. 3)
INSTALLATION INSTRUCTIONS
Club Car IQ (Precedent) DC to AC Conversion
Disconnect all batteries before beginning installation.
If the car has a run/tow switch, you must place the
switch in the TOW position rst!
CAUTION
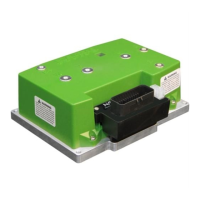
PARTS
• AC 4 kW motor
• AC Navitas controller
• Mounting plate w/ hardware
• Motor phase cable (4AWG)
• Speed sensor/motor
temperature harness
• B+ cable for replacement
from controller to solenoid
• On-The-Fly programmer
(Optional)
To view our Installation
video for Golf Cars, visit:
NavitasVS.com/support
Fig. 3
 Loading...

