EN
08
09
EN
Getting Started
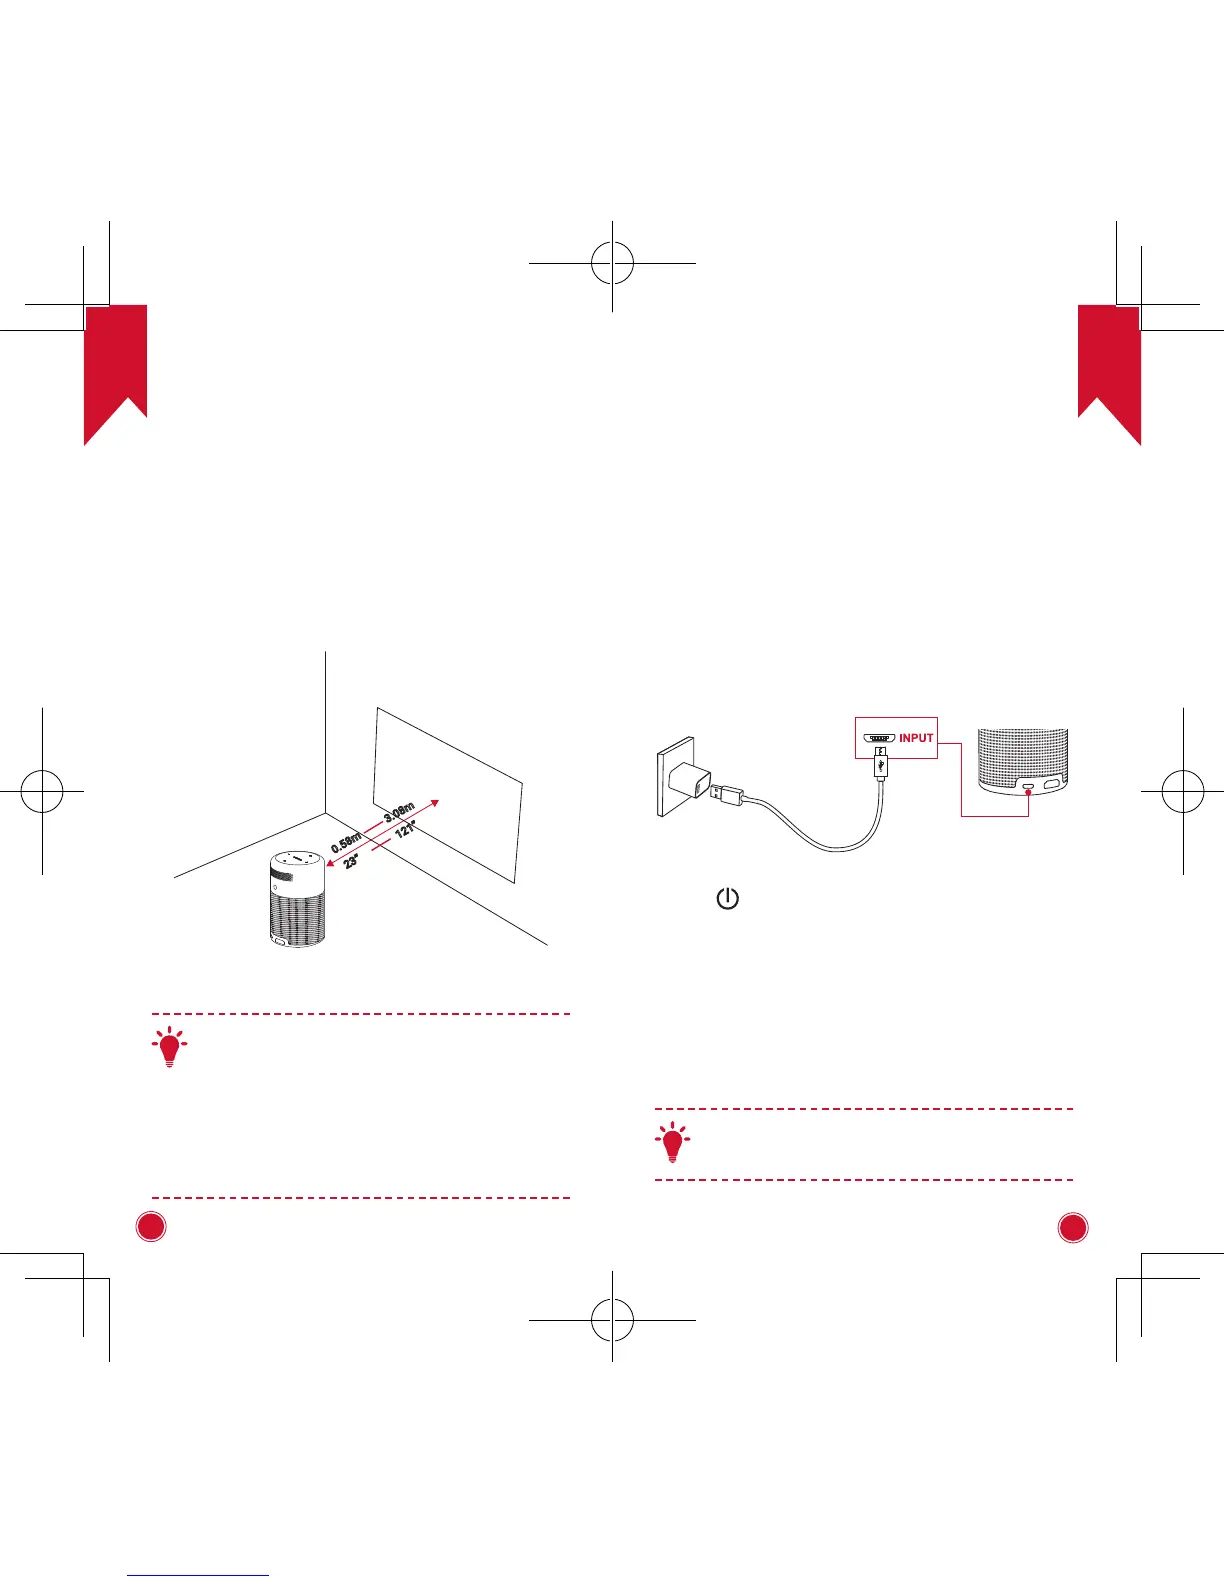
1. Placement
Place this device on a surface table, flat table in
front of the projection surface. For best results, the
projection surface should be white and flat. The
distance between this device and the projection
surface must be a minimum of 0.58 meters (23”) and
a maximum of 3.08 meters (121”) to get a projection
image from 20 to 100 inches.
23”
0.58m
3.08m
121”
T
• It is unnecessary to tilt it towards the
projection surface. You can correct the
projection image with the built-in keystone
correction.
• The distance between the device and the
projection surface determines the projection
image size. For the best result, set the
projection image ranging from 40 to 80 inches.
2. Preparing the Remote Control
①
For first time use, remove the protective tab to
activate the remote control battery.
②
To replace the battery, unlock and open the battery
compartment, insert a new battery positioning the
polarity (+/-) as indicated, and then close and lock
the
battery compartment.
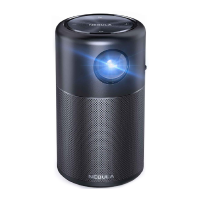
3. Get Started
①
Fully charge the built-in battery before using for the
first time by using the provided cable and charger.
②
Hold
for 2 seconds on the projector to power
on.
③
Turn the device towards a suitable projection
surface or wall.
④
Rotate the focus by adjusting knob to get the best
focus.
⑤
For first time use, follow the on-screen instructions
to complete the basic settings.
T