5
Display Setup - continued
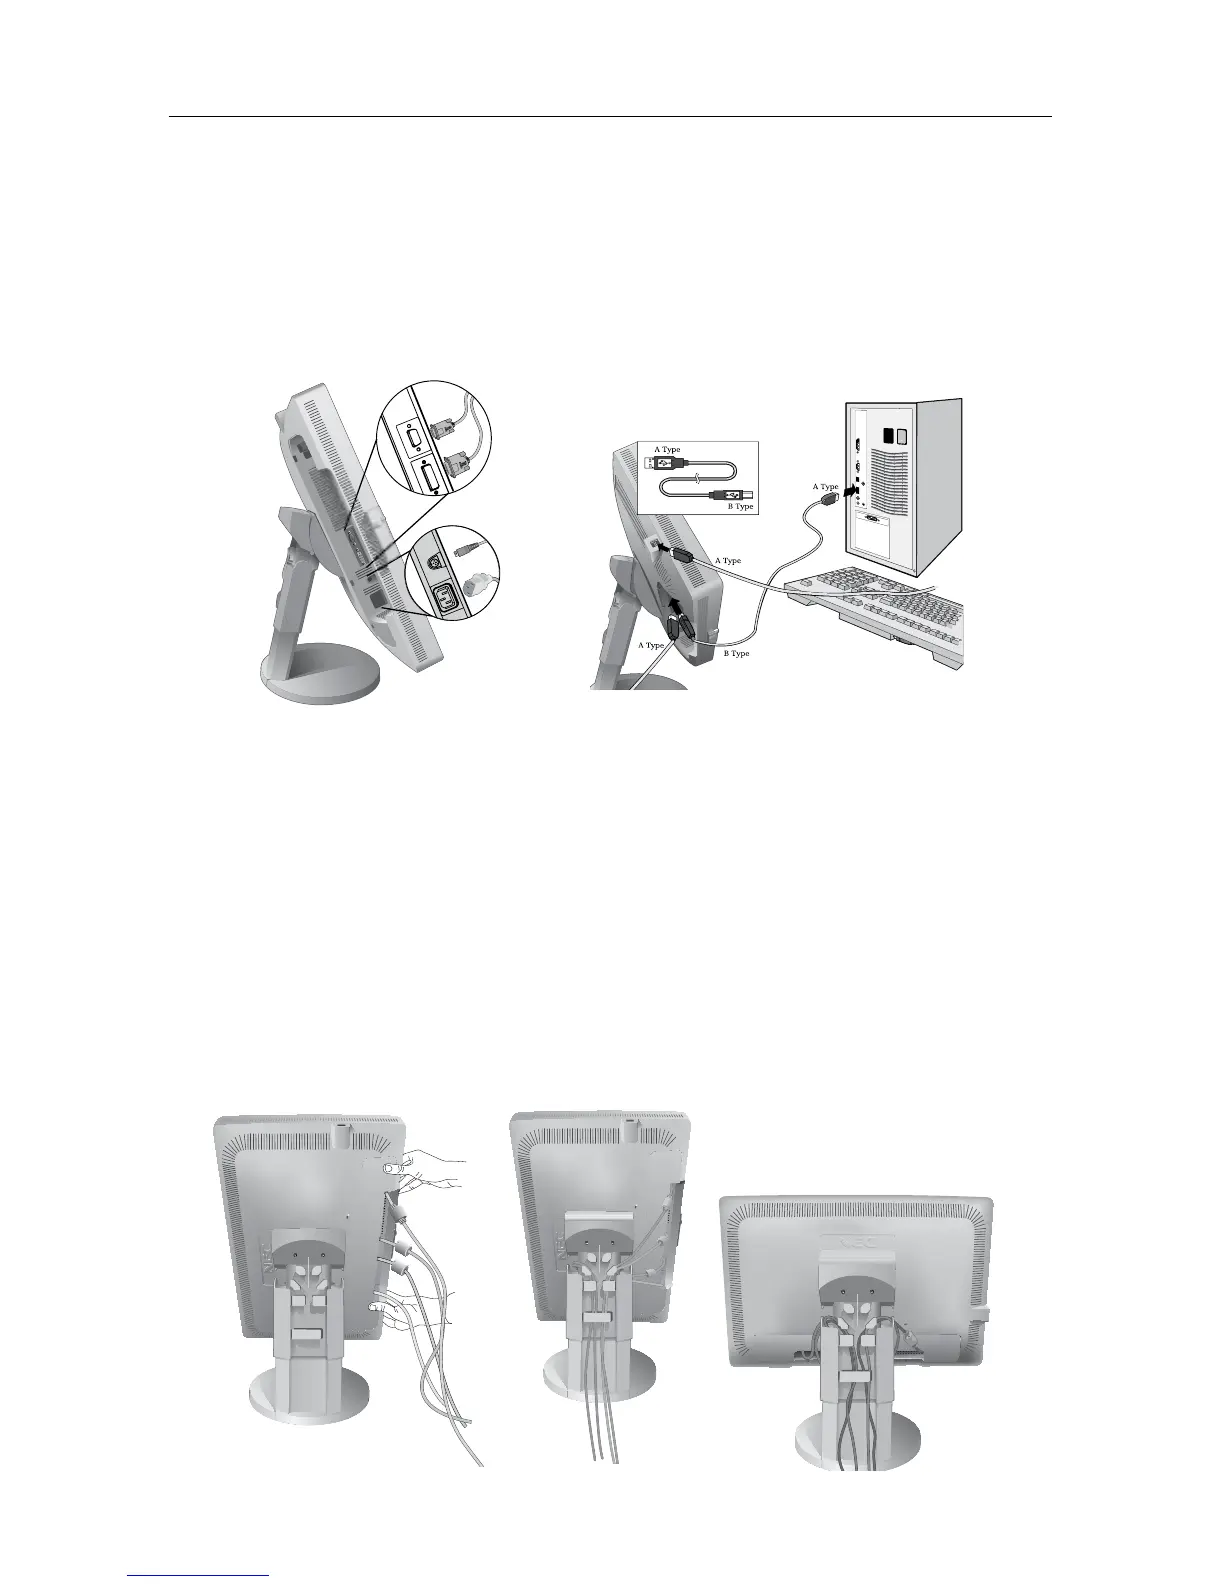
7. Connect all cables to the appropriate connectors (Figure 8).
Using the USB cable, connect the B type connector to the USB
upstream port on the right side of the monitor and the A type con-
nector to the downstream port on the computer. If you can use the
cord from the USB device, use one of the downstream ports on
the side of the monitor. (Figure 9).
8. Place the connector cover back on the monitor (Figure 10)
9. Place the attached cables into the specific hooks indicated, mak
-
ing sure cables are resting flat against stand (Figure 11).
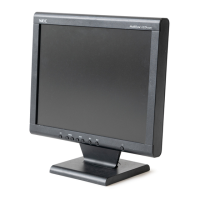
10. Pivot the screen back to the original position. The tilt and height
of the monitor can be adjusted to user’s preference (Figure 12).
Figure 11
Figure 9
Figure 8
VGA
DVI-D
AC-IN
DC-OUT*
* NEC optional product attachment.
Do not use this connector unless specified.
Figure 12
Figure 10