Mounting the Projector
Preparations
1. Determine the installation location of the screen, and accordingly decide the
installation position of the wall mount unit.
Refer to thesection "Installation" inthe user’s manual included with the projector for more
information.
•Installationforslantedprojectionisnotpossible.Determinethepositionforfrontprojection.
2. Make sure that all conditions described in the section "Heed the Following"
on page ENG-2 of this manual are met.
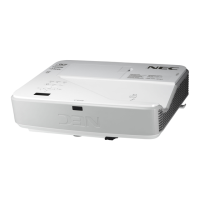
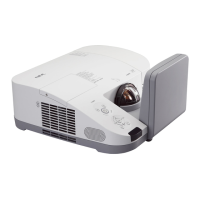
•Because the U300X/U250X/U310W/U260W have a large optical axis elevation angle, a
slight shift in projection distance will have a large effect on the screen size and position. If
the projector angle is off, image distortion will increase.
1. Attach the projector adapter to the projector.
a
Remove the projector from its box and take off the plastic wrap.
b
Reattach the foam packing spacers to the projector and then turn the projector over.
Note: There are four screw holes on the bottom of the projector marked "MAX.M4x10". This
indication does not apply to the project adapter of this product.
b
(Note)
 Loading...