8
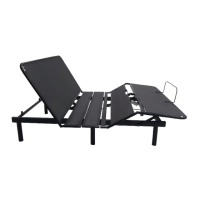
Aaching the bed legs
1
2
Aach the 3" post bed legs to the 8" post bed legs.
NOTE: If you want to add more height to the adjustable leg,
aach the leg extender to the post bed legs.
Aach the bed legs to the adjustabled bed by threading them
in a clockwise direcon into the pre-drilled holes on the frame.
NOTE: Do not overghten the bed legs.
IMPORTANT: For King and Cal King bed sizes, aach one (1)
addional bed leg to hole on the middle part of the frame for
stabili and safe.
If you are installing the adjustable bed on a platform or
slatpack bedding system, do not install the legs. Proceed to
"Seing up your electronics" below.
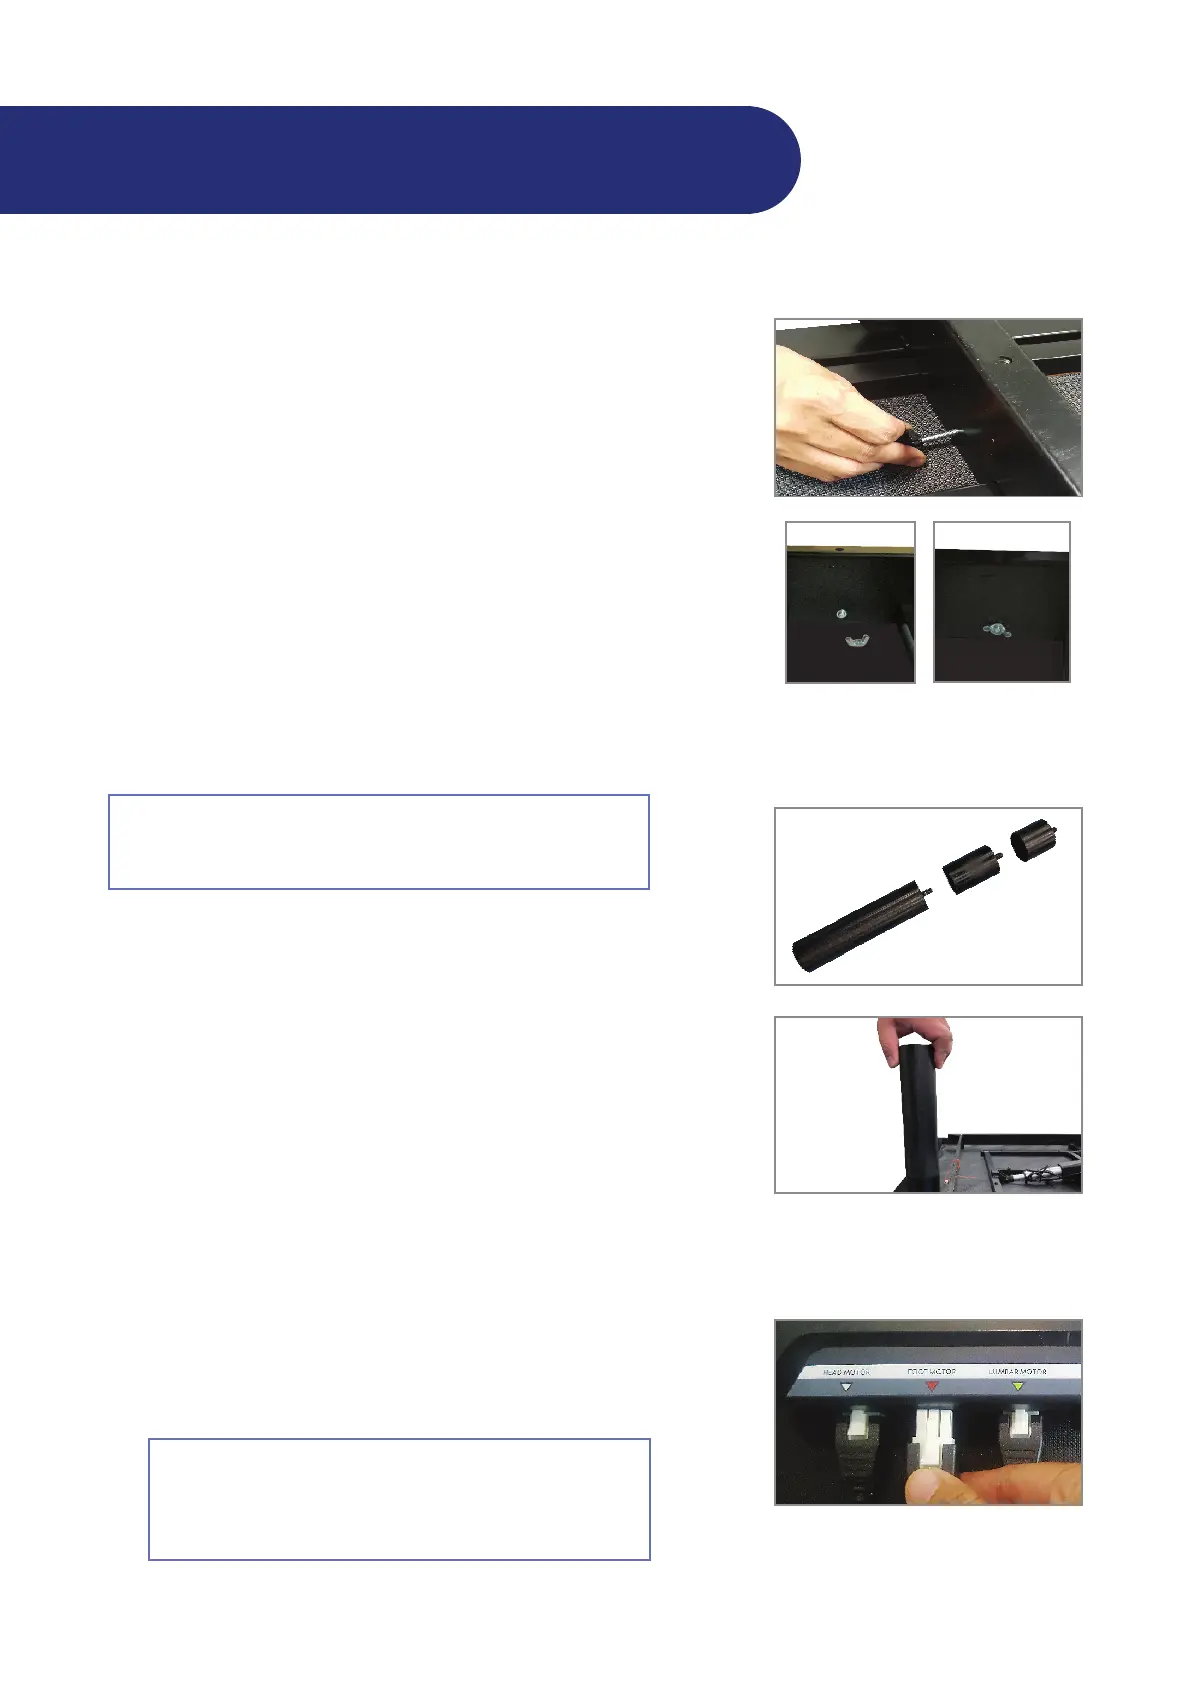
Seing up the electronics
1
Plug the cord for the foot li into the control box. Insert it into
the port labeled "Foot Motor."
Remove and extend the power cord from the frame.
2
If you are installing your adjustable bed on a platform
or slatpack bedding system, apply an-skid pads to the
frame rst. See "Applying an-skid pads for platform
bed use" on page 11.
Installaon Guide
Thread the small knob screw into the pre-drilled hole in the
middle of the bracket and through the bar of the middle secon
of the bed.
Thread a spring washer and a nut to the end of the small knob
screw.
NOTE: King and Cal King beds do not have this screw. Ignore
this step when seing up King and Cal King beds.
Hand ghten all the screws to secure them in place.
NOTE: Make sure all the screws t and align with the bracket.
Tighten the screws at the same me so they all lock in properly.
Repeat steps 2 to 5 to aach the second center support bracket
to the other side of the bed frame.
4
5
6
Thread a spring washer and then a nut
to the end of the knob screw.