9
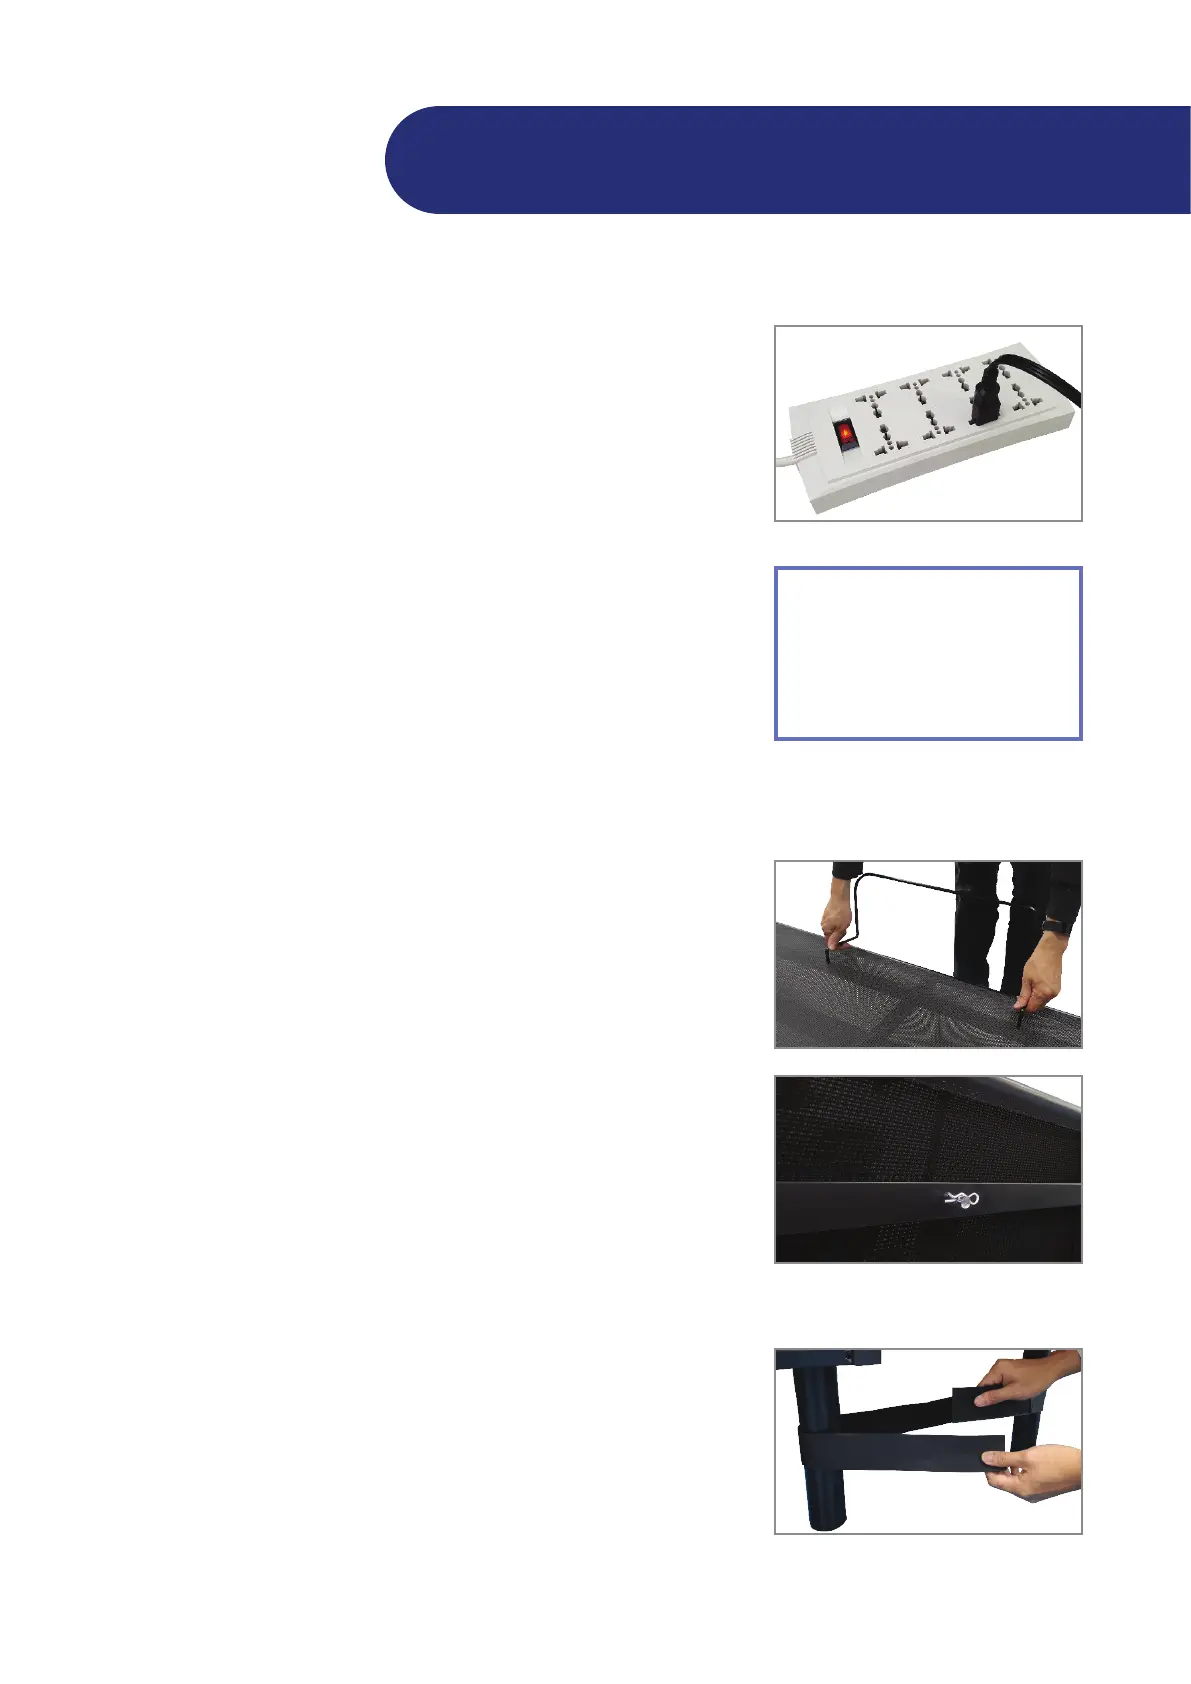
Aaching the maress retainer bracket
Remove the pin from both ends of the retainer bracket.
Align both ends of the retainer bracket with the holes located at
the foot of the bed, and then insert them into the holes.
From under the bed, re-aach the pins to both ends of the
retainer bracket to keep them in place.
1
2
3
If a headboard is to be installed, see “Assembling the
headboard bracket.”
If the adjustable bed is set up without a headboard, place
your maress on the adjustable bed surface. Your adjustable
bed installaon is now complete.
IMPORTANT!
Make sure power
cords do not obstruct
any adjustable bed
mechanisms.
4
Li the bed frame and turn it over carefully so the top side is
now facing upward.
NOTE: Do not rest the frame on its side so the weight may not
damage the legs.
Plug the power cord into a grounded electrical outlet.
NOTE: For opmal safe, using a surge protector (not included)
is highly recommended.
Install baeries in the remote control. Try all funcons on the
remote to make sure all features are operaonal.
Return bed to at posion before connuing with the installaon.
NOTE: Make sure your bed is in a at posion before using
it. Press the FLAT buon on the remote control for over 1.5
seconds aer plugging in the power cord.
5
6
Installing the bed leg strap (oponal)
Wrap the bed legs (front & back) together ghtly using the bed
leg straps.
Fasten the straps to prevent movement & maintain stabili.
1
2
To help prevent base separaon when using two adjustable beds
together, use the bed leg straps.
Installaon Guide
3