MAINTENANCE and SERVICING
7
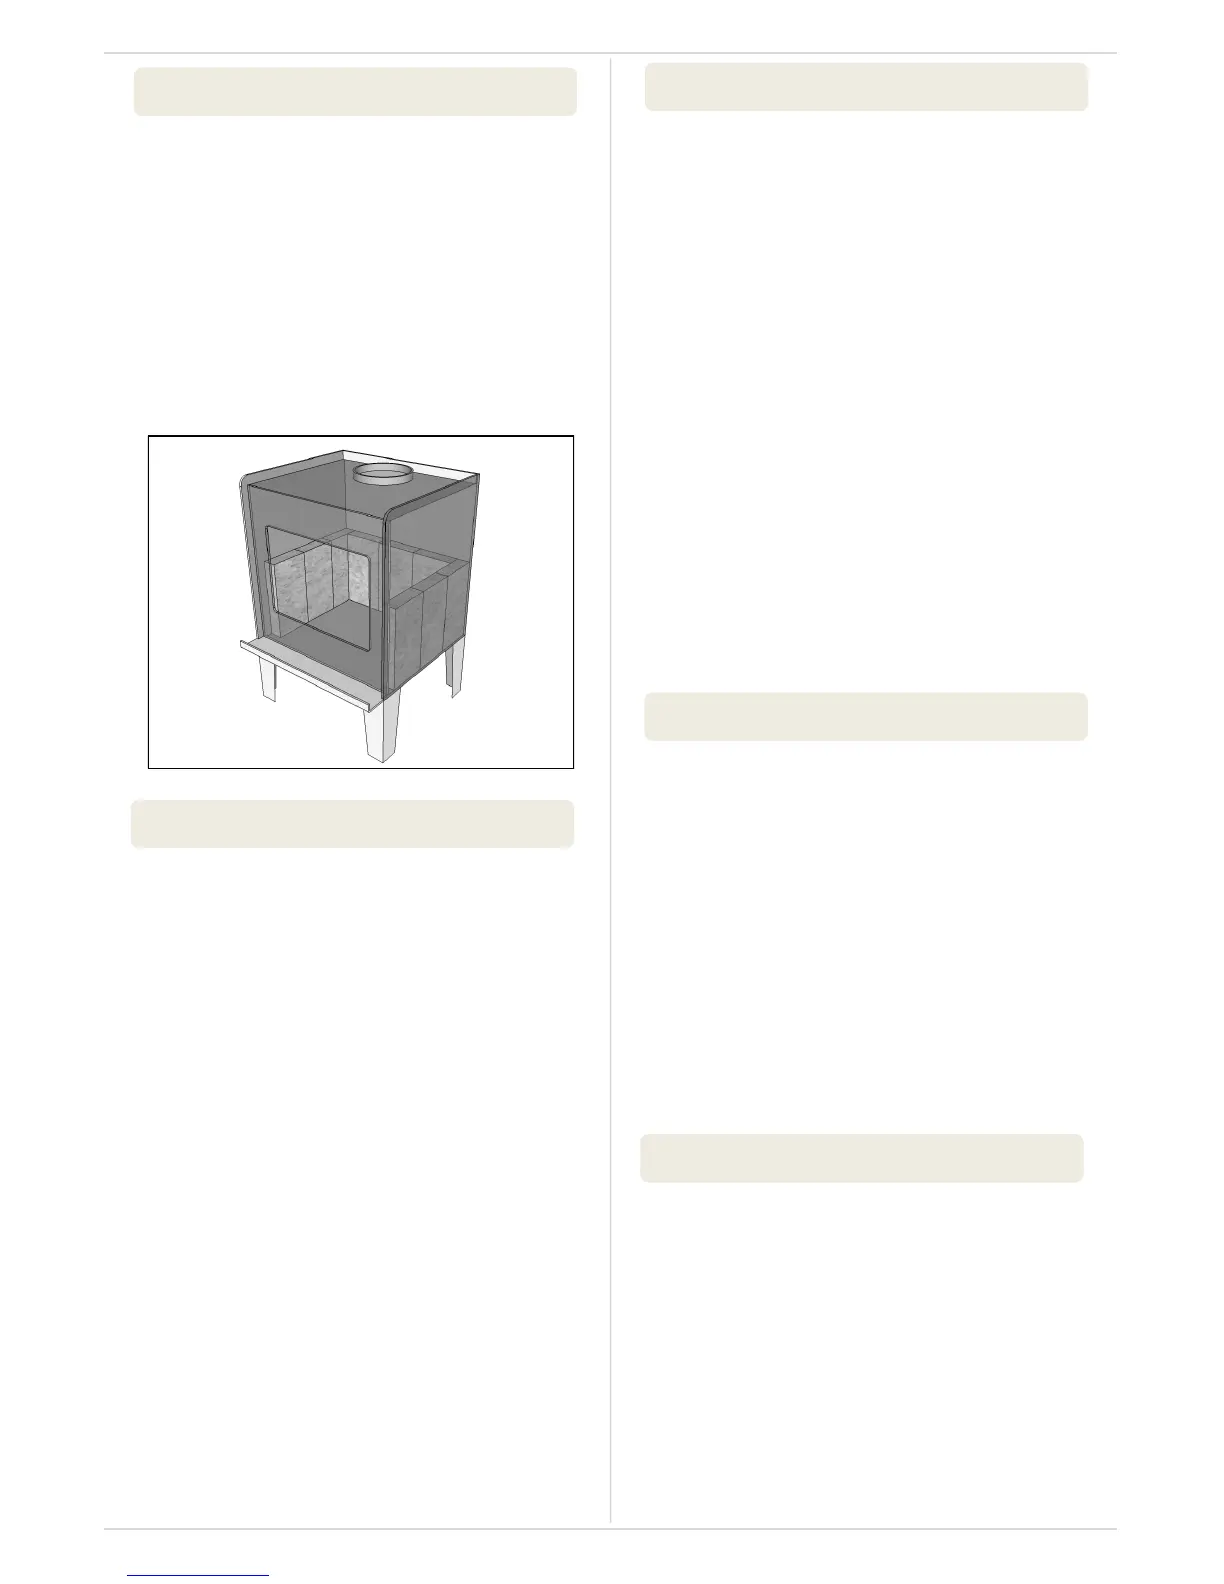
The purpose of the rebricks in the appliance is to increase
thermal mass and to guarantee the longevity of the steel re-
box. Over me the rebricks may become cracked and crum-
ble away. If so, then they should be replaced soon aer.
To replace the rebricks:
i) Move any ash away from the base of the bricks.
ii) Raise the steel brick retainer and remove the bricks.
iii) Replace with new bricks, and lower retainer which will
keep the bricks in place.
The 6mm thick steel bae helps to retain the heat in the re-
box by lengthening the path of the ame so that they do not
go straight up the ue.
Over me, the bae will begin to sag a lile due to the exces-
sive heat. This will not aect the way the re burns. If it has
sagged, the bae can be turned over to increase its longevi-
ty.
Eventually the bae will burn through (5+ years) and if so will
need to be replaced.
To remove the bae:
i) Raise the brick retainer, and remove all the rebricks.
ii) Slide the bae forward so that it can be lowered at the
back.
iii) Lowering the rear of the bae will allow the front of the
bae to slide past the steel pegs on the sides of the re-
box so that the bae now can be rested in the base of
the rebox.
iv) Raise the bae on a sideways angle and remove.
v) Repeat steps i) to iv) in reverse to replace with the new
bae.
This task may be easier with the door removed from the ap-
pliance and laid horizontally on a work-bench.
To replace the door glass:
i) Remove the four M4 size Phillips head screws on either
side along with the stainless steel strips holding the glass
in place.
ii) Take out the glass, and check if the grey rope beneath
needs replacing. If so replace this rope as well.
iii) Posion the new glass on top of the grey rope and re-t
the stainless steel strips and M4 screws.
iv) Take extra care not to over-ghten the screws, other-
wise the glass will crack again.
v) On occasion, the M4 screws will have deteriorated from
the constant heat in the rebox resulng in them snap-
ping o when trying to loosen them. In this case, a new
hole can be drilled in the door and tapped using a 3.4mm
drill bit, and M4 tap.
This task may be easier with the door removed from the ap-
pliance and laid horizontally on a work-bench.
i) Remove any old seal from the door.
ii) Clean out the groove in the door that the seal was bed-
ded in using a at-end screw driver or equivalent.
iii) Run a thin bead of clear roof and guer silicone along the
groove.
iv) Starng at one end, press the new door seal rope into
the groove on the door.
v) Ret the door if it has been removed and close.
If the door does not close rmly, then the door catch can be
adjusted.
Aer locang the door catch on the front lower right-hand
side of the door opening on the inside of the rebox, using a
large at-end screw driver, place it under the base of the
catch and gently lever it out.
Close the door with the door handle to test for any improve-
ment. If no improvement, repeat process unl door can be
closed rmly.
1. REPLACEMENT OF FIREBRICKS
2. REPLACEMENT OF BAFFLE
3. FITTING A NEW DOOR GLASS
4. FITTING A NEW DOOR SEAL
5. ADJUSTING DOOR CATCH