PERITONE Instruction Manual - GB
Quick Start Instructions
1. Insert a 9 volt PP3 Alkaline battery into the battery compartment.
Can also use a rechargeable Nickel Hydride battery which has
a longer life than the Ni-Cad rechargeable batteries.
2. Insert the EMG reference and EMG lead wires into the labelled
sockets at the top of the unit as shown on page 9.
3. For pelvic floor muscle biofeedback - remove the surface
electrodes and/or PERIFORM
®
+ or ANUFORM
®
from their
outer packaging. For the time being, do not remove the surface
electrodes from the clear plastic film.
4. Connect one surface electrode to the pin connector at the end
of the EMG reference lead wire. The reference lead wire only
requires one surface electrode. Attach the PERIFORM
®
+ or
ANUFORM
®
cables to the pin connectors at the end of the EMG
lead wire.
5. For general muscle biofeedback – instead of attaching the
PERIFORM
®
+ or ANUFORM
®
electrode to the EMG cables attach
2 surface electrodes.
6. Make sure your skin around the treatment area is free from
grease or oil.
7. Carefully peel the electrodes from the clear plastic film -
Do not throw this plastic film away.
8. Attach the electrode(s) to the appropriate muscle and insert the
PERIFORM
®
+ or ANUFORM
®
if you are using it. The reference
electrode should be placed over a bony point i.e. for pelvic floor
retraining place on the hip area.
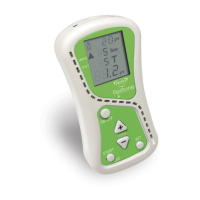
9. Turn the unit on by pressing ON/OFF button once.
10