19
NEMO GRABO | Operator’s manual
TO END OPERATING THE NEMO GRABO®
• When you are done and the object is in a secure and stable position, press the red vacuum
release button Ⓑ to break the seal and release the object.
CHARGING AND CHANGING THE BATTERY ➐
Charge the battery when the capacity is low or the battery is discharged.
1. Slide the battery latch to unlock the battery Ⓐ.
2. Remove the battery.
3. Connect the battery with the multi socket battery charger to a wall socket.
4. When the battery is fully charged, the battery bar indicator Ⓔ turns green.
5. Disconnect the multi-socket battery charger from the wall socket and battery.
6. Put the battery in the battery compartment.
7. Press and slide the battery latch to lock the battery.
! Charge only with the charger specied by the manufacturer.
! During the process of charging, the charger can become warm: this is normal.
! Only use the charger in a dry environment. The charger is not waterproof.
! Ensure that the power supply voltage corresponds to the data on the nameplate of the
battery charger.
! Keep away from ammable objects while charging.
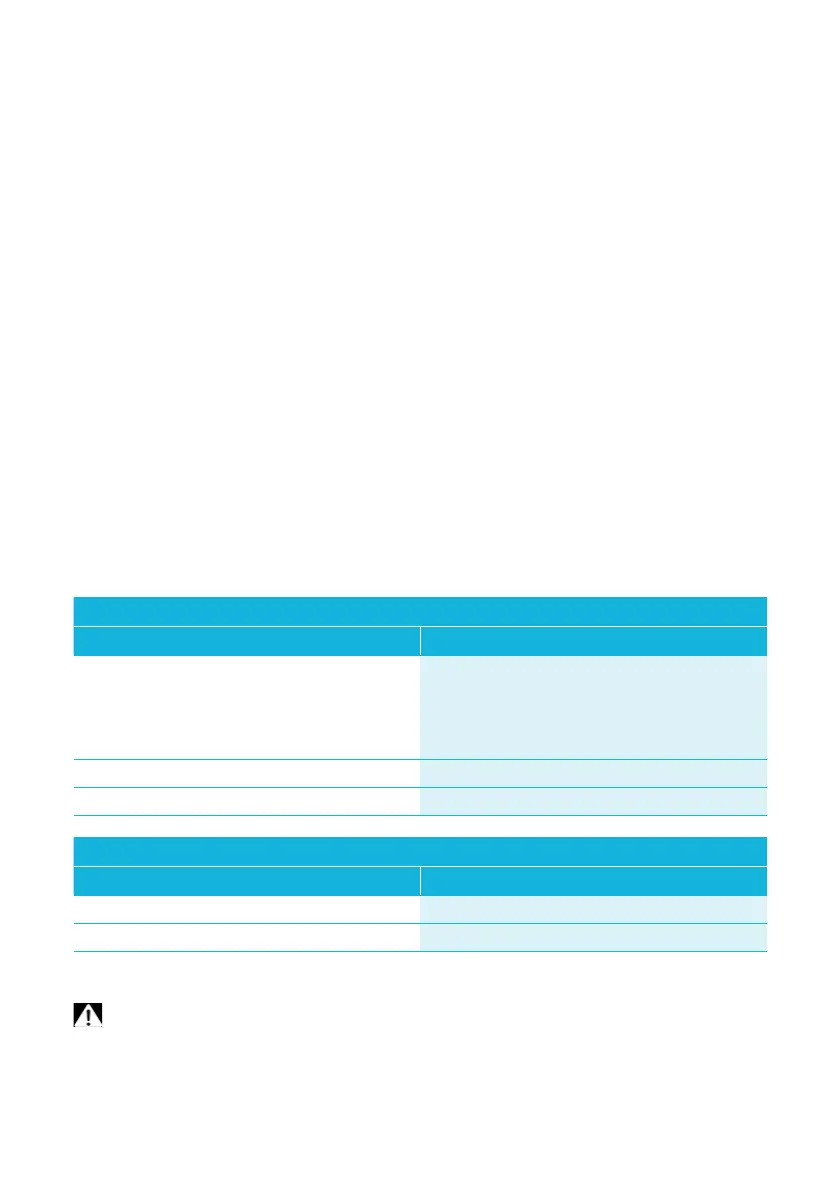
EXPLANATION OF VISUAL INDICATORS
Signal Meaning
LED is continuously green
1 LED = 20% full
2 LED = 40% full
3 LED = 60% full
4 LED = 80% full
5 LED = 100% full
LED ashes green
Battery charge is low. Charge the battery
No light
The NemoGRABO® is turned o
Battery Charger
Signal Meaning
LED is continuously red
Battery is charging
LED is continuously green
Battery is fully charged
MAINTENANCE
WARNING: Changes to the tool and technical modications are not permitted. This can
lead to injury. If the tool fails despite the care taken in manufacturing and testing procedures,
repair shall be carried out by an after-sales service centre for GRABO®.