Page 6
IP232 Installation and Configuration Manual
Configuration and Setup
The IP232 software configuration utility is supplied on the enclosed CD. You can either run it directly from the
CD or copy it to any folder on your PC and run it from there. Current updates of the utility can be downloaded from
Ness’s Website (www.nes.com.au)
For the initial setup, the PC running the Configuration Utility and the IP232 must be on the same local
network. The Utility can not “find” an IP232 outside of the local area network (refer to step 2 below).
The IP232 is shipped with DHCP enabled. If a DHCP server exists on your network the IP232 will obtain a
“dynamic” IP address, gateway address, and subnet mask allowing it to work on the local network. If not, the
factory programmed (default) IP address is 192.168.0.251. If desired, the IP232 can be configured with your
choice of a “static” (non-changing) IP address. This can be done during the following setup.
Basic Network Setup
1.A router serving DHCP should not need any configuration to allow the IP232 to connect inside the local
network. For communications outside the local network you will need to establish an open port on the
router. Please refer to the “Notes on Router Setup” section on page 8 and the documentation for the
router for more details.
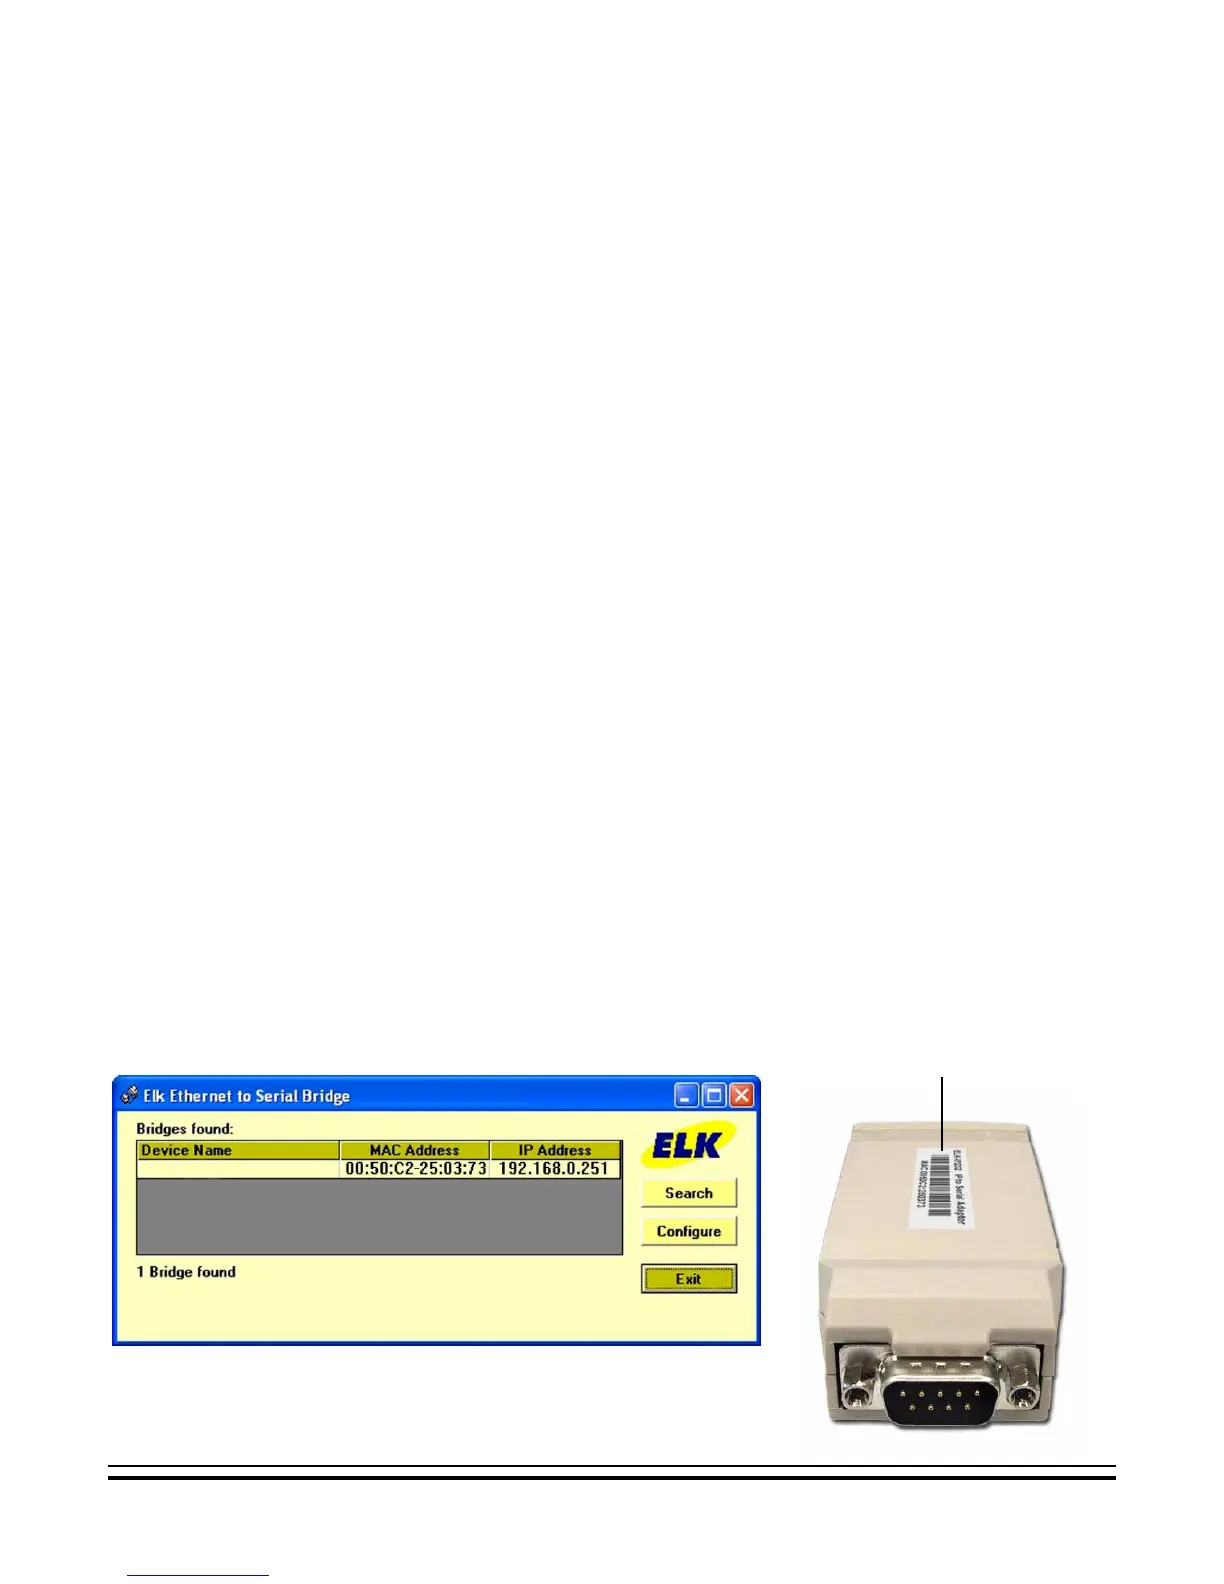
2.Start the Configuration software. Click the ‘Search’ button. The utility will search for all IP232s connected
to the local network. If the installation and hookup procedure has been completed correctly, the IP232
should be listed on this screen. Only one should be found, unless there are multiple units installed. If you are
unable to find the IP232, please refer to the troubleshooting section of this manual on page 12.
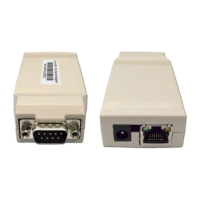
a.Verify that the MAC address in the second column matches the MAC address of the IP232. The MAC
address is located on the white barcode label located on the outside cover. (see figure below).
b.Note the IP address in the third column. This is the address used to connect/communicate with the
IP232. Remember, if a DHCP server is on the network and the IP232 is still set for DHCP (factory
default), this number will most likely be a “dynamic” address. However, in the absence or failure of a DHCP
server, the IP232 will default to a static IP address of 192.168.0.251. To force the DHCP/IP address
settings to known values, please refer to the troubleshooting section of this manual on page 13.
3.Highlight the IP232 to be configured and click the ‘Configure’ button.
MAC Address Label