Step 3: Install new controller
Install a new controller canister to replace the failed one.
This is a multi-step procedure that requires you to install the following components from the original controller:
battery, host interface card, power supply, DIMMs, and fans.
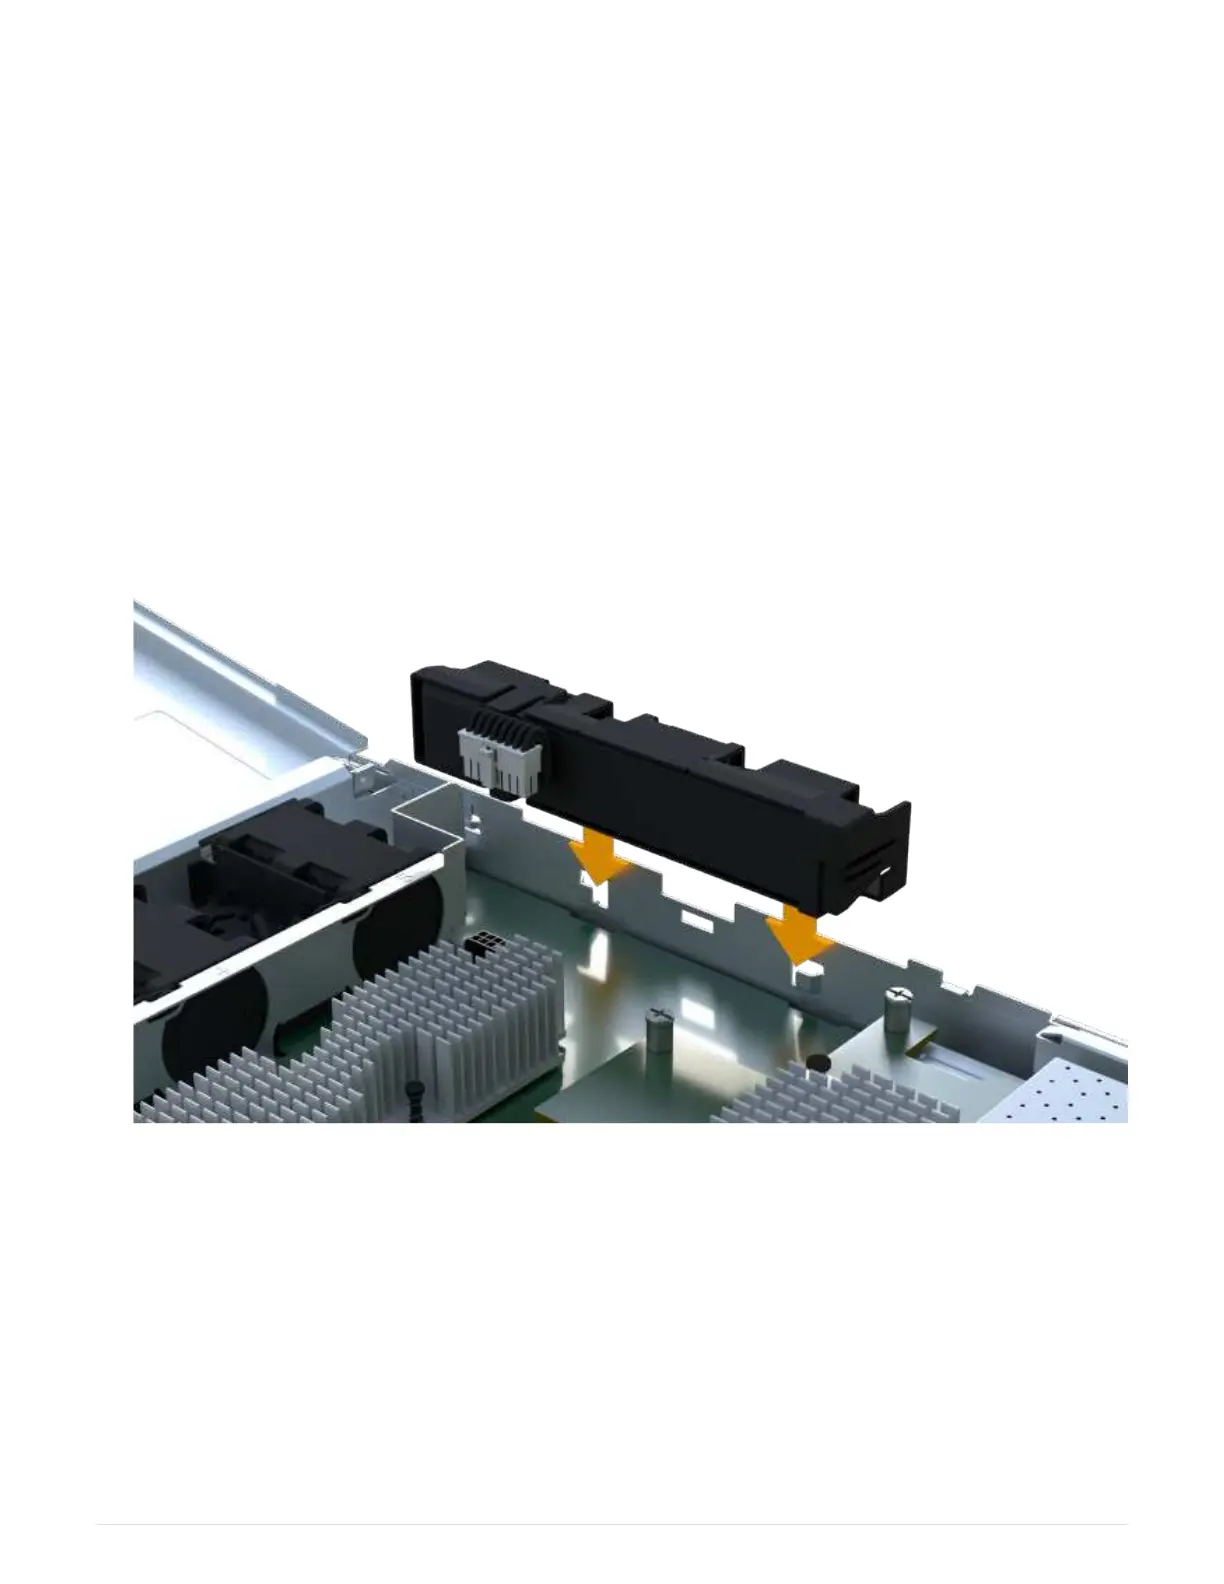
Step 3a: Install battery
Install the battery into the replacement controller canister.
Steps
1. Make sure that you have:
◦ The battery from the original controller canister, or a new battery that you ordered.
◦ The replacement controller canister.
2. Insert the battery into the controller by lining up the battery casing with the metal latches on the side of the
controller.
The battery clicks into place.
3. Plug the battery connector back into the board.
Step 3b: Install the HIC
If you removed a HIC from the original controller canister, you must install that HIC in the new controller
canister. Otherwise, you can skip this step.
Steps
1. Using a #1 Phillips screwdriver, remove the two screws that attach the blank faceplate to the replacement
controller canister, and remove the faceplate.
22
 Loading...


