3. Install the SFPs from the original controller in the host ports on the new controller, if they were installed in
the original controller, and reconnect all the cables.
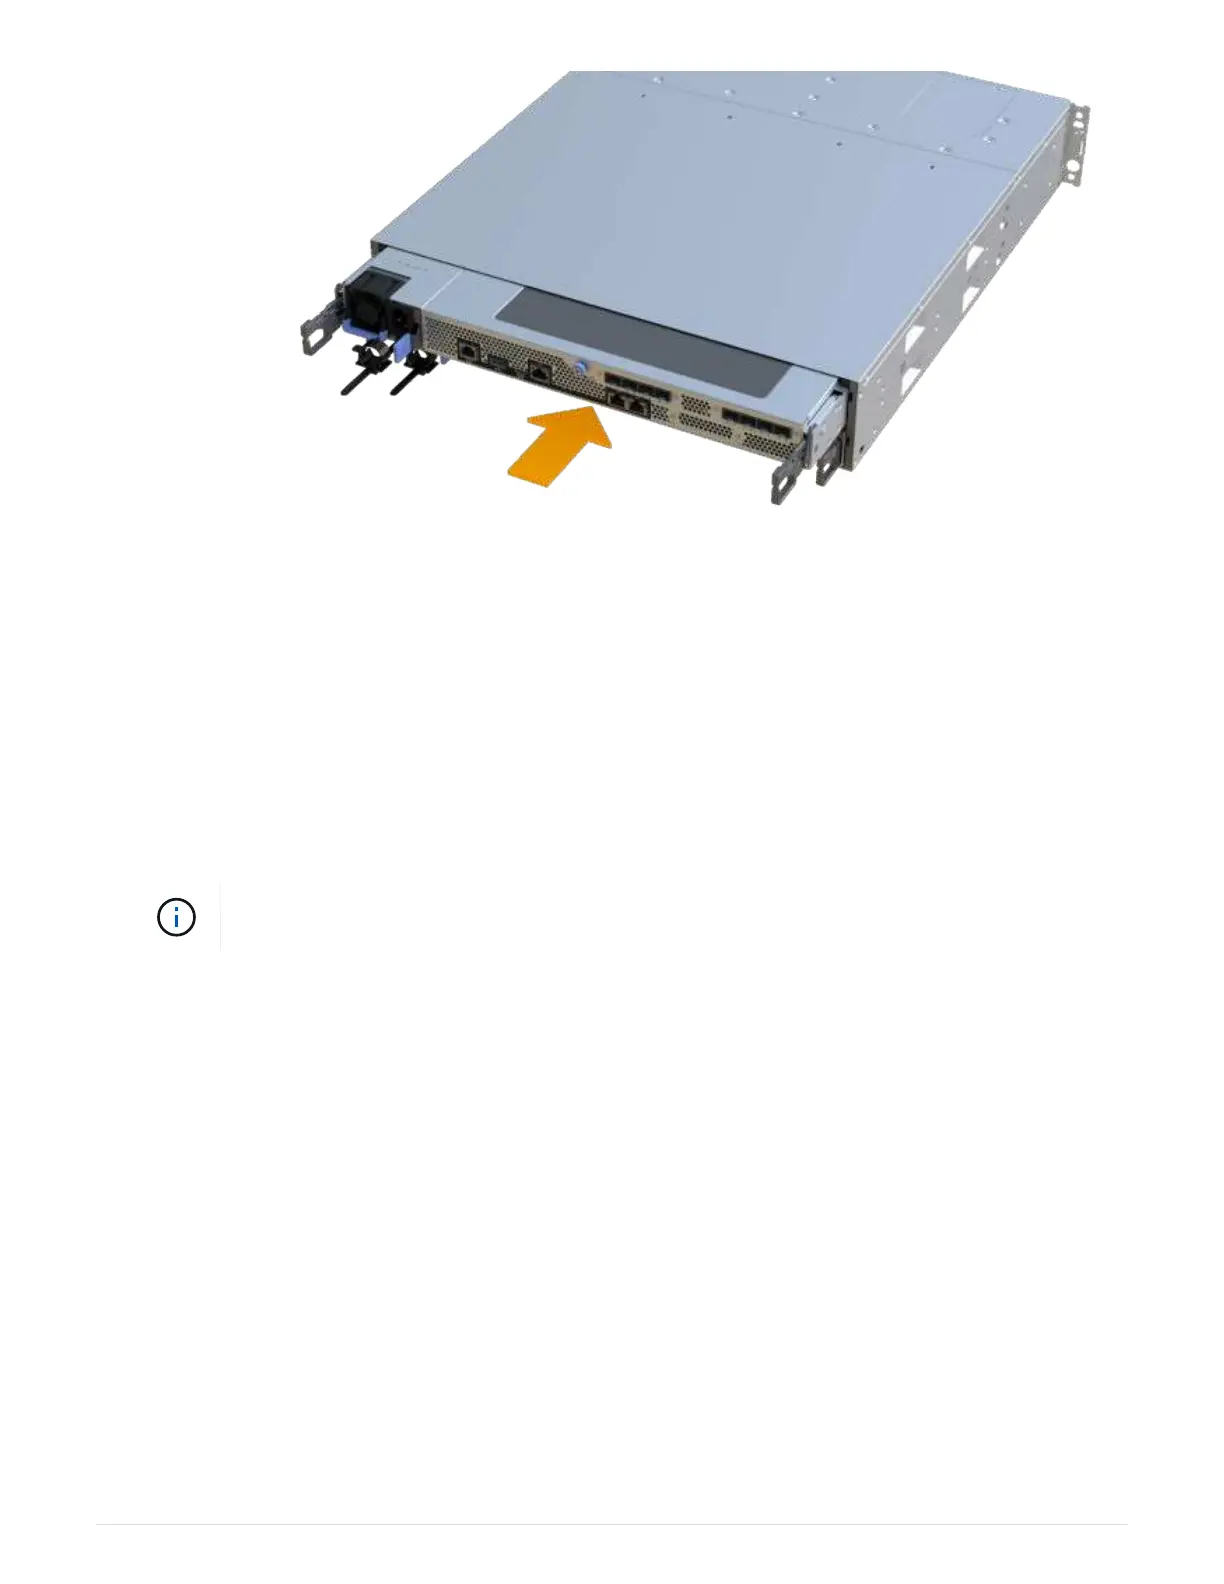
If you are using more than one host protocol, be sure to install the SFPs in the correct host ports.
4. If the original controller used DHCP for the IP address, locate the MAC address on the label on the back of
the replacement controller. Ask your network administrator to associate the DNS/network and IP address
for the controller you removed with the MAC address for the replacement controller.
If the original controller did not use DHCP for the IP address, the new controller adopts the
IP address of the controller you removed.
Step 4: Complete controller replacement
Place the controller online, collect support data, and resume operations.
Steps
1. Place controller online.
a. In System Manager, navigate to the Hardware page.
b. Select Show back of controller.
c. Select the replaced controller.
d. Select Place online from the drop-down list.
2. As the controller boots, check the controller LEDs.
When communication with the other controller is reestablished:
◦ The amber Attention LED remains on.
◦ The Host Link LEDs might be on, blinking, or off, depending on the host interface.
29

 Loading...


