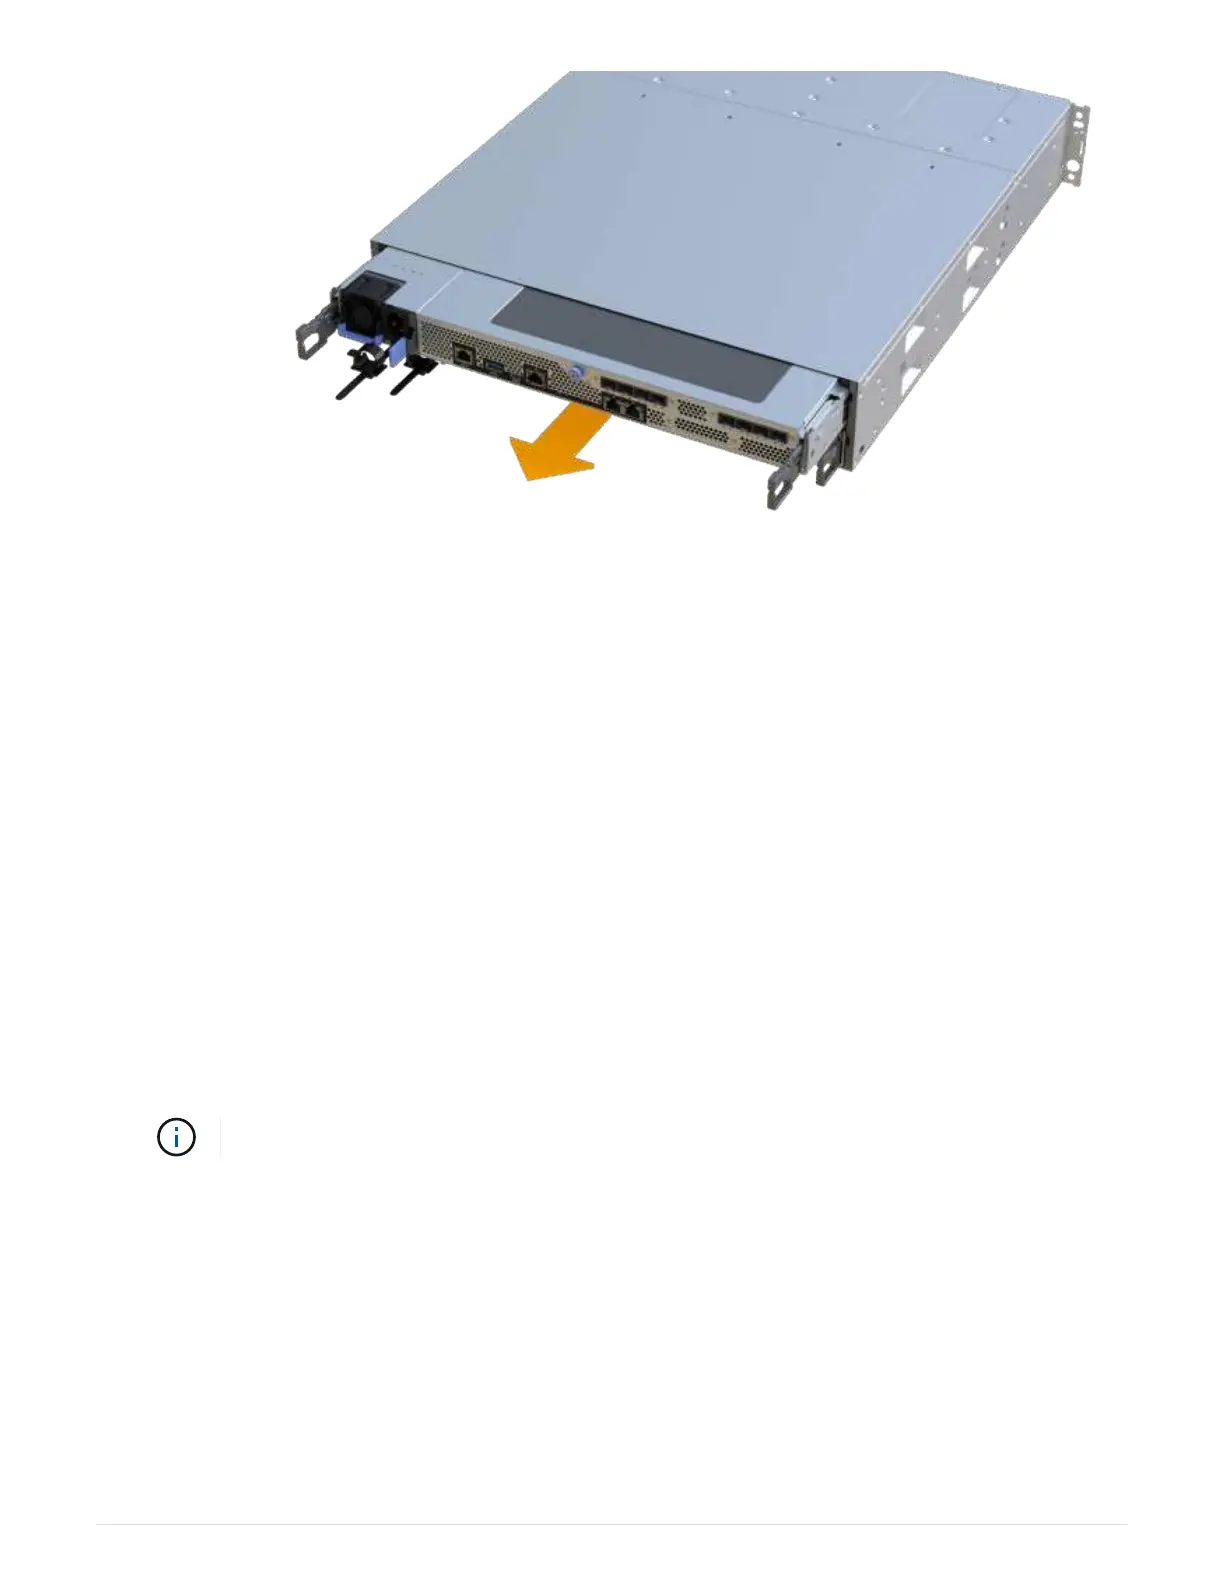
7. Place the controller canister on a flat, static-free surface.
Step 4: Remove DIMMs
If there is a memory mismatch present, replace the DIMMs in your controller.
Steps
1. Remove the controller canister’s cover by unscrewing the single thumbscrew and lifting the lid open.
2. Confirm that the green LED inside the controller is off.
If this green LED is on, the controller is still using battery power. You must wait for this LED to go off before
removing any components.
3. Locate the DIMMs on your controller.
4. Note the orientation of the DIMM in the socket so that you can insert the replacement DIMM in the proper
orientation.
A notch at the bottom of the DIMM helps you align the DIMM during installation.
5. Slowly push apart on the two DIMM ejector tabs on either side of the DIMM to eject the DIMM from its slot,
and then slide it out of the slot.
34
 Loading...


