Steps
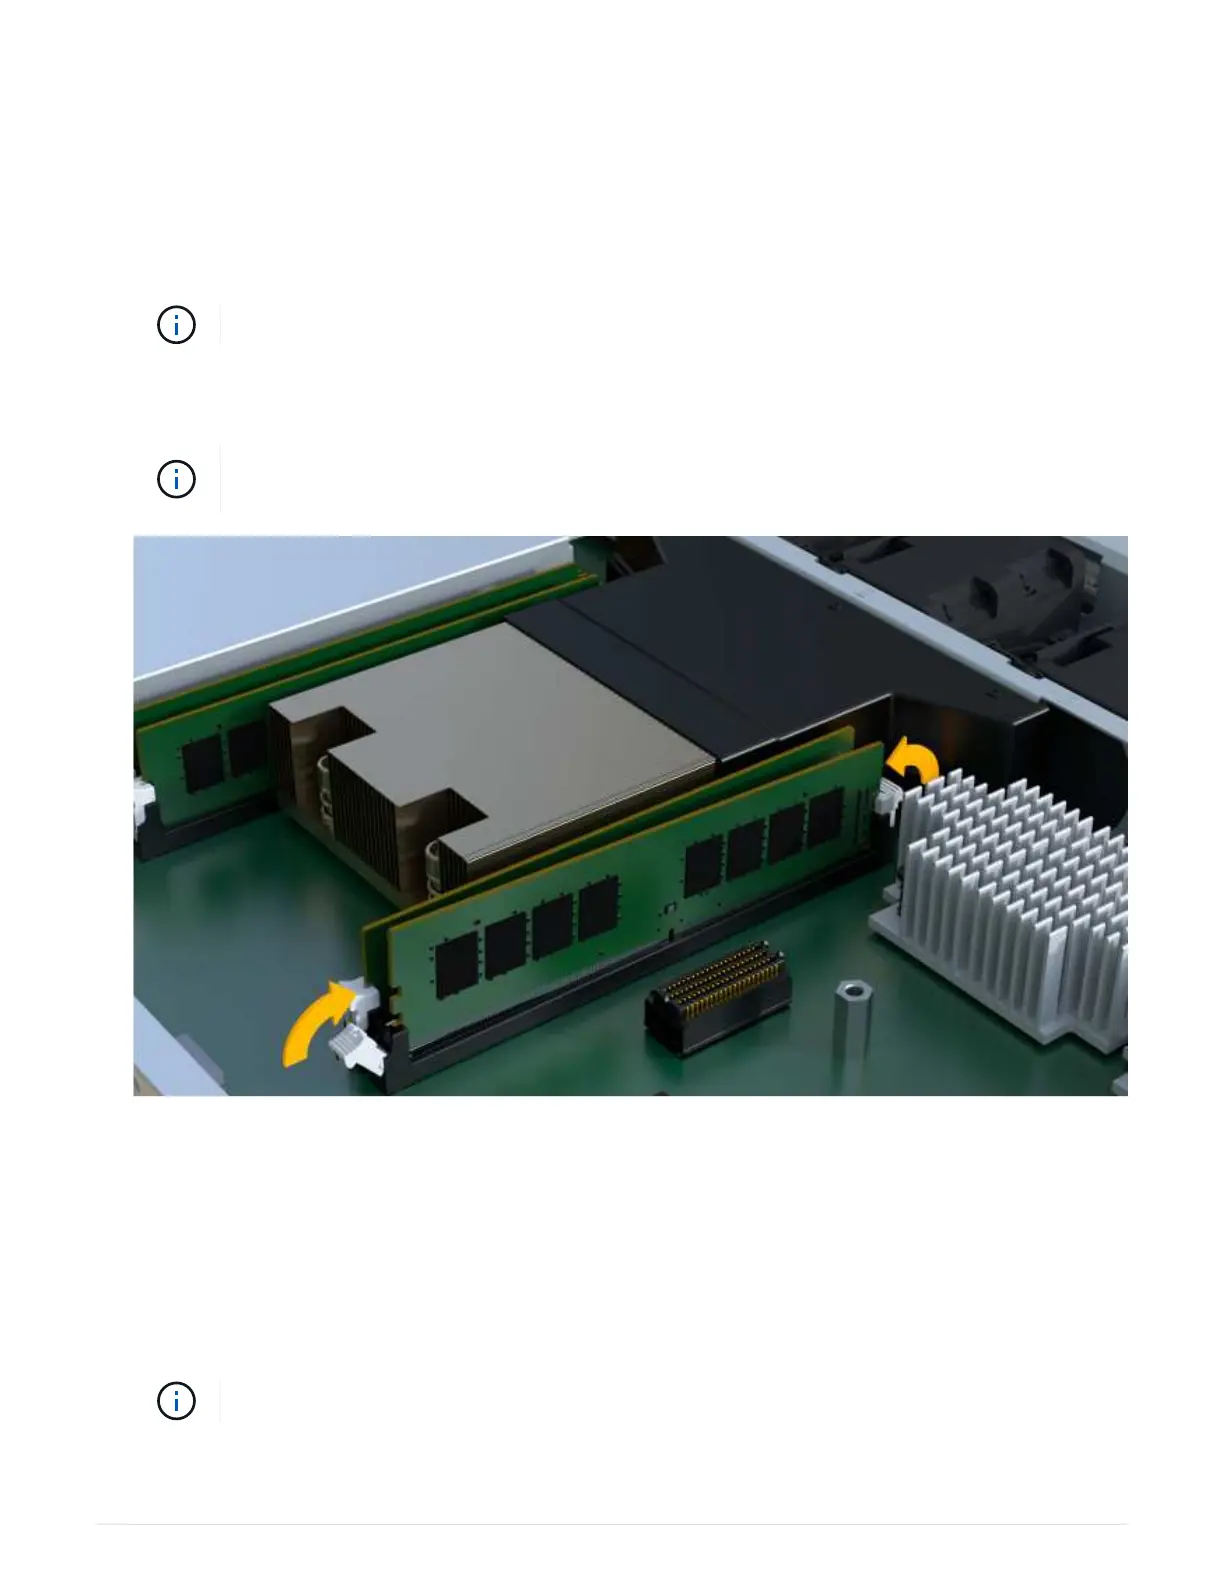
1. Hold the DIMM by the corners, and align it to the slot.
The notch among the pins on the DIMM should line up with the tab in the socket.
2. Insert the DIMM squarely into the slot.
The DIMM fits tightly in the slot, but should go in easily. If not, realign the DIMM with the slot and reinsert it.
Visually inspect the DIMM to verify that it is evenly aligned and fully inserted into the slot.
3. Push carefully, but firmly, on the top edge of the DIMM until the latches snap into place over the notches at
the ends of the DIMM.
DIMMs fit tightly. You might need to gently press on one side at a time and secure with each
tab individually.
Step 6: Reinstall controller canister
After installing the new DIMMs, reinstall the controller canister into the controller shelf.
Steps
1. Lower the cover on the controller canister and secure the thumbscrew.
2. While squeezing the controller handles, gently slide the controller canister all the way into the controller
shelf.
The controller audibly clicks when correctly installed into the shelf.
36
 Loading...


