Do you have a question about the Netatmo Smart thermostat and is the answer not in the manual?
Read instructions, install per standards, ensure power is off, and note limitations.
Lists all items included in the Netatmo Thermostat package, such as the thermostat, relay, and accessories.
Plug the power adapter into the Netatmo Relay unit.
Insert the Relay into a wall socket in the same room as the existing thermostat.
Observe the Relay blinking white, indicating it is operational.
Turn off the main power supply before proceeding with installation.
Remove the old thermostat cover and photograph the existing wiring.
Identify control wires (black/grey) and power supply wires (blue/brown) using diagrams.
Carefully disconnect the old thermostat and remove it from the wall.
Pass wires through the mounting plate, screw to wall, and use trim plate for aesthetics.
Connect identified control wires to terminals and secure the protection cover.
Personalize the thermostat by applying one of the provided colour adhesives.
Remove the adhesive frame and affix it to the back of the thermostat unit.
Install the 3 AAA batteries into the Netatmo Thermostat.
Position and attach the thermostat onto the previously installed mounting plate.
Switch the main power supply back on to activate the system.
The thermostat shows a startup screen and searches for the Relay connection.
Displays desired and room temperatures when the Relay is found.
Shows '!' if Relay is not found; move Relay closer to resolve.
Push thermostat top to 'MAX' to confirm the boiler turns on.
Push thermostat bottom to 'OFF' to confirm the boiler turns off.
Check wiring and polarity if the boiler does not respond correctly to tests.
Visit http://therm.netatmo.com to control your thermostat from a smartphone or tablet.
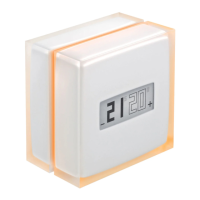
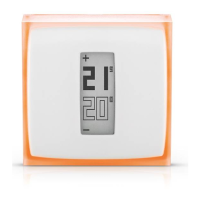
Details on thermostat size, materials, and interchangeable colour options.
Information on temperature measurement ranges, accuracy, and setpoint increments.
Specifications for the E-Ink display and details on the free app support.
Covers Wi-Fi compatibility, connection range, battery life, and power ratings.
Lists compatible heating systems and requirements for HomeKit integration.
Statement of compliance with essential requirements of Directive 1999/5/EC.
Covers installation norms, battery handling, and device usage restrictions.
Information on HomeKit logo usage and Apple's disclaimer regarding device operation.
| Type | Smart Thermostat |
|---|---|
| Voice Assistant Support | Amazon Alexa, Google Assistant, Apple HomeKit |
| Certifications | CE, RoHS |
| Compatibility | Compatible with most heating systems (gas, oil, electric, underfloor) |
| Connectivity | Wi-Fi |
| Control | Smartphone App |
| Power Supply | 3 AAA batteries |
| Dimensions | 83 x 83 x 22 mm |
| Power Source | Battery |
| Control Method | App |
| Operating Temperature | 0°C to 45°C |
| Display | E-ink |