Security Gateway Manual XG-7100-1U
6. Configuring LAN IP Address & Subnet Mask. The default LAN IP address of 192.168.1.1 and subnet mask
of 24 is usually sufficient.
Tip: If your DSL or Cable Modem has a default IP Address of 192.168.1.1, change the IP Address of your
XG-7100 1U Netgate Security Gateway to a different subnet, such as 192.168.2.1 with a subnet mask of
24 to avoid an IP Address conflict.
7. Change the Admin Password. Enter the same password in both fields.
8. Click Reload to save the configuration.
9. After a few seconds, a message will indicate the Setup Wizard has completed. To proceed to the pfSense
dashboard, click Finish.
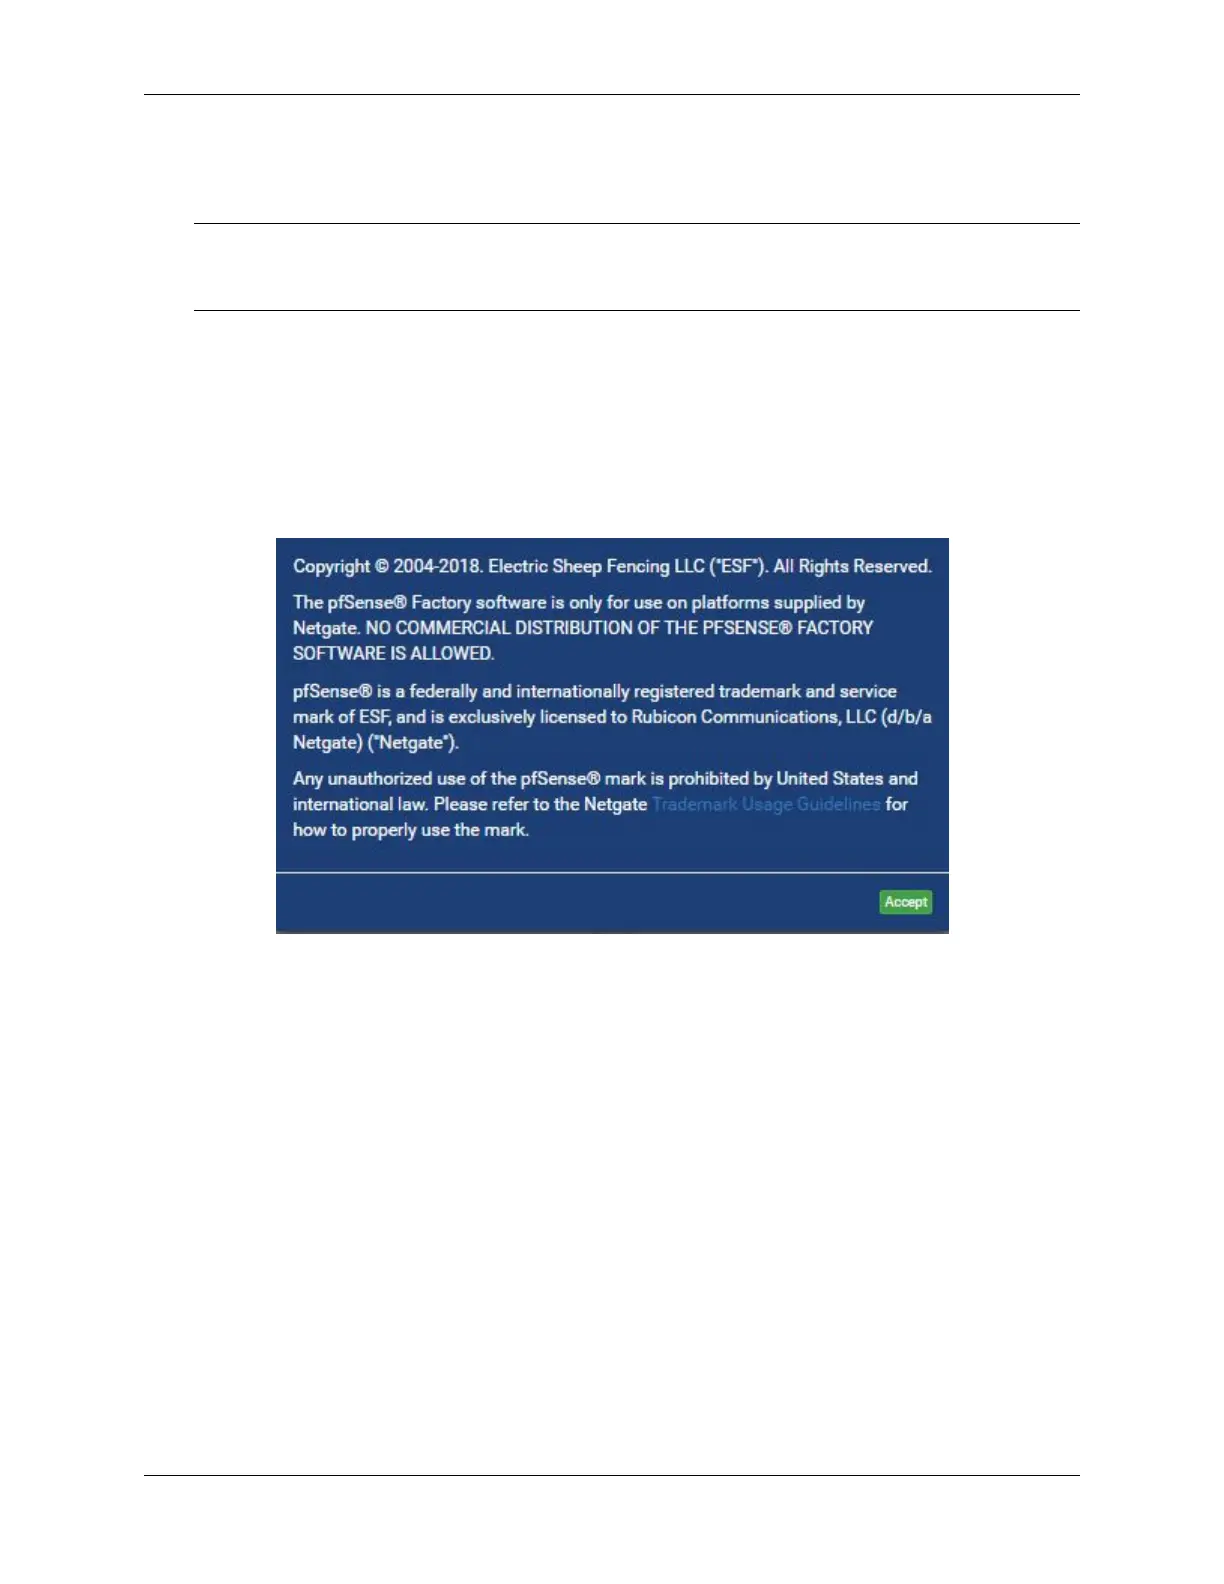
10. A final notification screen will appear stating that NO COMMERCIAL DISTRIBUTION. . . Click Accept
to continue to the pfSense dashboard.
Fig. 7: Read and Click Accept
If you unplugged the Ethernet cable at the beginning of this configuration, reconnect it to the ETH1 port now.
This completes the basic configuration for the Netgate appliance.
© Copyright 2020 Rubicon Communications LLC 16
 Loading...