Ceiling and Wall-Mount Guide
6. Hold the access point upside down and attach it to the mounting plate.
7. Twist the access point clockwise to lock it onto the mounting plate.
8. Cable the access point to your network.
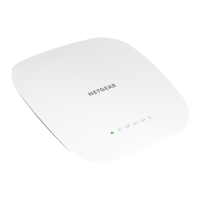
NETGEAR Insight Managed
Smart Cloud Wireless Access Point (WAC540)
AC3000 802.11ac Wave 2 Tri Radio
Ceiling and Wall-Mount Kit Contents
Mounting plate
Mount the Access Point on a Drop Ceiling
Before mounting the access point, first set up and test the access point to verify
WiFi network connectivity.
Note: If you are mounting the access point on a hard ceiling, use the wall
mounting instructions on the other side of this document.
1. Slide the T-bar partially into the metal bracket.
2. Attach the metal bracket to the ceiling bar.
3. Push the T-bar over the ceiling bar.
4. Use the lock screw to lock the metal
bracket into place.
5. Use the four short screws to attach
the mounting plate to the T-bar.
Metal bracket with
T-bar, lock screw,
and 4 short screws
3 tall screws and anchors
for wall mounting