Get Started
19
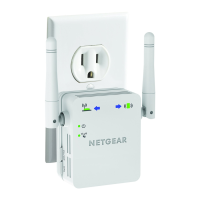
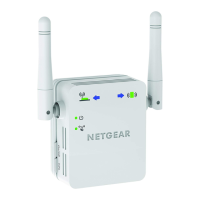
N300 WiFi Range Extender WN2000RPT
19. Use a WiFi network manager on the computer or mobile device to reconnect to the
extender’s WiFi network.
Note: Unless you entered a new network name in Step 10, the extender
changes its default NETGEAR_EXT network name to the name of the
WiFi network to which you connected the extender and adds _EXT at
the end of the name.
20. Select the new network and use your WiFi router password to connect.
You are now using your extended WiFi network.
Access the Extender over Ethernet and Use the Setup
Wizard
If your WiFi router does not support WPS, you can use an Ethernet cable to connect your
computer to one of the LAN ports of the extender. Then use the browser-based NETGEAR
genie
®
Setup Wizard to connect the extender to an existing WiFi network.
After you have used the Setup Wizard to connect the extender to an existing WiFi network,
the extender changes its default NETGEAR_EXT WiFi network name (SSID) to the name of
the existing WiFi network and adds _EXT at the end of the name, for example:
• Existing network name. MyNetworkName
• New extender network name. MyNetworkName_EXT
Note: After you have set up the extender, you can also connect
Ethernet-enabled devices such as gaming consoles and printers to
the Ethernet LAN ports of the extender. For more information, see
Connect Ethernet-Enabled Devices on page 51.
Access the extender over Ethernet and use the Setup Wizard to connect the extender
to an existing WiFi network:
1. Place the extender close to the WiFi router.
Note: In a later step in this procedure, after you have established a connection
to the WiFi router, you can place the extender at its permanent location.
2. Plug the extender into an electrical outlet.
3. If necessary, press the
Power button.
The Status LED
lights green.
4. Make sure that your computer or mobile device is not connected to a WiFi network or
Ethernet network.
 Loading...