Installation
Estimated completion time: 10 minutes.
1. Insert the Resource CD in your computer’s CD drive. If the CD main screen
does not display, browse the files on the CD, and double-click Autorun.exe.
2. Click Setup.
The Software Update Check screen displays.
3. If you are connected to the Internet, click Check for Updates. If not, then click
Install from CD.
4. Click I agree to accept the license agreement, and then click Next.
A message displays asking you to wait while software is installed. This might
take a few minutes. Then you are prompted to insert your adapter.
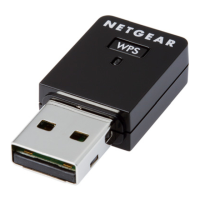
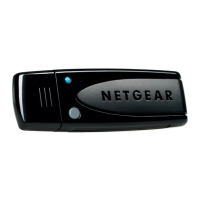
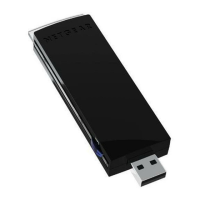
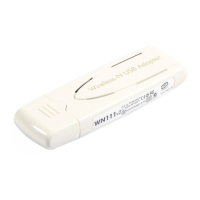
5. Insert the adapter into a USB port on your computer.
Note: For best results, put the wireless adapter at least 4 feet (1 meter) away
from your router.
6. Click Next.
NETGEAR Genie displays a list of wireless networks in your area.
Join a Wireless Network
You can join a wireless network from this NETGEAR Genie screen, or you can use
Wi-Fi Protected Setup (WPS) if your wireless network supports it.
• NETGEAR Genie: Click your wireless network to select it from the list, and then
click Connect. If the network is secure, enter its password or network key.
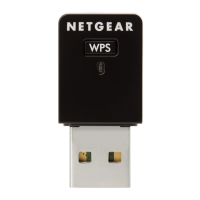
• WPS: Press and hold the WPS button on the side of the adapter for 2 seconds.
Within 2 minutes, press the WPS button on your wireless router or gateway.
The adapter joins the network, which can take a few minutes. Your settings are
saved in a profile.