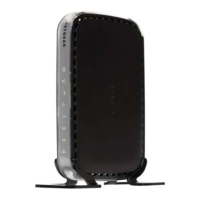
Wireless-N Router
WNR1000v3
Step 1:
Connect your modem.
Step 2:
Connect your router.
Step 3:
Connect your computer.
Step 6:
Insert your CD.
Click Router Setup and follow
the steps to set up a secure
wireless network.
Step 5:
Power on your router.
Wait until the power LED
turns solid green.
Step 4:
Power on your modem.
Wait until your modem cycles on
(approximately 2 minutes).
Note: If you have a battery-backed modem,
press the reset button. (In some cases, you may
need to remove, then re-insert, the battery to recycle
your modem.)
CAUTION:
MAKE SURE YOUR MODEM IS
TURNED OFF OR UNPLUGGED
BEFORE STARTING THE
INSTALLATION.
DSL or Cable
Internet
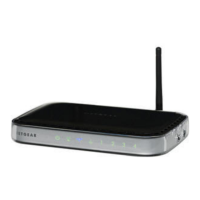
Wireless-N Router
Modem
(not included)
Resource CD
Laptop or Desktop
Computer
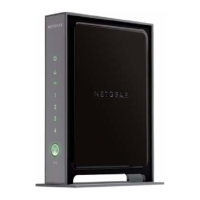
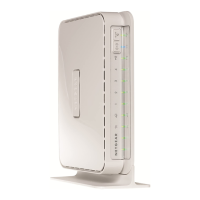
Wireless-N Router
Wireless-N Router
WNR1000v3
Resrouce CD
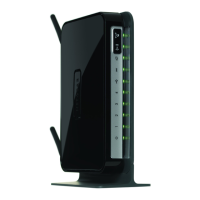
Package Contents:
Wireless-N 150 Router
WNR1000v3
Installation Guide
Power AdapterEthernet Cable
Power on/off
Note: If your laptop does not have a
CD drive, see “No CD Drive” Installation
on the back to complete your router setup.