EasyManuals Logo

NETGEAR WNR2000 User Manual

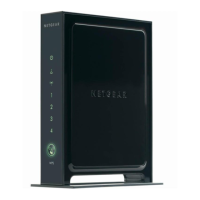
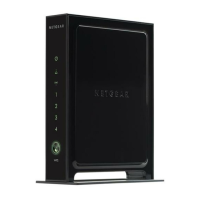
NETGEAR WNR2000
48 pages
To Next Page IconTo Next Page
To Previous Page IconTo Previous Page
Page #28 background imageLoading...
Page #28 background image
24 Configuring Your Wireless Network
2. On the router main menu, select Add a WPS Client. The Add WPS Client wizard screen
displays. Click Next.
3. Select the method for adding the WPS client. A WPS client can be added using the push-
button method or the PIN method.
Using the Push-Button. This is the preferred method.
Select the Push-Button radio box and either press the WPS push-button on the router
or click the soft WPS push-button on the screen (as shown below).
The router will attempt to communicate with the client; you have 2 minutes to enable
WPS from the client device using the client’s WPS networking utility.
:
Entering a PIN. If you want to use the PIN method, select the PIN radio box. A screen
similar to the one shown below displays.
Go to your wireless client and, from the client’s WPS utility, obtain the wireless
client’s security PIN, or follow the clients WPS utility instructions to generate a
security PIN.
Figure 15
Figure 16
Other manuals for NETGEAR WNR2000

Questions and Answers:

Question and Answer IconNeed help?

Do you have a question about the NETGEAR WNR2000 and is the answer not in the manual?

NETGEAR WNR2000 Specifications

General IconGeneral
Rack mountingNo
xDSL connectionYes
Dimensions (WxDxH)177.5 x 130 x 35 mm
Maximum data transfer rate0 Gbit/s
WLAN data transfer rates supported300 Mbit/s
Networking standardsIEEE 802.11b, IEEE 802.11g, IEEE 802.11n
Ethernet LAN data rates10, 100 Mbit/s
Ethernet LAN interface typeFast Ethernet
Product colorBlack
Wi-Fi standardsWi-Fi 4 (802.11n)
Ethernet LAN (RJ-45) ports4
Web-based management-
Security algorithmsWPA, WPA2-PSK
Weight and Dimensions IconWeight and Dimensions
Depth132 mm
Width48 mm
Height108.7 mm
Weight163 g

Related product manuals