TO MATCH LIGHT THE GRILL
If the burner will not light after several attempts then the
burner can be match lit.
Match light extension rod is located on the inside panel of
the door.
allow 5 minutes for any accumulated gas to dissipate.
Keep your face and hands as far away from the grill as
possible.
Insert a lit match attached to the lighting rod through the
cooking grids to the burner.
Press the control knob and rotate left to the / HIGH
setting continue to press the knob until the burner ignites.
Burner should light immediately.
If the burner does not light in 5 seconds turn the knob off,
wait 5 minutes and try again.
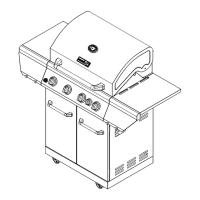
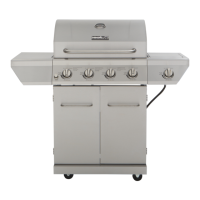
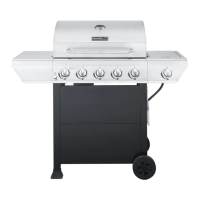
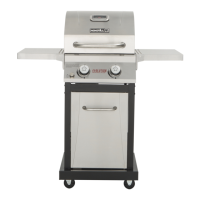
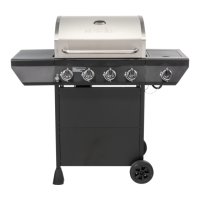
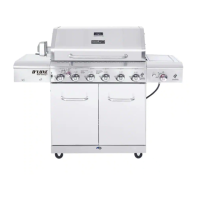
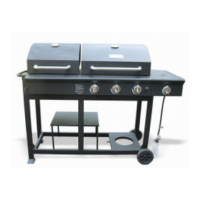
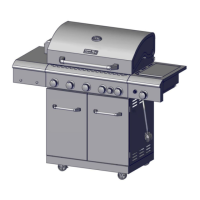
Operating Instructions
GENERAL USE OF THE GRILL AND ROTISSERIE
Each main burner is rated at 10,000 BTU/HR. The
main grill burners encompass the entire cooking area
and are side ported to minimize blockage from falling
grease and debris. The igniter knobs are located on
the lower center portion of the valve panel. Each rotary
igniter is labeled on the control panel.
USING THE GRILL
Grilling requires high heat for searing and proper
setting for the entire cooking time. However, when
grilling large pieces of meat or poultry, it may be
necessary to turn the heat to the lower setting after the
initial browning. This cooks the food through without
burning the outside. Foods cooked for a long time or
foods basted with a sugary marinade may need the
lower heat setting near the end of the cooking time.
NOTE: This grill is designed to grill efficiently without
the use of lava rocks or briquettes of any kind. Heat is
radiated by the stainless steel flame tamers positioned
above each burner.
NOTE: The hot grill sears the food, sealing in the juices.
The more thoroughly the grill is preheated, the faster
the meat browns and the darker the grill marks.
DO NOT LEAVE THE GRILL UNATTENDED WHILE
COOKING.
WARNING: IMPORTANT!
USING THE SEAR BURNER
Inspect the gas supply hose prior to turning the gas
must be replaced prior to use. Do not use the sear
burner if the odor of gas is present.
Grill Lighting Instructions
WARNING: IMPORTANT!
Inspect the gas supply hose prior to turning the gas
it must be replaced prior to use. Do not use the grill
if the odor of gas is present. Only the pressure
regulator and hose assembly supplied with the unit
should be used.
Never substitute regulators and hose assembly for
those supplied with the grill. If a replacement is
necessary, contact the manufacturer for proper
replacement. The replacement must be that
specified in the manual.
WARNING: Always keep your face and body as
far away from the burner as possible when
lighting.
TO LIGHT THE MAIN BURNER
supply from the LP (Liquid Propane) tank. Always
keep your face and body as far from the grill as
possible when lighting.
To light your main burner, push and turn main
burner control knob to /HIGH, at the same time,
press and hold electronic ignition button to light the
burner. Once the burner is lit, release the electronic
ignition button and knob. If the burner does not light
wait 5 minutes for any excess gas to dissipate and
then retry.
TO LIGHT THE SEAR BURNER
To light the sear burner, remove any cooking utensils
from the burner grate. Push and turn the control knob to
ignition button to light the burner . Once the burner is lit,
release the electronic ignition button and knob. If the
smell of gas is detected and the igniter is not functioning,
for any accumulated gas to dissipate. If the sear burner
igniter is not functioning, see the following section for
match lighting.
8
 Loading...