Do you have a question about the Next AUSTIN and is the answer not in the manual?
Check the colour of the first component before unpacking everything.
Lay out all components on the protective packaging to prevent scratches.
Double-check all pieces by referencing the parts page of the instructions.
Follow steps to ensure a smooth returns process: dismantle, pack separately, and seal securely.
Details on the number of people required, tools, and estimated assembly time.
Contact customer service for replacement fixtures and fittings free of charge.
Information on contacting service technicians for faults, repairs, or product assessment.
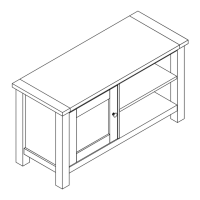
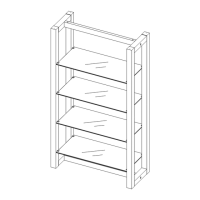
Guide to identify all supplied components with their dimensions and visual representations.
Details of all fixtures and fittings supplied, including dimensions and quantities for assembly.
Key safety advice: keep children away, use level ground, avoid excessive heat/sunlight.
Recommended actions for successful assembly: read instructions, check parts, use packaging.
Actions to avoid: dragging furniture, using silicone polish, leaving liquids on surfaces.
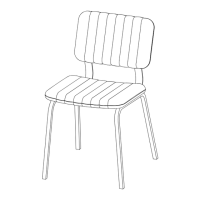
The Next Austin Dining Chair is a piece of furniture designed for dining purposes, requiring assembly before use. It is produced in China for Next Retail Ltd.
The Austin Dining Chair serves as seating for dining areas. It is designed to be assembled by the user, with clear instructions provided to guide the process. The manual emphasizes the importance of checking all components and colors before assembly to ensure customer satisfaction and a smooth returns process if necessary.
| Brand | Next |
|---|---|
| Model | AUSTIN |
| Category | Indoor Furnishing |
| Language | English |