3
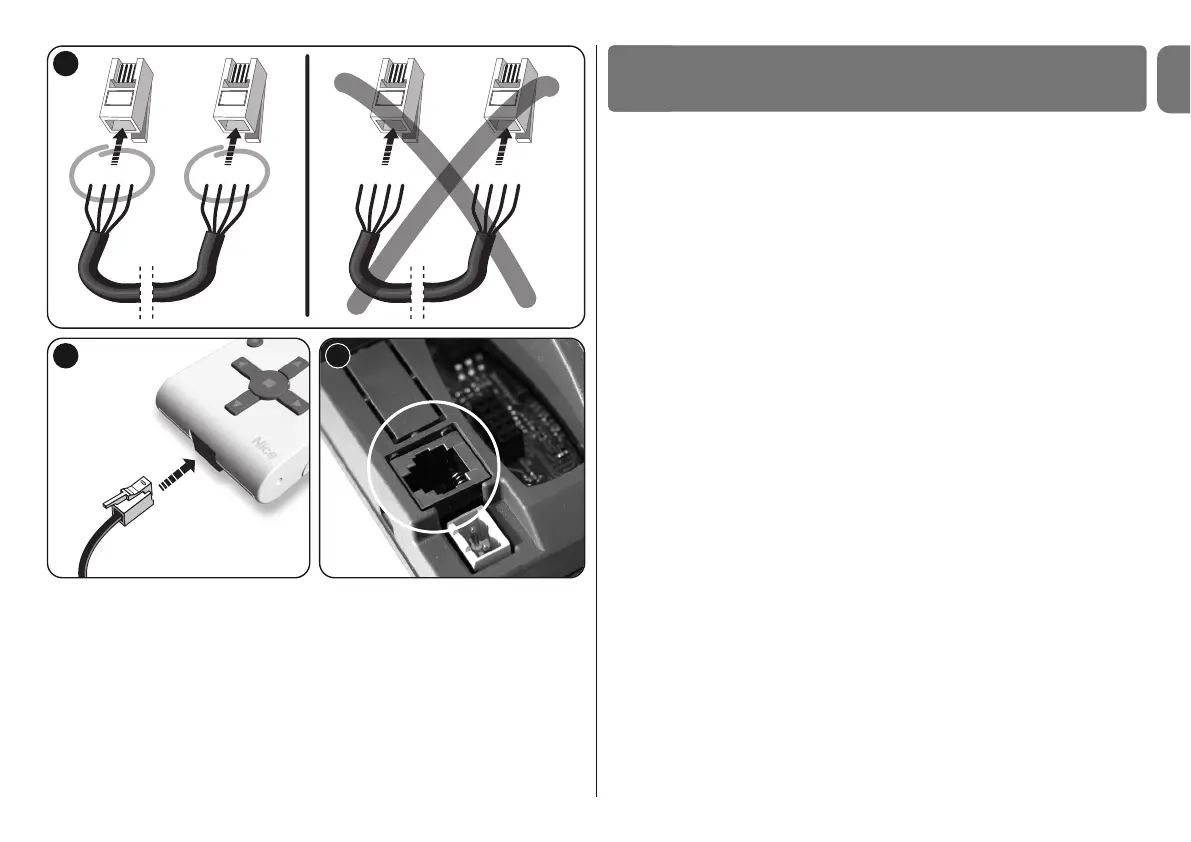
Oview is only activated when connected to a live device, as it is powered direct-
ly by the latter.
On activation of Oview, the icon representing the connected device is displayed
on screen.
• Key to Oview keys
Oview comprises the following parts (fig. 6):
1 – LCD screen;
2 / 4 – Arrow keys ! and ": used to move from one field to another in a win-
dow and to move from one window to another;
3 / 5 – Arrow keys # and $: used to modify values in a selected field or to
scroll within a list;
6 – Key ! used to confirm a value;
7 – Key " used to select the item displayed at the bottom left of the screen (9);
8 – Key " used to select the item displayed at the bottom right of the
screen (10).
• Oview home page
After activating Oview, the application home page is displayed. This window
comprises the following elements (see fig. 7):
A –Name of selected device.
B –Icon defining the type of device connected; in the case of a network of
devices the screen displays the first device found.
C –Number indicating the series to which the selected device belongs.
D –Local time and date.
E –“menu”: this enables the user to access all functions available to program
a device.
F –“commands”: this enables the user to access all functions available to
control one or more devices.
GENERAL USE OF OVIEW
4
5