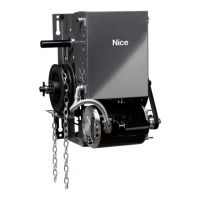
SECTIN E or perators with Interface Modules or ogic boards
Installation Safety recautions
ANIN Nice M NEMA- and AA M NEMA infrared photo systems are for use only
with Nice logic board operators or relay logic operators euipped with the Nice failsafe interface module. se of
this device on other than recommended operators can lead to severe or fatal inury. ollow these instructions
carefully.
IMTANT or momentar actiation on close the Nice photobeams (or a Nice -wire monitored edge)
must be installed as part of the operator sstem If a Nice -wire monitored edge or the Nice infrared
photobeam system is not installed or not operating correctly, the operator will only operate in fault mode
constant pressure to close.
EA and all installation instructions.
. efore installing the photo beam, read the door or gate operators instruction manual fully, so you are aware of
all of the units functions and features.
. ear protective gloves and eye protection when using tools.
. efore installing photo beam, disconnect all power to door operator to prevent unintended operation and have the
door full open or close.
. o not reconnect power to the door or gate operator until instructed to do so.
. nly install photobeams on a properly functioning door or gate operator.
. Installation and wiring must comply with local building and electrical codes. This device is not intended and must
not be installed in an explosive environment.
ANIN eep fingers and other body parts away from all moving parts of the door and gate operator system while
the system is being operated.
ANIN To prevent unintended operation, disconnect power to the door or gate operator prior to installing
the photobeam system.
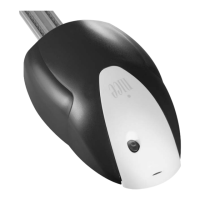
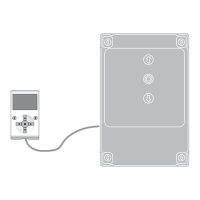
NICE N- TCE M
ote he M photocell sstem has a maimum range of ft un isor protector optional
Installation
Note hoto beams should be mounted as close to the door track inside the door to offer maximum
entrapment protection.
all installation
. Select a location on the
wall no more than inches from the floor to install wall mounting brackets on the left
and right side of the door. oth brackets must be mounted at the same height for proper alignment.
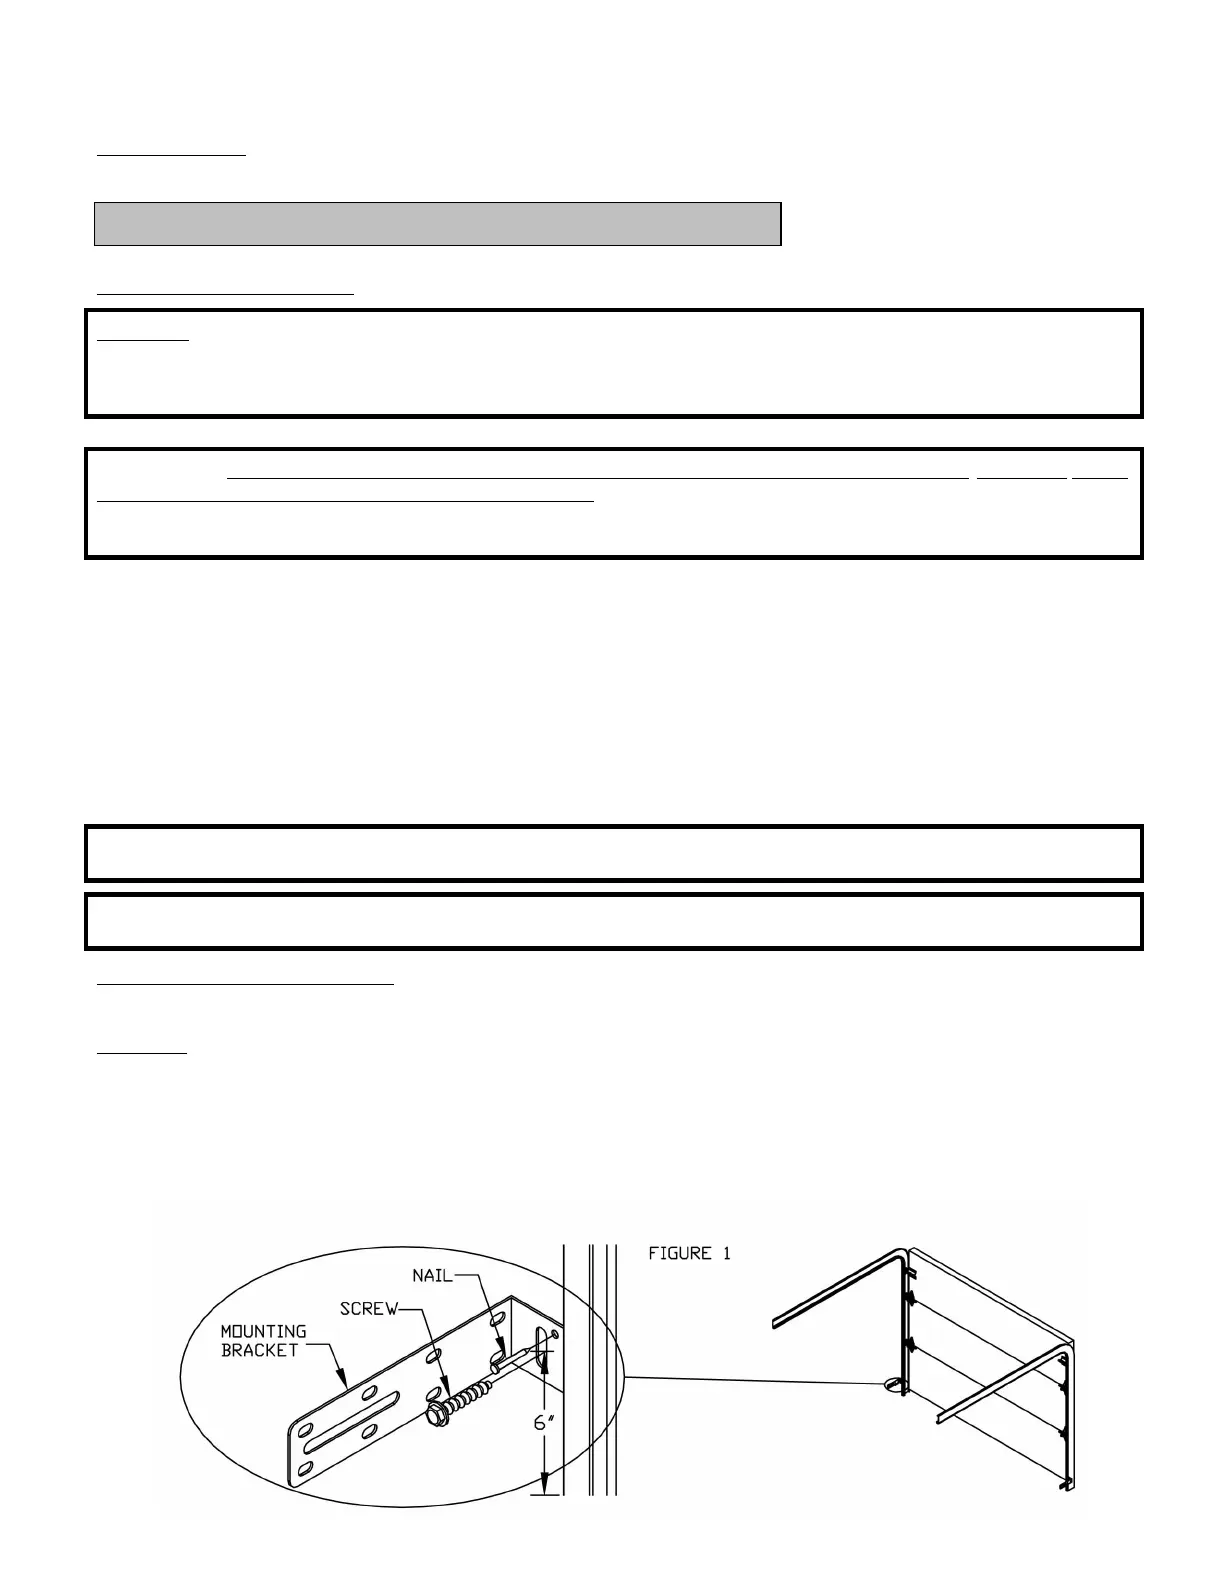
. rill holes in the wall and attach brackets to the wall using screws and nails provided as shown in ig. .
INSTAATIN NICE N- N- TCES
 Loading...