EasyManua.ls Logo

Nidek Medical LE-700 - User Manual

Nidek Medical LE-700
182 pages
Print Icon
To Next Page IconTo Next Page
Loading...
OPERATOR’S MANUAL
OPERATOR’S MANUAL
Edging Station

Table of Contents

Other manuals for Nidek Medical LE-700

Questions and Answers

  • J
    jenniferdeleonJul 31, 2025
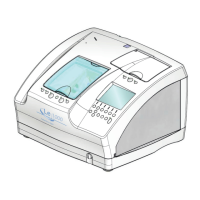
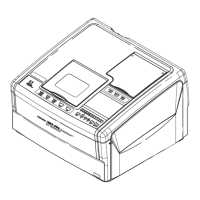
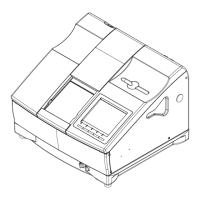
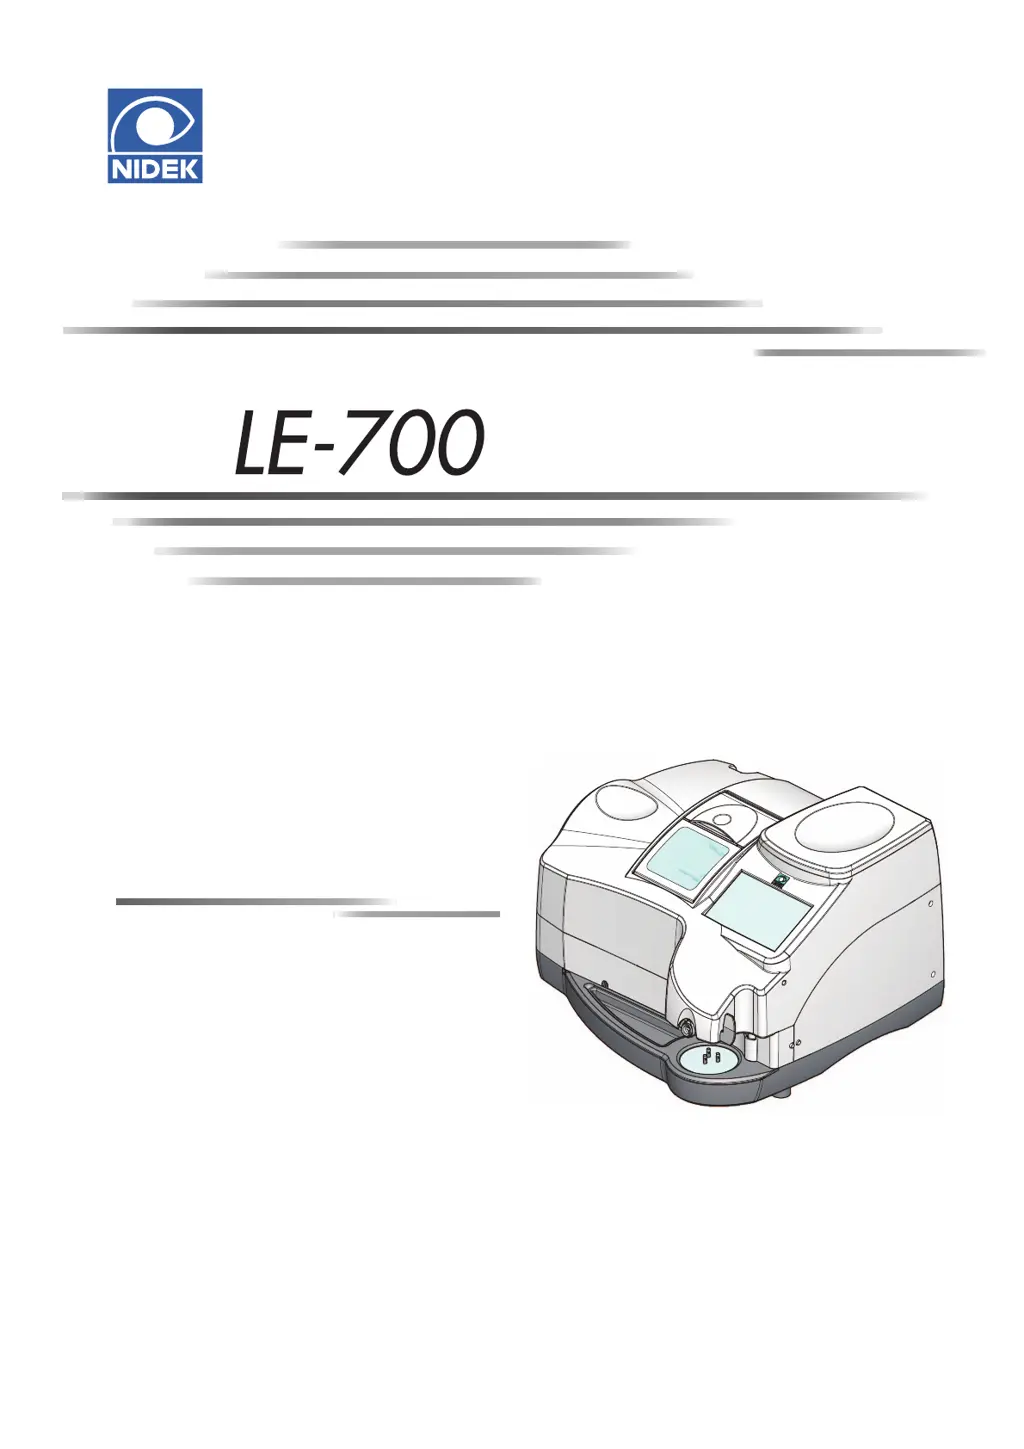
    What to do if Nidek Medical LE-700 Edger displays an error message?
    • P
      Paul HerringJul 31, 2025
      If your Nidek Medical Edger displays an error message and stops, it means an abnormality has been detected. Try turning the instrument off and then on again to resolve the issue.
  • H
    Heidi KingAug 4, 2025
    Why Nidek Medical Edger processing won't start?
    • S
      scott78Aug 4, 2025
      If the Nidek Medical Edger doesn't start processing when you press the button, ensure that the processing chamber cover is fully closed. Also, the instrument might be trying to process a lens that has already been processed; in this case, switch the side of the lens to be processed.
  • R
    Rachel MyersAug 9, 2025
    How to fix communication issues with Nidek Medical LE-700?
    • R
      Richard ChanAug 9, 2025
      If communication cannot be performed with your Nidek Medical Edger, verify that the RS-232C cable or LAN cable is properly connected.
  • J
    jennifer21Aug 13, 2025
    What to do if Nidek Medical Edger traced size is deviated?
    • A
      Alan SchwartzAug 13, 2025
      If the traced or processed size, axis, bevel, or groove position of your Nidek Medical Edger suddenly deviates, perform readjustment after calibration.
  • R
    Reginald MejiaAug 17, 2025
    Why lens shape blinks on Nidek Medical LE-700 Edger layout screen?
    • K
      Kimberly MillerAug 17, 2025
      If a part of the displayed lens shape on the layout screen of your Nidek Medical Edger blinks after lens shape measurement, it indicates that the lens diameter is insufficient. After releasing the lens, replace it with a larger one or change the layout.
  • G
    gelliottAug 22, 2025
    What to do if lens cup is hard to insert in Nidek Medical LE-700 Edger?
    • S
      steinmatthewAug 22, 2025
      If the lens cup of your Nidek Medical Edger cannot be smoothly inserted into the lens adapter or easily detached, adjust the plunger of the cup holder.
  • B
    Brian WilsonAug 26, 2025
    What to do when Nidek Medical LE-700 Edger shows a maintenance message?
    • A
      Alexis WilsonAug 26, 2025
      If a maintenance message is displayed and the Nidek Medical Edger stops, perform the remedy according to the maintenance message.

Summary

FOR SAFE USE

Read before Use

Instructions to read the manual carefully before operating the instrument.

Signal Words for Safety

Explanation of signal words (WARNING, CAUTION) used in the manual.

Usage Precautions

Precautions to be taken before and during instrument installation and use.

Labels and Symbols

Explanation of labels and symbols used on the instrument and in the manual.

INTRODUCTION

Outline and Configuration

Overview of the instrument and its main parts and components.

Display Screen Navigation

Description of the instrument's display screens, elements, and navigation.

Lens Tracing and Data Input Screens

Screens for tracing lenses and entering frame data.

Processing and Editing Screens

Screens for setting processing conditions, layout, and editing lens shapes.

Packed Contents

List of items included in the shipping carton with their quantities.

Connection Configuration

Instructions for connecting the LE-700 to external devices.

LT-980 Connection

Procedure for connecting the LE-700 to an LT-980 tracer via RS-232C.

Network Connections (LAN;VCA)

Steps for connecting the LE-700 to a server PC using LAN or VCA protocols.

OPERATING PROCEDURE

Startup, Shutdown, and Basic Procedures

Overview of operational steps from startup to shutdown and basic checks.

Lens Tracing and Data Loading

Instructions for tracing patterns/demo lenses and loading shape data.

Shape Data Management

Procedures for saving, deleting, backing up, and restoring shape data.

Processing Setup and Layout

Setting processing conditions, frame data, and layout parameters.

Shape Editing and Blocking

Modifying lens shapes and procedures for blocking lenses.

Core Processing Methods

Detailed steps for beveling, flat edging, and grooving lenses.

Post-Processing and Special Operations

Lens size checks, retouching, opposite lens processing, and other operations.

SETTING AND ADJUSTMENT

Menu Navigation and General Settings

Navigating the menu screen and configuring general instrument settings.

Maintenance and Grinding Settings

Accessing maintenance functions and adjusting grinding parameters.

Connection and Calibration

Configuring connections and performing instrument calibration.

Size, Axis, and Position Adjustments

Adjusting lens size, axis angle, bevel, and groove positions.

Date;Time and Counter Settings

Setting the instrument's date/time and checking processing counts.

MAINTENANCE

Troubleshooting and Safety

Diagnosing common issues and understanding instrument safety features.

Periodic Maintenance and Replacements

Recommended checks, fuse replacement, and part replacements.

Wheel Dressing Procedures

Procedure for dressing the processing wheels to maintain performance.

SPECIFICATIONS

Processing Unit and Environmental Specs

Specifications for the processing unit, functions, and environmental conditions.

Accessories and Dimensions

List of accessories, instrument dimensions, mass, and power requirements.

INDEX

Alphabetical Index

Alphabetical index of terms and their corresponding page numbers.

Nidek Medical LE-700 Specifications

General IconGeneral
BevelingYes
GroovingYes
PolishingYes
Frequency50 / 60 Hz
Edging MaterialPolycarbonate
Voltage220-240 V
TypeAutomatic
Power RequirementsAC 100 to 120V / 200 to 240V
Lens Diameter30-80 mm
Lens Size Range30-80 mm

Related product manuals