Do you have a question about the Nilfisk-Advance Cv 20 and is the answer not in the manual?
Explains grounding requirements for appliances and servicing of double-insulated models.
Guidance on positioning and securing the wall bracket for the CV 10 vacuum unit.
Instructions for locating and attaching the CV 10 vacuum cleaner onto its wall bracket.
Details on connecting the suction and exhaust pipes for the CV 10 model.
How to start and stop the CV 10 vacuum cleaner automatically or via hose switch.
Troubleshooting low suction and thermal cut-out issues for the CV 10 model.
Step-by-step guide on how to remove and fit a new dust bag into the CV 10 unit.
Instructions for cleaning or replacing the filter in the CV 10 vacuum cleaner.
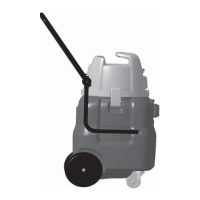
Steps for positioning and securing the wall bracket for CV 20, 25, and 35i models.
Procedure for attaching the CV 20, 25, or 35i chassis to the wall bracket.
How to connect the suction hose and exhaust pipe for CV 20, 25, and 35i units.
How to start and stop the CV 20, 25, 35i vacuum cleaner using the hose or switch.
Troubleshooting thermal cut-outs and poor suction for CV 20, 25, and 35i models.
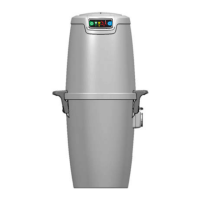
Explanation of the LED indicators and their meaning on the CV35i model display.
Instructions for removing and fitting the bag filter in CV 20, 25, 35i units.
Guide on correctly installing the bag filter into the CV 20, 25, 35i dust container.
Steps for removing and fitting a new dust bag into the CV 20, 25, 35i unit.
How to correctly install a new dust bag into the CV 20, 25, 35i dust container.
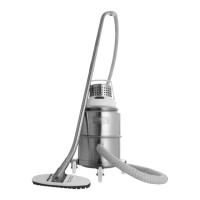
Details on various attachments including telescopic tube, floor nozzles, dusting and furniture brushes.
Guidance on dust bag replacement and filter cleaning/checking for the CV 10 model.
Instructions for emptying dust container, replacing dust bag, and cleaning the filter.
Covers defects in design, materials, and workmanship for the vacuum unit's lifetime.
Warranty period for electrical components and motors on different Nilfisk models.
Covers accessories, power heads, hoses, tools, and repair labor for three years.
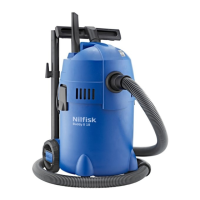
| Model | CV 20 |
|---|---|
| Brand | Nilfisk-Advance |
| Filtration | HEPA Filtration |
| Filter Type | HEPA |
| Accessories Included | Crevice Tool |
| Dust Capacity | 20 L |