11
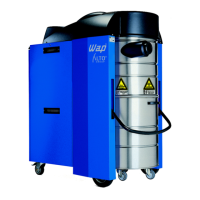
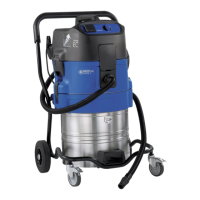
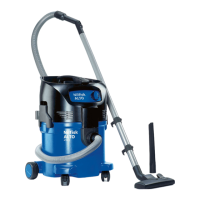
Dynamics 440-M/B1
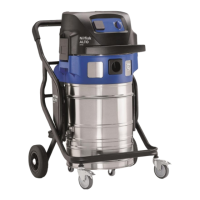
Dynamics 840-M/B1
GB
FAULT DISPLAYS
FLASHING FAULT LAMP (Fig. 20)
If the rotating field of the power
supply lead is incorrectly connec-
ted, the circuit breaker prevents
the vacuum cleaner from being
switched on.
l Switch off vacuum cleaner and
pull mains plug.
l Have connection outlet
connected according to
standard (clockwise rotating
field) by electrician.
CONTINUOUSLY LIT FAULT
LAMP (Fig. 20)
Overcurrent fuse and/or tempera-
ture monitoring unit for turbine
exhaust air has/have been triggered.
l Leave vacuum cleaner switched
on and wait until fault lamp
goes out, then switch off.
l Make sure exhaust air outlet
and cooling air inlet of motors
are not blocked and clear if
necessary.
l Switch on vacuum cleaner
again.
ACOUSTIC FILTER WARNING
The filter element is extremely
dirty.
l Clean filter element or replace
(see Section Changing filter
element).
l Suction nozzle blocked, clean
suction nozzle.
l Suction hose blocked, clean
suction hose.
CHECKING EXHAUST-AIR FLAP
(Dynamics 840-M/B1 only)
Exhaust-air flap of stopped turbine
is jammed.
l Release quick-lock screw (1) of
vacuum-cleaner rear panel by
turning 90°(Fig. 2).
l Tilt back vacuum-cleaner rear
panel (2) and unhook (Fig. 3).
l Check exhaust-air flap (3) of
stopped turbine (Fig. 19).
l Bond paper piece onto bolt (4)
of exhaust-air flap (Fig. 21).
l Switch vacuum cleaner to
position I, then to position II.
Flap must move.
l If exhaust-air flap does not
move, switch off vacuum cleaner
and free up exhaust-air flap.
l Check for smooth movement
by switching vacuum cleaner to
position I first, and then to
position II. If exhaust-air flap
still does not move, switch off
vacuum cleaner and inform
Wap Customer Service.
l Hook in vacuum-cleaner rear
panel (2) and tilt forward (Fig. 3).
l Lock vacuum-cleaner rear
panel by pressing in quick-lock
screw (1) (Fig. 2).
 Loading...