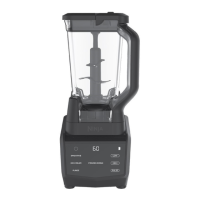
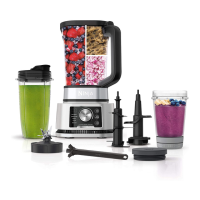
18 19ninjakitchen.com
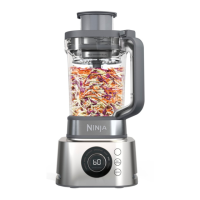
USING THE PRECISION PROCESSOR® BOWL
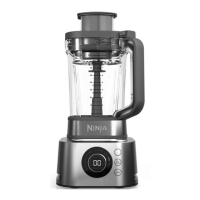
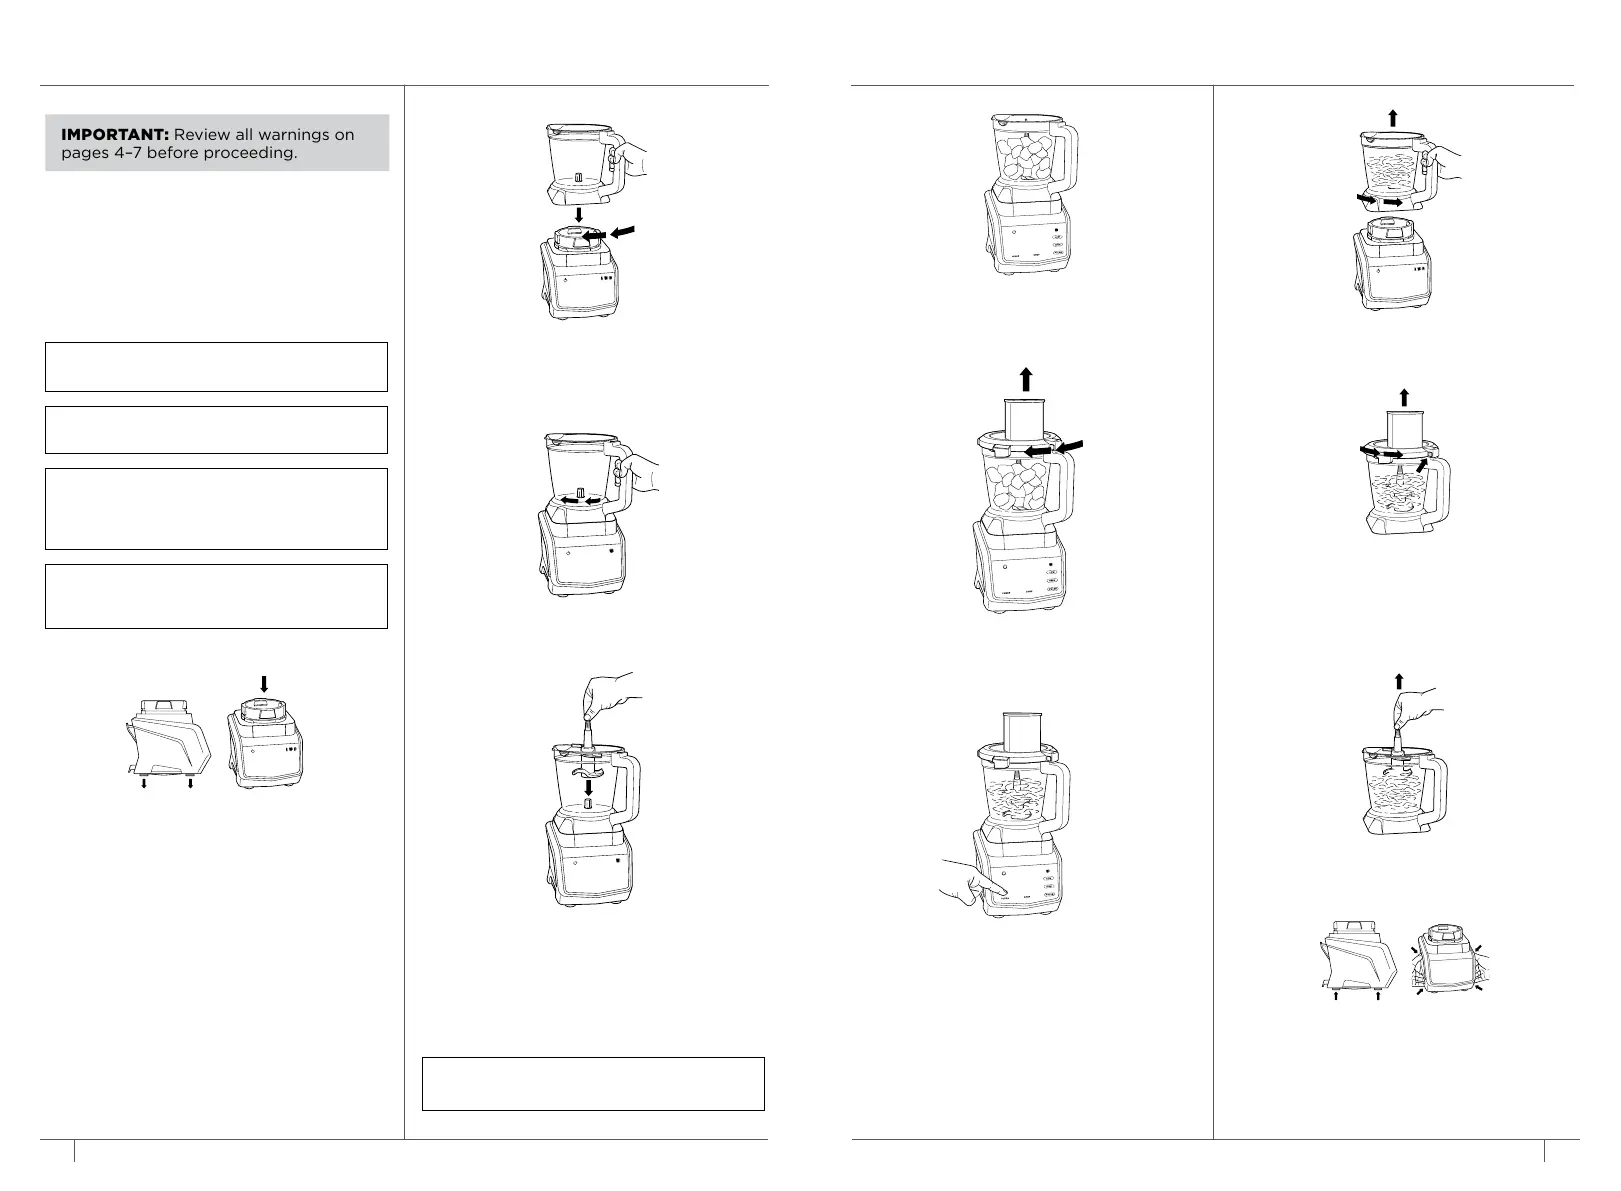
6 Place the feed chute lid on the bowl and
turn clockwise until you hear a click,
indicating the lid is locked in place.
7 If using a pre-set program, first select
the program that best suits your recipe.
The pre-set feature will automatically
stop the unit at the end of the program.
To pause the unit at any time, touch the
currently active program a second time.
3 Rotate the bowl clockwise until it clicks
into place.
1 Place the unplugged motor base on
a clean, dry, level surface such as a
countertop or table. Touch downward
on the motor base to adhere the suction
cups to the work surface. Plug the
motor base into a wall outlet.
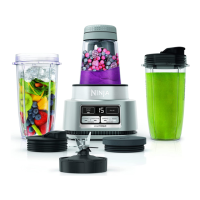
2 Lower the Precision Processor Bowl onto
the motor base. Align the bowl so the
handle is to the right, in a diamond position.
NOTE: Pre-set programs have pauses and
changes in speed throughout the cycle.
NOTE: The unit can detect which container
is on the motor base. Only the functions
available for a particular container will
illuminate on the touchscreen.
NOTE: DO NOT add ingredients before
installing the blade assembly.
NOTE: When using the Dough Blade
Assembly, ensure you are mixing the
ingredients on the Low setting.
TIPS:
• If the blade assembly is not fully seated,
you will not be able to install and lock the
lid into position.
• To learn more about the programs that
work with your Precision Processor Bowl,
refer to page 13.
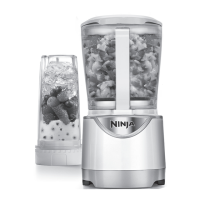
4 Handling with care, grasp the Chopping
Blade Assembly by the top of the shaft
and place it onto the spindle inside the
bowl. Note that the Chopping Blade
Assembly will fit loosely on the spindle.
NOTE: Follow the same instructions to
install the Dough Blade Assembly.
5 Add ingredients to the bowl, making
sure not to fill past the MAX FILL line.
8 To remove the bowl from the motor
base, turn the bowl counterclockwise
and then lift it.
9 Remove the lid by pressing the release
button on the front tab, twisting the lid
counterclockwise, and lifting up. Always
remove the Chopping Blade Assembly
before emptying any of the ingredients
in the bowl.
11 Unplug the unit when finished. To
lift the motor base, place your hands
underneath both sides it base and
gently pull the unit up and toward
you. Refer to the Care & Maintenance
section for storing instructions.
10 Handling with care, grasp the Chopping
Blade Assembly by the top of the shaft
and lift out the bowl.
IMPORTANT: Review all warnings on
pages 4–7 before proceeding.
 Loading...