- GB -
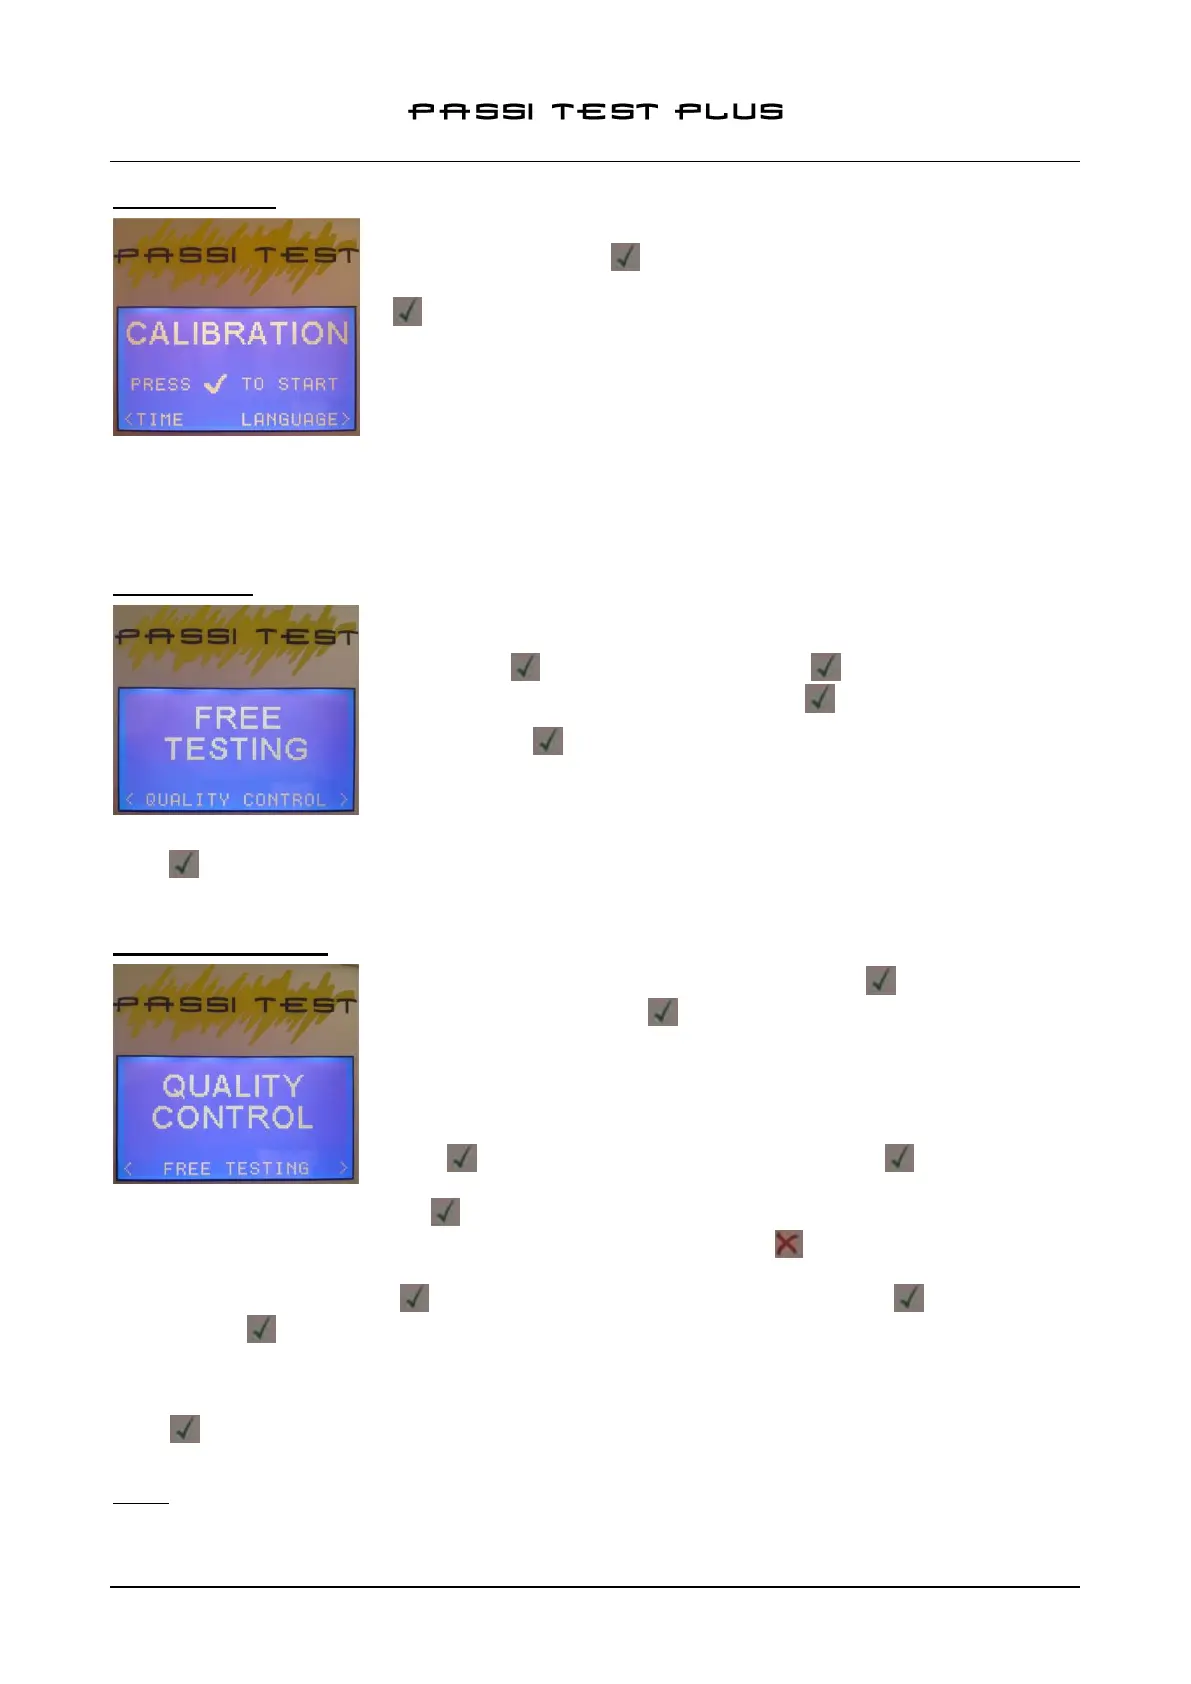
6.5 CALIBRATION
To access the calibration control function, from the main menu, select
SETTINGS and press ; scroll with the arrows to the CALIBRATION
selection and place the probe on the calibration plate supplied, then press
. A 5 seconds calibration test will start, after which there will be an OK
message confirming proper calibration.
In the eventuality that the calibration cannot be completed, a message to
verify the cartridge and/or tip; CHECK TIP / REFILL will be displayed.
The loss of the calibration can be in fact caused by two factors:
- Exhaustion of the electrolyte contained in the refill see Par 4 – Refill Replace
- Pollution of the tip (eg. If you performed a test on a piece of dirt) see Par 5 – Tip Replace
It is recommended to perform the calibration test after a prolonged storage period.
6.6 FREE TEST
The Free Test function allows to make a passivation test without saving the
data in memory. To access this feature, from the main menu, select NEW
TEST (press ) and then FREE TEST (press ).
Position the probe on the test piece and press to begin the test.
After pressing the test will start and a graphic bar will show the
progression of the test (duration: 15 seconds).
After testing, the display shows the numeric value of the quality of the
passive layer of stainless steel between a maximum value (GOOD) and totally not passive (BAD).
Press to return to the FREE TEST section or press MENU to return to main menu.
6.7 QUALITY CONTROL
From the main menu, select NEW TEST (press ) and subsequently
QUALITY CONTROL (press )
To access the quality control function, you must login using their username /
password, previously recorded in the Settings section. (see par. 6.4 User ID /
Password setting)
Once logged in, you are requested for PROJECT N°., which will remain
stored during all the tests of the current session. Enter the project No and
press (note: the field can be left blank, pressing the key)
Than it is required the SERIAL N°. This data will be stored for the current test
(the field can be left blank, press ); after testing, the instrument will return to this window, giving the
possibility to enter the next serial number. To change the value, press and enter the data using the
keyboard.
Insert the SERIAL N° and press , than position the probe on the test piece and press to begin the test.
After pressing the test will start and a graphic bar will show the progression of the test (duration: 15
seconds).
After testing, the display shows the numeric value of the quality of the passive layer of stainless steel
between a maximum value (GOOD) and totally not passive (BAD).
Press to return to the insertion of the serial number -thus maintaining the current session and the Project
N°- or press the MENU button to end the session and return to the main menu.
NOTE: The tester has 50 memory blocks; once used all the available cells, to perform new QC tests it will be
necessary to clear the memory using the provided software function (see. section 8.3.2 – Deleting Tests –
User ID).