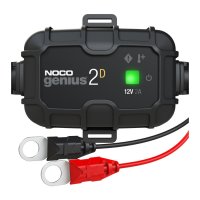
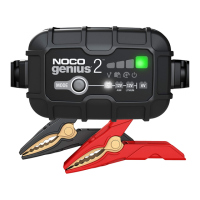
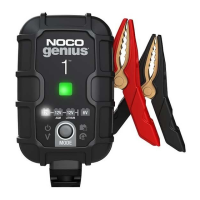
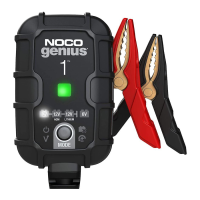
Understanding Charge LEDs.
The charger has one (1) Charge LED. This Charge LED indicates the connected battery(s) state-of-charge (SOC). See the explanation below:
LED
Explanation
Pulsing Red LED The Red Charge LED will slowly pulse “on” and “o” when the battery is less than 75% fully charged.
Solid Green LED When the battery is 100% charged, the Charge LED will be solid green.
Pulsing Green LED
The Green Charge LED will slowly pulse “on” and “o” when the battery is between 75% and 100% charged and during
battery optimization charging. It is normal for optimization charging to occur on a regular basis after the battery is fully
charged.
Understanding Advanced Diagnostics.
The Error, Hot, and Standby LEDs together shall indicate error conditions shown in the table below:
Reason/Solution
Reverse polarity. Reverse the battery connections. Or battery voltage is too low for charger to detect.
Charger is outside of its safe operating temperature and is not charging. Allow charger to cool down.
Battery will not hold a charge. Have battery checked by a professional.
Possible battery short. Have battery checked by a professional.
Single alternating flash
- Error and Standby
Error LED
Hot LED
Double alternating flash
- Error and Standby
Triple alternating flash
- Error and Standby
Battery voltage is too high for the selected charge mode. Check the battery.
Error