Do you have a question about the NOCO Genius GENIUS2X2 and is the answer not in the manual?
Product is an electrical device that can shock and cause serious injury. Do not cut power cords.
Unmonitored, incompatible, or damaged batteries can explode if used with product. Do not leave product unattended.
Product is an electrical device that emits heat and is capable of causing burns. Do not cover product.
Wear eye protection when operating product. Batteries can explode and cause flying debris.
Working in the vicinity of a lead-acid is dangerous. Batteries generate explosive gases.
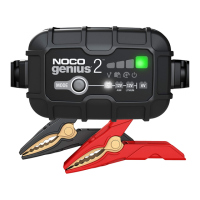
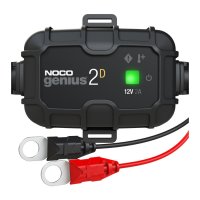
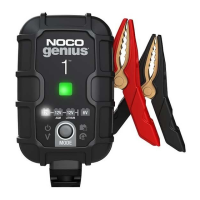
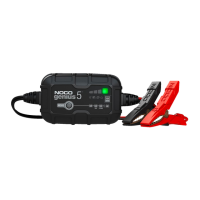
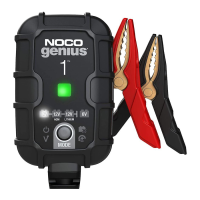
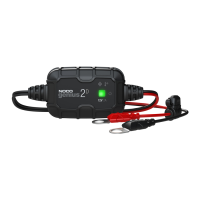
Explanation of the six available charging modes: Standby, 12V, 12V AGM, 12V LITHIUM, 6V, and Force Mode.
How to manually initiate charging when battery voltage is too low to be detected.
Detailed steps for connecting the charger to a battery installed within a vehicle.
Detailed steps for connecting the charger to a battery that has been removed from a vehicle.
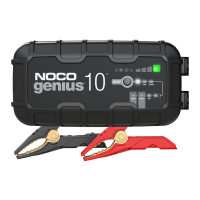
The NOCO Genius Multi-Bank Series represents a highly innovative and advanced line of battery chargers designed for simplicity and efficiency. These chargers are among the safest and most effective available, offering a comprehensive solution for maintaining various battery types.
The Genius Multi-Bank series is engineered to charge a wide range of 6V and 12V lead-acid batteries, including Wet (Flooded), Gel, MF (Maintenance-Free), CA (Calcium), EFB (Enhanced Flooded Battery), and AGM (Absorption Glass Mat). Additionally, it supports 12V Lithium (LiFePO4) batteries. These chargers are suitable for batteries with capacities up to 40 Amp-Hours and are capable of maintaining all battery sizes.
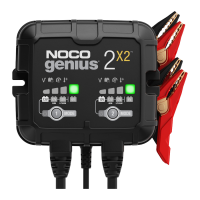
The device operates with six distinct charging modes: Standby, 12V, 12V AGM, 12V LITHIUM, 6V, and Force Mode. Each bank in the Genius Multi-Bank 2X2/2X4 models operates independently, allowing for isolated and simultaneous charging of multiple batteries.
Before beginning any charging process, users must carefully read and understand all safety information provided in the manual to prevent electrical shock, explosion, fire, serious injury, death, or property damage. It is crucial to consult the battery manufacturer's specific precautions and recommended charge rates, and to determine the battery's voltage and chemistry.
The manual provides estimated charging times based on battery size (Ah) and depth of discharge (DOD). These are for reference, as actual times may vary due to battery conditions and temperature. The Genius Multi-Bank features thermal compensation to automatically adjust charging profiles for optimal performance.
Auto-Memory: The charger has a built-in auto-memory feature, returning to the last used charge mode when reconnected. To change modes after the initial use, simply press the Mode button.
| Input Voltage | 100-240VAC |
|---|---|
| Input Frequency | 50-60Hz |
| Number of Banks | 2 |
| Efficiency | Up to 85% |
| Display | LED indicators |
| Charging Voltage | 12V |
| Maximum Charging Current | 2A per bank |
| Battery Types | Lead-acid, Lithium |
| Operating Temperature | 0°C to 40°C |
| Storage Temperature | -20°C to 60°C |
| Protection | Reverse polarity, Short circuit |
| Protection Features | Overcharge, Short-circuit |