Nokia WiFi Gateway 3 Product Guide Replace a Gateway 3 (G-240W-E)
Issue: 01 3FE-47464-AAAA-TCZZA 55
7.6 Procedure
Use this procedure to replace a Gateway 3 (G-240W-E).
1 Power down the unit by using the on/off power switch. See Figure 11 for the connections on
the Gateway 3 (G-240W-E).
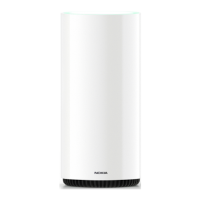
Figure 11 Gateway 3 (G-240W-E) connections
2 Disconnect the WAN, Ethernet, and power cables from the Gateway 3 (G-240W-E); see
Figure 11 for the connector locations on the Gateway 3 (G-240W-E).
3 If necessary, disconnect the fiber optic cable. Go to step 5.
4 Replace the Gateway 3 (G-240W-E) with the new device. The device can be placed on any
flat surface, such as a desk or shelf.
ON/OFF
RESETGPON VOIP
WPS
LAN 1 LAN 2
LAN 3
POWERUPS
LAN 4
TEL 1 TEL 2
USB 1 USB 2
Power input
Bottom cover
Wi-Fi security button
VOIP LEDGPON LED
Reset
button
On/off button
USB ports (2)
POTS ports (2) RJ-11
Ethernet ports (4) RJ-45
UPS connector
28281