Nomadic Cooling Co 11 NC-X
3
Instalation Manual Version 231226
12. Install and connect LCD control panel
before connecting to power to avoid
blowing internal fuse.
An appropriately-sized fuse must be
paced between your power source
and the AC unit:
48V = 30A fuse
24V = 60A fuse
12V = 125A fuse
An appropriate fuse and fuse holder is
included in the Host or DIY box.
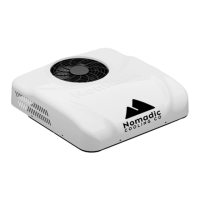
13. Connect DC power wires to unit. “Quick
Connection to DC Wiring Harness” included
.
Make sure wiring is appropriately
sized and is no smaller than:
2AWG for 12V/24V, or
4AWG for 48V AC units.
14. Attach LCD control panel and AC
wiring harnesses.
15. Attach thermostat wires to control panel
wiring harness.
For details of control panel connections,
refer to electrical wiring diagram on page 12.
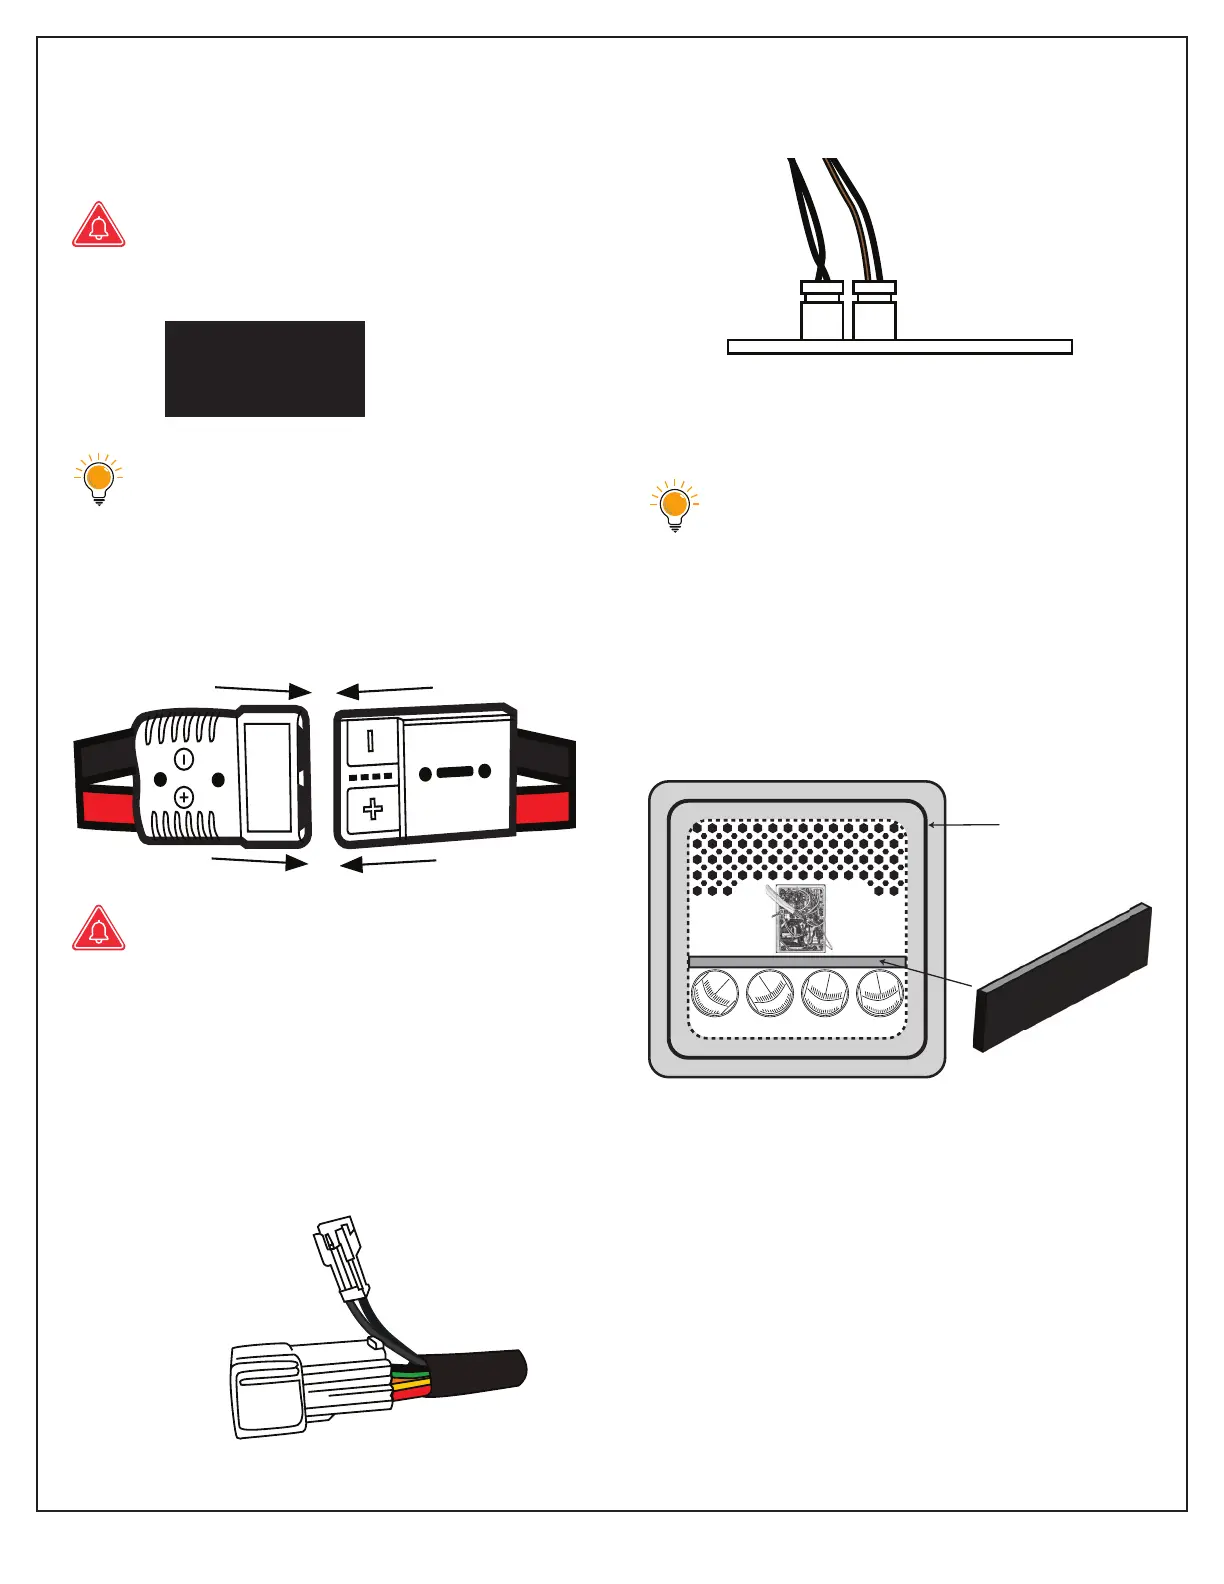
Condenser is always to the left of the
back wire. Be careful not to break
these wires.
16. Use the foam separator to properly sepa-
rate hot air from cold air as it enters and
exits the AC unit.
17. Use heat resistant tape to secure the air
separator in pace. Use your best judg-
ment on how much tape to use and
where to adhere it, as every instalation is
different. The tape helps the air separator
keep the warm and cool air separated.
AC unit centered
on foam gasket
Foam separator
AIR IN AIR OUT
To AIR-OUT sensor
To Control Panel
 Loading...