
M
Melissa JacksonAug 3, 2025
Why doesn't my NordicTrack Fitness Equipment console turn on?
- UumilesAug 3, 2025
If the console doesn't turn on, ensure that the power cord is fully plugged in and that the power switch is in the reset position.
Why doesn't my NordicTrack Fitness Equipment console turn on?
If the console doesn't turn on, ensure that the power cord is fully plugged in and that the power switch is in the reset position.
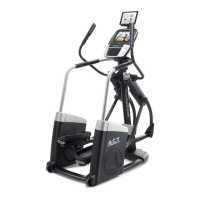
Why does the NordicTrack NTEX02117.0 Fitness Equipment console not display correct feedback?
If the console does not display correct feedback, the reed switch should be adjusted.
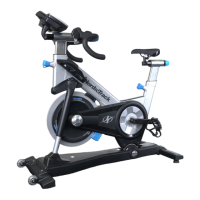
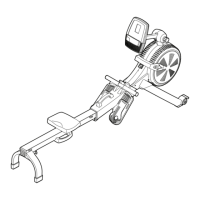
What to do if the pedals slip while pedaling on NordicTrack NTEX02117.0 Fitness Equipment?
If the pedals slip while pedaling, the drive belt may need to be adjusted.
What to do if the Left Crank Arm feels loose while pedaling on NordicTrack NTEX02117.0?
If the Left Crank Arm feels loose while pedaling, tighten the two M6 x 25mm Screws (96).
What to do if the NordicTrack NTEX02117.0 console does not stay in place when moved?
If the Console does not stay in place when moved, tighten the indicated M8 Locknut (99) slightly until the Console stays in place.
Details service plans for annual maintenance and in-home repairs.
Outlines service plans covering manufacturer defects and wear and tear.
Safe connection of the power cord to a grounded outlet.
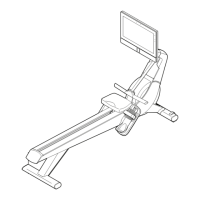
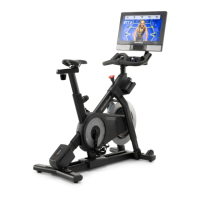
Touchscreen console with iFit for interactive workouts.
Adjust saddle angle and fore/aft for comfort and fit.
Console offers iFit, onboard workouts, and feedback display.
Connect console to Wi-Fi for iFit and features.
Calibrate incline system for accurate terrain simulation.
View workout progress, statistics, and charts on the console.
Adjust fan speed or use auto mode for cooling during exercise.
Start workouts, view progress, and adjust display modes.
Follow target speed prompts and manage workout parameters.
Create custom routes by drawing on the map interface.
Track progress, view stats, and manually override resistance/incline.
Add and manage workouts via iFit.com schedule.
Access iFit features by logging into your account on the console.
Connect console to a wireless network for iFit access.
Check for and install console firmware updates for improved performance.
Connect audio players or headphones for console sound system.
Monitor heart rate for effective training and goal achievement.
Regular cleaning and inspection to maintain optimal performance.
Resolve issues with power, connectivity, and console placement.
Troubleshoot incline system calibration and movement issues.
Adjust reed switch for accurate console feedback on pedal rotation.
Use heart rate zones for fat burning and aerobic exercise goals.
Recommendations for warm-up, training, and cool-down phases.
Step-by-step guide to manually measure your heart rate.
| Product Name | NordicTrack NTEX02117.0 |
|---|---|
| Category | Fitness Equipment |
| Display Type | 5" Backlit Display |
| iFit Compatibility | Yes |
| Display | 5" Backlit Display |
| Warranty | 10-Year Frame, 2-Year Parts, 1-Year Labor |
| Flywheel Weight | 20 lbs |
| Motor | 3.0 CHP DurX Commercial Plus Motor |
| Speed Range | 0-12 mph |
| Running Area | 20" x 60" |