34
Displaying Device Chains and Device Selection
In Options view, the upper part of the screens show the device chain on the currently selected track. These devices may be
Ableton instruments, audio/MIDI effects, or third-party plug-ins.
• Click a pink pad to select the devices you wish to control. This turns the pad bright pink and selects the name of the
device on the screen above.
• Press the Options button again to return to the default InControl view (where pads control clips).
• Now, the first eight parameters for the device you selected display on the screens and moving the rotary knobs above
will adjust those parameters.
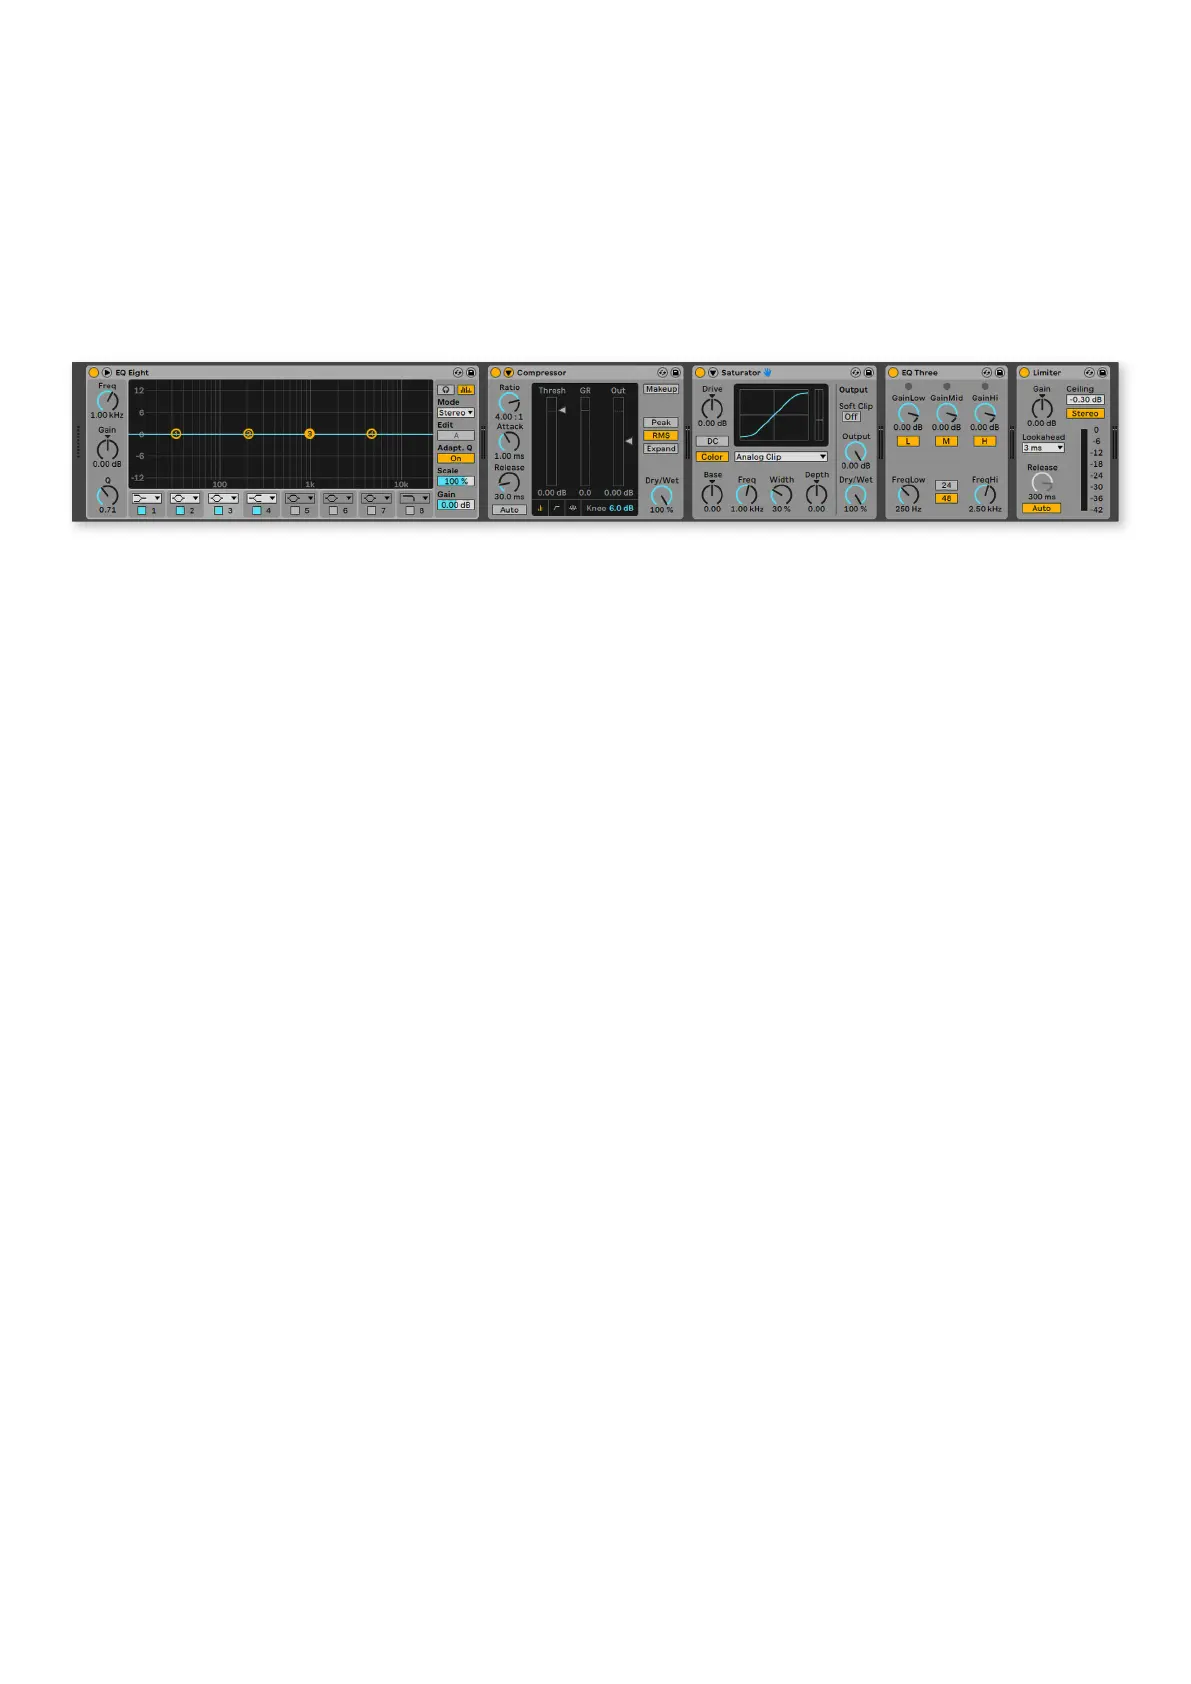
This image shows an Ableton Live device chain. We have
selected the Limiter on the SL MkIII. This is confirmed by the
‘blue hand’ symbol on the Limiter (far-right), and a bright pink
pad and highlighted device name on the SL MkIII’s screen.
If you want to select another device (coming from elsewhere
in Options, like Pan) the first soft key under the screens
called ‘DevceSlct’ will get you back to the Device Chains
and Device Selection view.
Device Parameter Banking
The SL MkIII allows you to change device parameters
beyond the first eight (most Live devices contain more than
eight parameters). With a device selected, pressing the up
or down arrow buttons (to the left of the screens) will switch
through the available ‘banks’ of parameters. As per usual,
the rotary knobs above will change these new parameters.
Displaying and Editing Pan and Send Controls
After pressing the Options button, select the yellow ‘Pan’
button to access the pan controls for the eight tracks within
the selection ring.
The green soft key selects the Sends view. The screens will
display a single send control for each track shown on the
screens. To bank through the available sends, click the up
and down arrows to the left of the screen. Raise or lower the
send amount with the corresponding knob (above the send
you wish to edit).
Faders
Faders control track volumes in your Ableton Live set.
These eight faders correspond to the eight tracks within the
selection ring.
LED Indicators
The LEDs above the faders give visual feedback of the
volume settings on the selected tracks. Since you can
use the faders on multiple tracks by moving the selection
ring (see “Live Set Navigation” on page 32), the actual
position of the physical faders may not match the faders
on-screen. The LEDs provide a solution by brightening and
dimming if the volume on an Ableton Live track is higher or
lower, respectively.
Undo, Redo, Metronome and Capture
While in InControl, holding Shift turns the first three soft
buttons above the pad area into Undo, Redo and Click
controls. As expected, Undo and Redo perform those
functions on your Live Set’s most recent actions. Pressing
Click toggles Live’s metronome on or off.
Holding Shift will also display a Capture button if you recently
played - but did not record - MIDI notes. Press this last soft
button under the screens to grab the MIDI you just played
and place it in a clip, even though you were not recording in
the traditional sense.
 Loading...